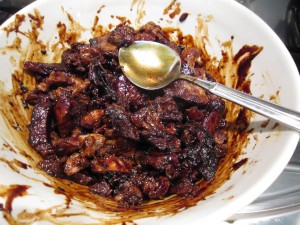
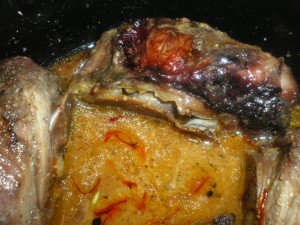
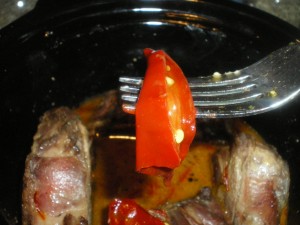
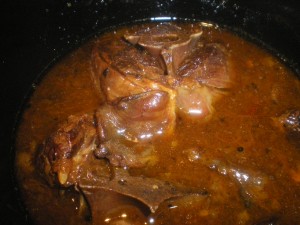
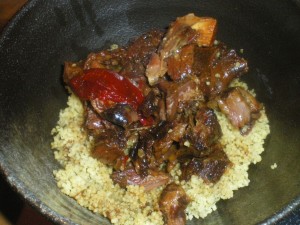
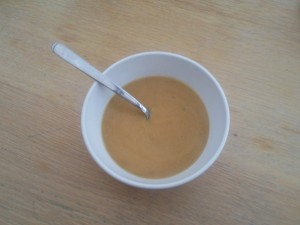
Sambal santan udang… probably the best prawn curry in the world

When I first met the Bear, I knew he was pretty special. I knew, in that deep down way, that he was someone I wanted to spend my life with. There was this sense of recognition. I know people always say you will KNOW when you meet the right person, but I suppose I never really believed them…. except, it’s true. I knew when I met him that he was the one for me. He was perfect.

Well…. almost perfect. He had some pretty fixed ideas about food……and that didn’t suit me. Broccoli? He’d get a stubborn look on his face and turn his head away. Shellfish? Nope. He wouldn’t eat that either.

Well, ask yourself, do you really think I was going to let him get away with that? I was determined that my life’s mission would be to make him truly omnivorous. I wanted him to know how wonderful fresh and tasty prawns were… what about the joy of eating oysters fresh off the boat? By refusing shellfish he was refusing so much.

I had a plan… and it was a plan that worked, too. He said he would refuse broccoli forever but when I made Broccoli that a Bear will eat  he not only ate it without complaint but actually asked for it at other times. The Broccoli and Stilton Pastryless Pie was a winner in his eyes and he liked having it in his lunchbox to take to work. When I made Baked Polenta Pie he loved it…..and all of those dishes had broccoli in them. How did I get round his stubborn refusal? I suppose you could say that I hid the broccoli. Whenever I served the dreaded vegetable it was covered in either a deliciously light creamy sauce, or baked into other delicious stuff. It got him to eat broccoli and while he still won’t eat plain, steamed broccoli, he will eat it without complaint and a certain enjoyment. Maybe that’s what you will have to do if you have equally stubborn food-faddists.

So, I had success on the broccoli front. What I needed to work on was shellfish. We started by making him eat one prawn – just one – whenever I ordered prawns. He admitted that he was missing out on stuff and if we ever ended up living somewhere where shellfish was freely available then it would be a waste if he didn’t try.  He wasn’t really enjoying it at first but he persevered. One prawn at a time. Then one day, he ‘phoned me from a trip abroad to say that he had eaten a prawn, voluntarily without me having to make him do it….. he was on the way to liking prawns!

He still wasn’t really convinced though… and then we moved here, to Malaysia. Here I can buy beautifully fresh king prawns for very little and so I started, in earnest, searching for the perfect prawn recipe that would make him love prawns. And you know what? I found it.

I’d bought a marvellous little recipe book by Betty Saw, a really well known Malaysian cook and writer, called ‘Malaysian’. It’s where I found that recipe for rendang that everyone likes. In it was this recipe for sambal santan udang, or prawn curry… it sounded delicious.

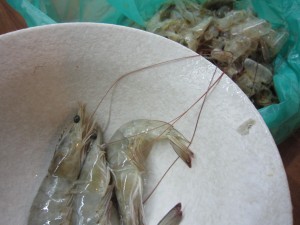
I bought 600g of king prawns (that’s 1lb 5½ ounces) and they needed to be cleaned and peeled.  That’s simple enough, just tear off the head and peel off the shell

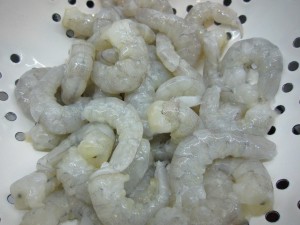
… and then once that’s done, take a sharp knife and run it down the curved back of the prawn and pull out the black vein… you can see it there. That’s the intestinal tract and you don’t want that in there.

Then, put them in a bowl in the fridge and get on with the rest of the preparation. Of course, if you can’t get fresh prawns, use prepared frozen ones. And if this makes it too expensive for an everyday meal, save this for a special occasion. You’ll thank me for it later.

As with all Malaysian cooking, the next bit involves ingredients to be ground.

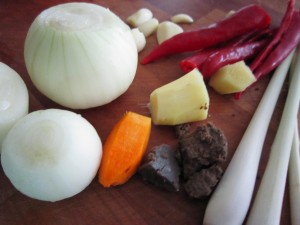
The recipe book said two onions, but as a couple of mine were really small, I used three of them.  Five chillies needed to be deseeded and sliced, four fat cloves of garlic had to be peeled along with four stems of lemongrass and one inch pieces of ginger and turmeric needed to be peeled. The turmeric is the bright orange piece in the middle there…. it looks like a piece of carrot.


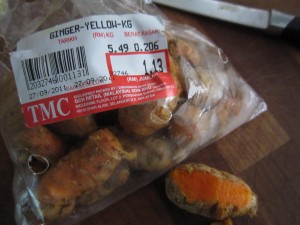
When I first bought some, I thought it was just a differently coloured ginger… I mean, it’s not as if the label suggests anything else, is it? Anyway… if you can get some, I’d suggest you wear gloves when preparing it. Otherwise, your fingers, like mine, will turn a bright yellow and stay like that for days. If you can’t get fresh turmeric, you’ll have to use dried… maybe just under a teaspoonful will do it.

The other ingredient is belacan, which is dried shrimp or prawn paste. I know you can get this in the UK, so there’s no excuse for not getting some. I think the Malaysian belacan is a bit milder, so whereas I am using a half inch square piece, you may want to use a quarter of a teaspoon or so.


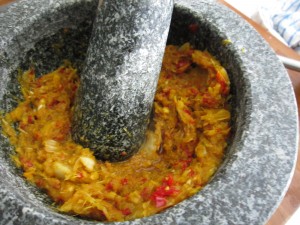
And then, as they say, have at it with a pestle and mortar. Or, if you want to, give it all a quick whizz with a blender, but don’t reduce it to a smooth paste… you need it to still have bits. (Remember, you can do this quickly and easily if you use the jars of ready prepared spices)

Now you are ready….


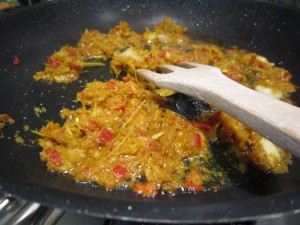
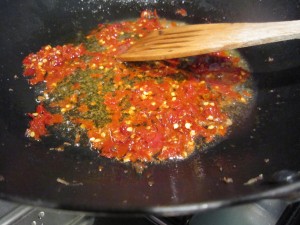
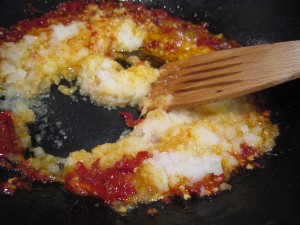
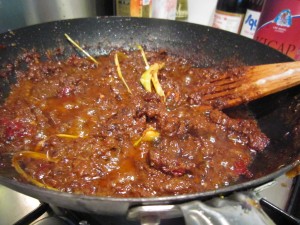
Start by frying the ground ingredients in three tablespoons of oil. This will take five minutes or so and you’ll smell everything coming together and the oil separates.

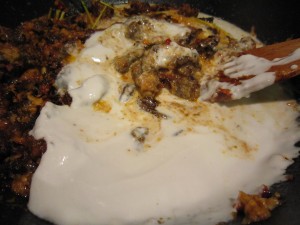
Pour in a can of coconut milk and stir everything round, bringing it to the boil.


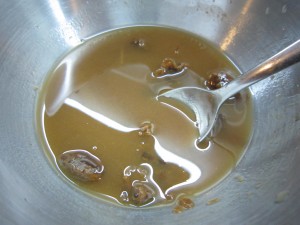
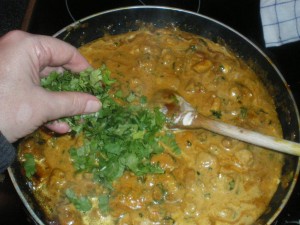
Now, if you were to taste the creamy coconut and spice sauce you’d like it, but what it needs is something to lift it… and you get that from tamarind. Here, I buy tamarind paste that still has seeds in it and what I have to do is mix a dessertspoonful of the paste with four tablespoons of water and then strain it out. You might be able to get paste without seeds, so that makes it a bit easier.

The sharpness fromn the tamarind really brightens the taste of the sauce… it is still rich and delicious but it isn’t cloying.

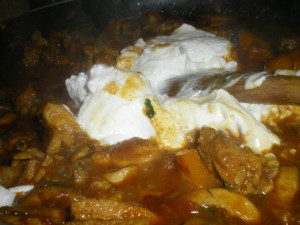
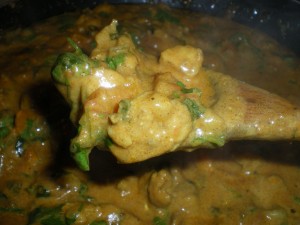
Then… add the prawns….chuck in a pinch of salt….simmer for five minutes….and you’re done. The best prawn curry ever.


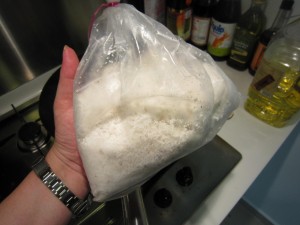
I served it over basmati rice that I’d added a handful of grated coconut to. I do that because I like it and because I can. Served over plain rice this would be just as delicious.

And that was it. Simple and quick. The finished curry is not mouth searingly hot, but well spiced. The flavour is rich and creamy but not cloying. In fact, it is delicious.

So delicious that Bear is now a convert to prawns. And he’d said it couldn’t be done…..all I have to work on now is spinach.


Rendang terlagi-lagi – the best beef rendang recipe

If there’s only one thing you cook from reading my Malaysian adventures then it has to be beef rendang. Unless, of course, you are a vegetarian or a vegan….because, quite frankly, beef just won’t work for you. Or unless you can’t eat coconut because that, too, would mean the beef rendang just isn’t going to be your thing. But let’s not bother with ‘unless’…let’s focus instead on the most delicious Malaysian recipe ever.

Rendang is an iconic Malaysian recipe – a mouth-filling melange of spices, coconut and slow cooked meat making an aromatic dish that has you longing to eat it again and again. The first friends I made in Malaysia, Roger and King, took me to lunch at Madam Kwan’s where we had her delicious rendang. Her version has the beef slow cooked and shredded and it is rich and delicious so little goes a long way with plain rice. King swore that this was the best rendang in Kuala Lumpur and who was I to argue?

I spent a long time looking for a recipe that would give me the right taste – every cook will have their own version. Eventually I came across (in a small, inexpensive Malaysian cookbook by Betty Saw, from Marshall Cavendish, that cost 9.90 ringgit, that’s just under £2) Rendang terlagi-lagi. ‘Lagi’ in Malay means ‘more’ and I was assured that having eaten this dish people would ask for more….and more. That had to be worth trying.

Now, before we go any further, it’s perhaps worth pointing out that authentic Malaysian cooking doesn’t rely on the kitchen gadgets that make our lives so easy. Most recipes involve spice mixes that are ground…and when they say ground they mean that they been pounded into a juicy rubble with a pestle and mortar.

What also might be worth pointing out is that while pounding produces an authentic roughness to the mix (some bits are pounded more finely than others) the pounding itself is hard physical labour. I have done this in an authentic a fashion as possible but in the interests of getting you to try this, I think it will be perfectly acceptable to use a blender to get the spice mix made. Don’t keep pulverising everything to a smooth paste, though, try and keep a certain roughness to it.

Also, if you are trying this and don’t have access to the same fresh ingredients that I can get here in Kuala Lumpur, don’t worry. Do your best. Supermarkets sell jars of ready prepared ginger, lemon grass and garlic. Use them if you can get them…it will be a lot easier than pounding.

The important thing is that you try to make this. If you like it enough you can always attempt pounding on the next go. Or maybe if you like it enough you can carry on using the prepared spices because that will mean you can make it quickly and easily. Just make it, right?

What you’ll need to make this is first of all 600g (1lb 5 oz) of beef.

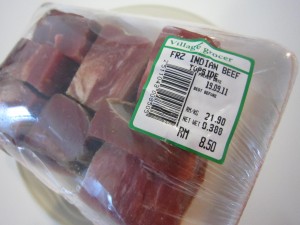
The first time I made it was with deep frozen Indian buffalo which is all I could find in the supermarket and the resulting rendang was delicious but tough. Eventually, I found some nice beef cubes that made a deliciously tender rendang. Rendang is not cooked for a long time so try and avoid those cuts that will need hours of slow cooking.

You’ll need some dried chillies (maybe 8 or 10, say) and some thick dark soy sauce (this has a roasted almost caramel taste)

4 stalks of lemon grass (I think that 4 teaspoons of the prepared lemongrass in a jar would be the equivalent); a can of coconut cream ; some tamarind paste; and some kerisik (essentially grated coconut, roasted in a pan until golden brown and then ground finely. I think you could use desiccated coconut instead. It is important you make this, though there’s no real work involved, because it adds a gloriously rich, deep and sludgy level to the sauce surrounding the meat )

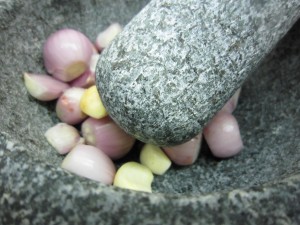
The next set of ingredients are classed as the ones that are to be ground – 300g/11 oz shallots, 4 garlic cloves and a 1 inch knob of ginger, peeled.

So, once you have everything assembled, you’re ready for the off. This is really a simple recipe and now I have done this a few times I can prepare it quickly. I make the ground spice mix first and put it in the fridge so I can split the work. If you were using  prepared spices you’ll be able to do this really quickly.

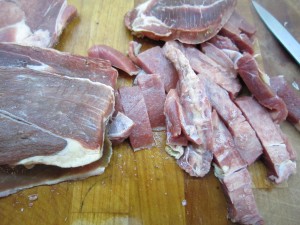
First, cut the beef into strips, maybe a quarter of an inch thick and one and a half inches long.

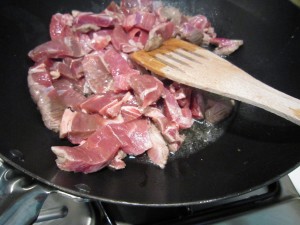
Fry the beef over a moderate heat in 125 ml/4 fl oz/ half a cup of oil, for 15 minutes.

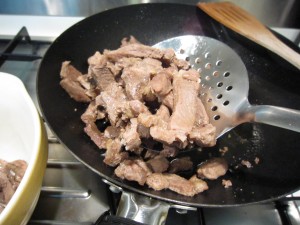
Take the beef out, leaving the oil in the pan as you’ll need this later.

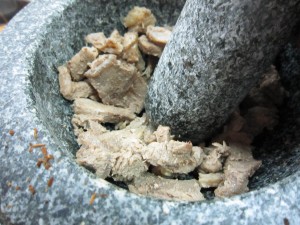
The beef needs to be pounded lightly while it is still hot – I use the pestle that I used in grinding the spices. Use a steak hammer if you have one….what you are aiming for is a flattening of the pieces of beef, breaking down the meat fibres so they can absorb the flavours better and the beef becomes more tender.

This really is just a light pummelling so don’t go mad and destroy the beef pieces.

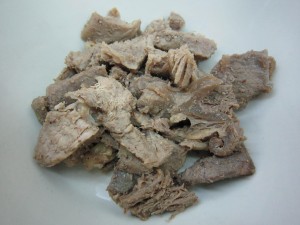
Then pour a tablespoon of thick, dark soy over the meat, stirring it round so the pieces get covered, then pop the meat into the fridge for at least an hour. I’ve done this the night before when I have been cooking this for guests and it works out pretty well.

Then, start on preparing the ground ingredients. Either do it with a pestle and mortar or use a blender or use prepared spices. The garlic and shallots and ginger get crushed to a gritty paste. If you use a blender don’t go as far as a smooth mush… part of the joy of this is in the texture of the sauce.

Dried chillies need soaking separately until they are soft and then need pounding or blitzing. It’s easier if you chop them first before pounding them and make sure you keep  your hand over the top of the mortar to keep chilli splashes away from your eyes. I speak from experience.

Fry the ground chillies for two to three minutes in the oil left over from the beef

Then add the ground ingredients (shallots, garlic and ginger and the lemongrass).If you decide to pound the lemongrass first, it’s easier if you chop it into little pieces. Otherwise use the prepared lemongrass in a jar. Fry the mix until it is fragrant and the oil starts to separate out. This will take maybe 8 to 10 minutes over a gentle heat.

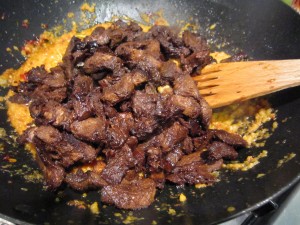
Once this is done, add the beef and stir it round well.

Add the coconut cream.

One tablespoon of tamarind paste needs adding to 5 tablespoons of water and stirring round and then strained off, leaving the pulp and stone residue behind. Add that liquid to the beef and stir in. You will probably be able to buy tamarind paste without the seeds in… here, I can’t  get that and I have to sieve out the seeds. You do need the tamarind though because it adds a sharp hint that brightens the deep and satisfying richness of the meat.

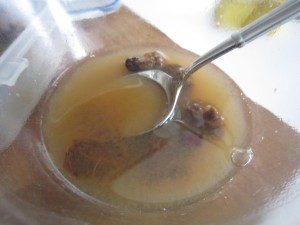
Bring everything to the boil and then reduce the heat and simmer gently until the colour has darkened and it is almost dry. In that picture I had just crushed the lenongrass and I had to pick it out later. It’s better when you either use the ready crushed into a paste version or chop it into small pices and then pound the living daylights out of it.

Next you need the kerisik. This is toasted and ground coconut.

I can buy bags of freshly grated coconut  but you could manage with some dessicated coconut, I reckon. My Malay friends think it will be OK, so I’d go along with that.

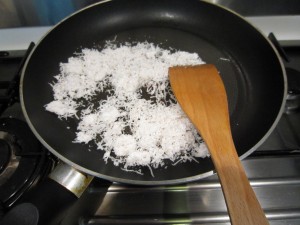
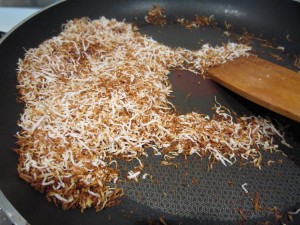
I dry fry a cup full until it browns

Be careful because it can suddenly go from white to burnt, so do stand and stir and keep checking  while you are roasting and toasting the coconut.

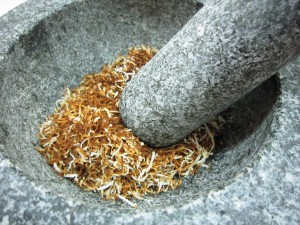
and then I grind it to a fine powder. The first time I did it I used the pestle and mortar….after that I used the Bamix and the spice grinding attachment. Far quicker.

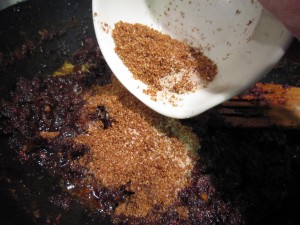
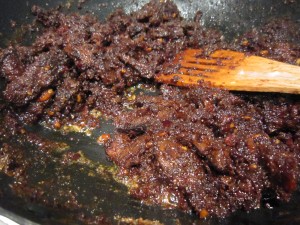
Anyway….add in the kerisik, a teaspoon or so of sugar and some salt to taste. Stir it all in and keep stirring until it begins to look like this….

And that’s it. Taste it. Realise you have made the most delicious rendang…..

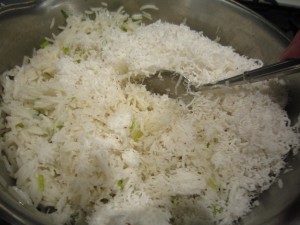
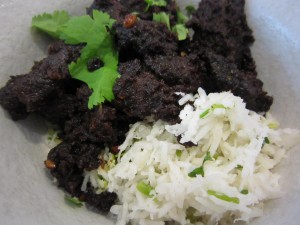
I serve it over plain boiled rice that I have added some of the fresh grated coconut to and some chopped coriander.

And then all I do is hope that there will be some left over to either eat the next day or freeze. It is a rich and deliciously tasting meat with layers of flavour becoming apparent as you eat it.

I think this has become one of our favourite Malaysian dishes and when we get back to the UK I will use (because I’ll have to) the shortcuts I’ve told you about. I’ll do anything, really to keep on eating this. It is rich and delicious, spicy but not mouth burningly so and the simple mix of spices blend together to make a complex, mouth-filling in its intensity, taste. It is deeply satisfying.

Try it… try it then tell me what you think of it. I’ve done my best to make it easy for you… now you do your best to make it!

Salt and Pepper Pork Tenderloin

I had a fancy for something tasty. Actually, what I really had a fancy for was our local takeaway’s Salt and Pepper Squid, which is probably the most delicious salt and pepper squid anywhere. And I should know – just ask the Bear. Wherever we go if I see it on the menu, I ask for it.

I’ve eaten it in Perth, Brisbane, Sydney and Hobart in Australia; in Honolulu and on Kauai in Hawaii; in Florence, Barcelona, Dublin, Copenhagen, and Lisbon. I’ve eaten it in smart restaurants in the UK and in cheap ones, but somehow, nothing beats our local takeaway. They cook everything in an open kitchen and the food is spankingly fresh.

The batter round the squid is light and lacy. The squid is never chewy and the salt and chillies are perfectly balanced. The only annoying thing is that whenever I order it, people who HAVEN’T ordered it (because they don’t like squid… or chillies… or whatever else..) suddenly decide they want to try and it and then they take mine!

Anyway, despite wanting it so much that my fingers itched to phone an order in, I decided to try and stick to our vague diet. No salt and pepper squid for us that night.

But the thought of salt and peppered something just stuck in my mind.

I’d worked out a salt and pepper seasoning that didn’t involve deep frying or batter and I’ve used it on prawns and steak. Because you almost dry fry whatever protein it is you are using,  the calorie count drops significantly.

There you go, then, I thought. Perfect justification to make something tasty for supper. I WAS going to have salt and pepper after all. And I could still say we were on a diet.

I like to make lots of salt and pepper seasoning because whatever I don’t use, I keep in an airtight jar ready for my next night of craving. I had some left but I needed to top up my supply.

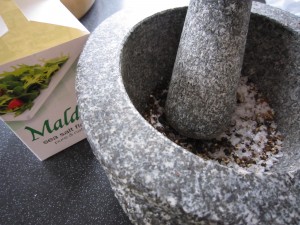
First of all, toast some salt in a large frying pan – yes, this sounds bizarre but it is essential. You will see the colour change slightly and it takes less than a minute. I used a couple of heaped tablespoons of crushed Maldon (I have to crush it in the pestle and mortar because the crystals are large and I need to end up with a smooth spice mix) Take the pan off the heat until you have the spice mix ready.

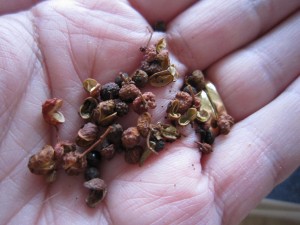
See those? They are Szechuan pink peppercorns. Not real pepper of course but they add that hint of authenticity.  They need to be pounded along with the same amount of black peppercorns.

I didn’t have any star anise but I did have some Chinese 5 Spice Powder so a good dessertspoon or so of that was added to the mix

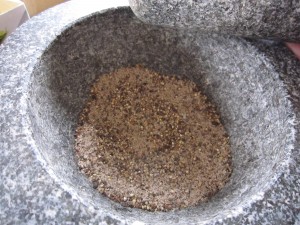
You end up with a fine mix.

Add that to the salt in the frying pan and toast again – beware of the aromatic fumes though, they can be a bit strong. Just a minute or so is all it needs, so stir it round so it toast evenly and leave it to cool. Once it is cool, put it in your jar and wipe the pan out.

And that’s it.

On to the next step – the meat.

Tonight I was going to use pork tenderloin, which is, amazingly, a very inexpensive cut of meat. Even more inexpensive if you, like I did, manage to call in at the supermarket on the way home and find it reduced for a quick sale.

Now the spice mix is cool, put some on a plate and roll it round, pressing down so it sticks to the outside of the meat.

Put your pan back on the heat with a scattering of oil in it (maybe a teaspoon or so… we ARE dieting you know!) and once it is hot pop in the tenderloin.

Roll the tenderloin  so the spice mix browns and crusts beautifully.

Once the crust looks good, turn the heat down and let the meat cook through for ten minutes or so.

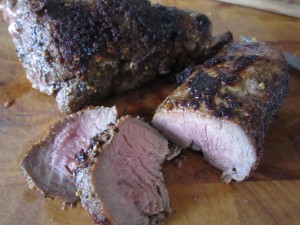
Let it rest for five minutes then slice it into medallions….. Delicious.

Healthy and tasty, oh so very tasty. Quick and easy and low in calories. pretty much of a perfect supper, eh?

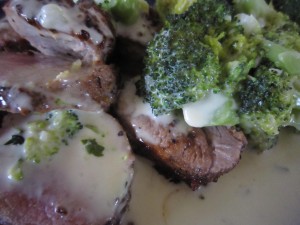
You can serve it with anything you like – let it cool and serve it with salad leaves or add some vegetables. If you aren’t dieting serve it with rice… or potatoes, maybe. Well, we were dieting and potaoes were off limits. I wanted to eat it hot so I made broccoli to go with it.  And yes, the Bear was eating  with me, so I made broccoli a Bear would eat.

And when served with broccoli it becomes heaven on a plate!

Tomato Rice Soup

I remember when I was younger, before I learnt how to cook, I used to think it was perfectly sensible to open a can of soup. I really had no idea how easy it was to make soup, nor how much tastier it could be.

I grew up in the decades that considered the launching on the market of a frozen, crispy pancake for frying at home to be a pretty exciting development. When I was  young, most families didn’t think it strange  to have cans of soup and there was nothing finer in our young eyes than having cream of tomato soup.

On Sunday nights my brother and sister and I would get things ready for school the next day and, as a treat, we could have supper while we watched television… now that WAS a treat. For every other meal, we ate in the dining room, at the table and television was banned.

Because we had had the traditional Sunday lunch – either at home, or at our grandparents, a two hour drive away across the North Yorkshire Moors – we would have a light, later supper than normal.

Imagine how exciting it was for the three of us to sit down to watch “Planet of the Apes” while Ma heated the tomato soup and spread Ritz Crackers with Philadelphia Cream Cheese and topped them with thin slices of hard boiled egg……. remember those egg slicers?  Sophisticated, huh?

Of course in those days, I was a skinny kid, with knock knees…….. anything was sophisticated.

But how we loved those Sunday night suppers.

I was thinking about the tomato soup and how deliciously rich and tasty it was and how sometimes, as a variation,  we would have tomato rice soup and I thought that maybe I could try making my own version. If I made it myself I would know exactly what went into it and I’d be able to keep an eye on it for the calorie count… with a bit of imaginative taste tweaking I could keep it low calorie….

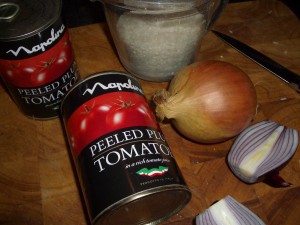
Tomato soup needs tomatoes

A couple of onions, 200g of  long grain rice, some stock… oh and remember the chilli oil I made? Those chillies have really powered up the oil they are loitering in and have softened beautifully – I shall have a chilli or two from there……… and to soften it all and make it rich and creamy?

Some coconut milk powder – now this is a brilliant store cupboard ingredient. A spoonful added to spicy food gives a lovely smooth richness… and if chillies are involved, it calms down the heat and adds another dimension to the taste.

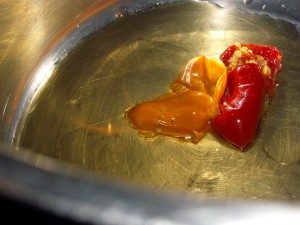
Get a large pan – this will make maybe 4 litres – and heat a spoonful of oil. I used the chilli oil and I put in two of the soft chillies.

Putting the chillies in at the start means they don’t frighten you with ferocious burning tastes.. the cooking softens their fire. If you are giving this to children, miss out the chillies and just use ordinary oil.

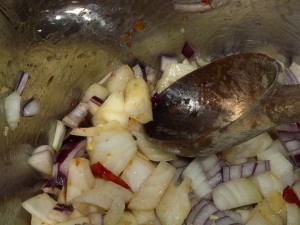
Peel and roughly chop the onion and add it to the oil to soften – don’t have the heat too high, you want the onions to soften gently until they are translucent, not sizzle till they are golden and crispy.

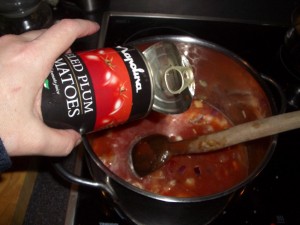
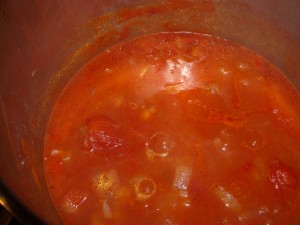
Put in two cans of Italian plum tomatoes – I really like the Napolina ones (and not just because they were on offer in the supermarket)

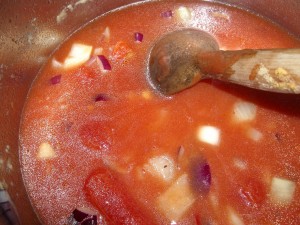
Rinse out the cans with water and add two litres of water with a couple of stock cubes, stir it round and let it bubble gently.

See how it gets thicker and a richer red?

You’ll know if it is ready for blitzing smooth because those onions that you chopped will be tender if you take a bit out to check.

I have a stick blender and it truly is one of the greatest kitchen gadgets you can get. If you haven’t got one, make sure it is next on your list of things to get – it really does make life so simple. Use whatever you have to whizz that soup base into a smooth and lucious pan of scarlet goodness.

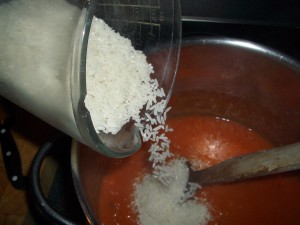
Then, pour in 200g of long grain rice and stir round.

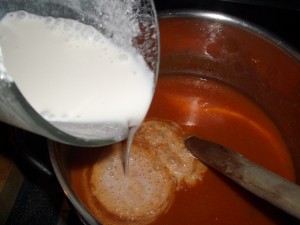
And remember the coconut milk powder? Mix a tablespoon or so in a jug with some cold water, little by little, mixing it smooth so you have maybe a quarter of a pint, and then pour it in.

Stir everything round and let it come back to a gentle boil.

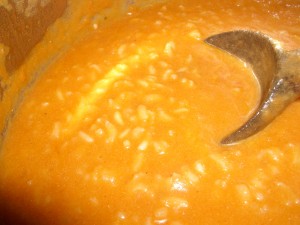
The rice will cook in the tomato soup and thicken it brilliantly.

You might want to add some more water if you think it is too thick. I put in another pint jug full.

(Yes, I know I have been talking about litres but it was the old glass Pyrex jug that was nearest. And we all do it… I don’t think we Brits have quite grasped metric. Ingredients have to be sold in metric measurements but babies come in pounds and ounces. Make of that what you will)

Check the taste and see if it is what you want. You might want to add a pinch of salt or maybe a pinch of stock granules.

Now for the good news. I sat with a pen and some paper and tried to add up all the calories – 700 or so for the rice. 145 for the coconut milk, 190 for two cans of tomatoes, 120 for the oil… a 120 or so for the onions..and then I looked at the huge pan, full of soup…. there was well over 5 litres there.  Less than 300 calories a litre!

How simple was that? Low in fat, high in taste. Quick to do.

Enough for us to take flasks to work for the next couple of days. And have some to share with friends.

If you were to have a really big mug full of it you would still be under 300 calories…

So, there I was at work… with a hot mug full of tomato rice soup… thick and tasty, rich and tomatoey. Still on my diet.

And still, just as I was all those years ago, staring at a screen in front of me. Except this time I wasn’t watching “Planet of the Apes”

😉

Pomegranate and Saffron Lamb

 I was looking in the freezer for something to cook while I was at work and found some lamb neck and decided that would be perfect for the slow cooker but the gloom of December is getting to me and I need something with a bit of zing to it… some brightness to cut through the dark…

brussels, pomegranate saffron lamb 040

Lamb neck is inexpensive and, if cooked correctly, incredibly tasty. Those four fat slices cost just £1.70.

brussels, pomegranate saffron lamb 045

There’s a good amount of meat on them, with fat running through it that, if cooked slowly and cossetted with spices, will turn the meat into something that is so tender and melting and so mouthwateringly lovely you can’t help but  smile.

I wanted spices with it, spices and a touch of sharpness and thought that a kind of Middle Eastern theme would work. In my cupboard I had a bottle of Pomegranate Molasses which would be perfect. The flavour it adds is a rich and tangy one – a mix of sour and sweet and it goes perfectly with all sorts of meat, particularly the fattier kinds as it cuts right through, really letting the meat flavour expand , if you know what I mean.

brussels, pomegranate saffron lamb 051

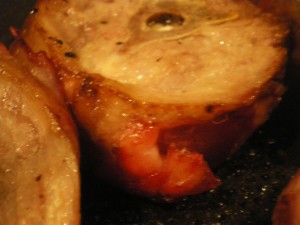
As with any kind of slow cooking, the best thing to do is to brown the meat – not only does it add a deeper flavour but it makes it look better too.

brussels, pomegranate saffron lamb 053

Then, maybe other Middle eastern flavours…. garlic and ginger – crush some, or squeeze some from a tube and fry it off in the pan after you have taken the meat out.

brussels, pomegranate saffron lamb 059

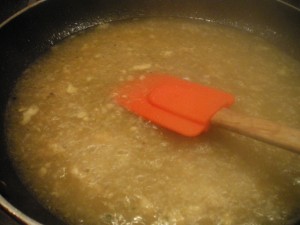
Add some stock and stir it round to loosen up the caramelised meat bits and the lovely garlic and ginger.

brussels, pomegranate saffron lamb 060

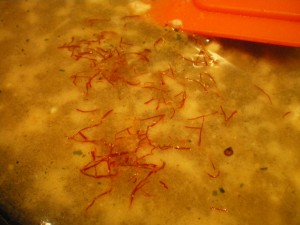
A good pinch of saffron will add a deeper note and the most wonderful colour.

brussels, pomegranate saffron lamb 069

And crush some cardomom seeds – break them open first and then crush the little seeds inside the papery cases…. they are the bits with the flavour… sprinkle them over the bits of lamb in the slow cooker..

brussels, pomegranate saffron lamb 065

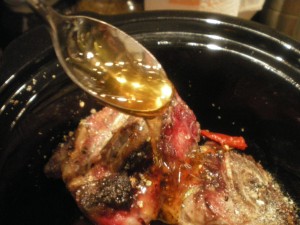
Add a couple of teaspoons of honey

brussels, pomegranate saffron lamb 078

And a couple of tablespoons of pomegranate molasses, then pour over the saffrony stock.

You know the chilli oil I made? Well those chillies are soft now after their long bath but just as hot… one of them dropped in there will add another layer of flavour… a spike of heat

pmegranate and saffron lamb 003

And that’s it.

Well that’s it till the next day, anyway. The slow cooker can go on before setting off for work in the morning and then,  on getting in from work?

Then you will find your home filled with the most beautiful smell and know that you are going to eat the perfect supper for a dark and gloomy night…. oh it was gorgeous.

There was this deep, rich smell blended with a  fruity sharpness and the underlying tang that comes from saffron. Quite mouthwatering

pmegranate and saffron lamb 030

The meat was falling away from the bone… all I had to do was make some couscous and then spoon the tender, aromatic lamb and gravy over it….

pmegranate and saffron lamb 035

And then tuck in…..

Chicken Jalfrezi

We have decided on a new regime. We seem, somehow, to have become rounder.

Somewhat stout, actually. We are going to have to go on a diet. Only thing is, we aren’t very good at diets … well we aren’t very good at chewing on celery and raw carrots.

What we thought we could do is eat as if we weren’t on diets but make sure what we do eat is low calorie.

I started to go through magazines looking for recipes that came in at under 400 calories a serving. My thinking behind this was that if we ate sensibly at breakfast and lunch then we could look forward to something nice at supper.

But supper had to be low calorie….. I wanted proper food not some kind of packet.

You can buy packets of ready meals that have the calories counted for you but that wasn’t the way I was going to go.  If I could make sure that each serving was low calorie but still home made and tasty.. well that was the answer.

If it was only 400 calories a serving then that would mean there was still room to bring in a side dish… we could diet and feel as if we were still enjoying ourselves! All I had to do was find some recipes

One of the first recipes I found was Chicken Jalfrezi in Olive magazine, October 2008.

And it was only 250 calories per serving!

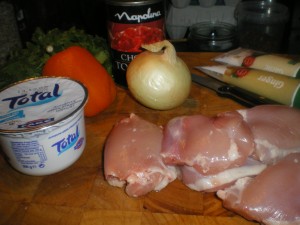
That had to be a winner. So, what did we need?

Chicken Jalfrezi 001

A large onion, sliced,

3 cloves of garlic

2-3 green chillies, sliced

Ginger grated

Chicken thighs – 6 cut into chunks

Tomatoes, 5, roughly chopped

Green pepper, chopped into pieces

Coriander – small bunch with the leaves picked off

Yoghurt – small pot

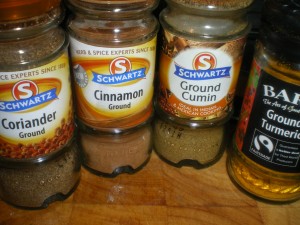
Spice mix

  • 1 tsp turmeric
  • 1½ tsp ground cumin
  • 1 tsp ground coriander
  • 1 cinnamon stick
  • 5 cloves , ground
  • Well, you can see in the picture that it is, first and foremost, rather dark. That’s because I was late in from work and despite all the lights being on, it still looks dark.

    You can also see a tin of tomatoes – I forgot to get fresh. Just as I forgot to get fresh garlic and ginger, hence the tubes of puree. Oh, and the pepper is not green but orange.

    Still… everything else is OK……

    Chicken Jalfrezi 002

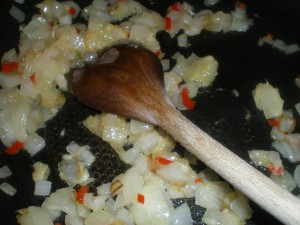
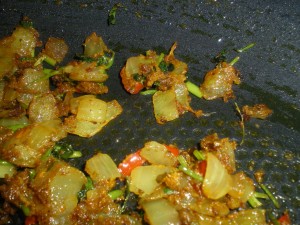
    First thing.. heat 2 tablespoons of  oil in a pan and add the onion and a good pinch of salt and fry until it is soft and golden, then add the chillies, garlic and ginger and cook for another couple of minutes

    Chicken Jalfrezi 003

    Make the spice mix

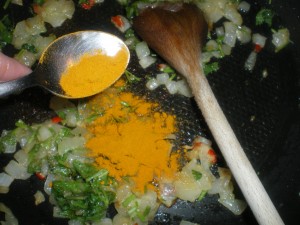
    Chicken Jalfrezi 004

    And add it.. I had also put in the stalks of the coriander (they can’t contain many calories, can they? And they do taste nice)

    Chicken Jalfrezi 006

    Cook it all for a couple of minutes to round out the flavour..

    Chicken Jalfrezi 011

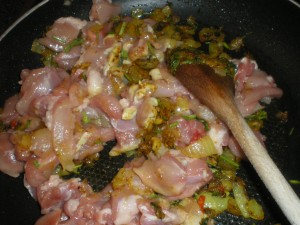
    Add the chicken pieces

    Chicken Jalfrezi 012

    And stir round

    Chicken Jalfrezi 013

    Then add a splash of water, the tomatoes and the pepper

    Chicken Jalfrezi 014

    Chicken Jalfrezi 015

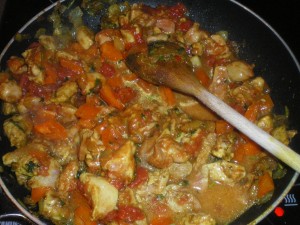
    You can now cover the pan and let it cook gently for 30 minutes or so.

    That gives you enough time to go and settle yourself for a while… it had been a long day for me and I was tired. Even so, that wasn’t a lot of work and was surprisingly quick to do….

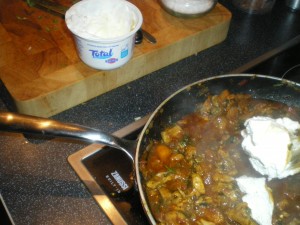
    The sauce will have started to thicken up by now.. if not then take the lid off for the last ten minutes. If you are using the yoghurt, add it now and stir it in for a creamier sauce. I still had plenty left from the Total Great Greek Yoghurt Experiment, so this was an ideal dish to try it in.

    Chicken Jalfrezi 017

    Chicken Jalfrezi 019

    and add the coriander leaves

    Chicken Jalfrezi 021

    Chicken Jalfrezi 022

    I made steamed basmati rice to go with it….and served it up.

    Even with the rice that had to be less than 500 calories.

    A bowl of ice cream is 500 calories.. and that’s a small bowl. I know what I prefer.

    The Chicken Jalfrezi  was quick and easy to prepare (there was a half hour break in the middle while it cooked) and it was ready and served within the hour. It felt like we were having a real meal….. it certainly didn’t feel like any kind of diet I had been on before. The yoghurt made the sauce taste rich and creamy so there was a definite level of luxury about it all.

    Chicken Jalfrezi 023

    There you go. A way forward out of the diet doldrums. I made that after a long day and it certainly wasn’t difficult but it certainly was delicious.

    400 and Under is the way forward!

    Chilli Oil

    I know we only have a very small balcony and it is incredibly windy up at the top of our building,but I have managed to grow things up here.

    This year the chillies have been fantastic and even though it is now getting towards the end of November there were still chillies ripening

    Yoghurt, cheese and chilli oil 042

    Yoghurt, cheese and chilli oil 043

    It really was time I did something with them before they spoiled on the plant.

    I have a whole load of them ready to be stuffed with cheese and wrapped with bacon but even I, with my chilli addiction, can’t eat that many.

    One of the other things I do is make chilli oil, using vegetable oil, so that I can cook with it. It just gives a little nip of something to whatever I am frying. And, oh, the difference it makes to a fried egg!

    Of course, it also means that you have chillies available to cook with – softened, admittedly, due to their immersion in oil, but at least you have some.


    Yoghurt, cheese and chilli oil 045

    So, harvest the chillies…..

    Yoghurt, cheese and chilli oil 048

    Aren’t they beautiful? On a cold and wet November day they really are a bright spot.

    Yoghurt, cheese and chilli oil 049

    Put them in a bowl and pour boiling water over them and squoosh them about for a few seconds then drain them

    It helps to slash them so they will sink in the oil…. just remember if you do this that you must be careful with your fingers afterwards.

    I know everyone always says this… and I know that everyone usually forgets and then gets a shock when they stick their fingers somewhere. Well, I have said it so don’t complain when you rub your eyes.

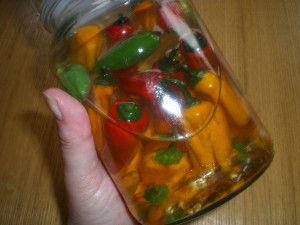
    Put your chillies in a jar and pour oil over them

    Yoghurt, cheese and chilli oil 050

    And that’s it.

    You’ll be surprised how quickly the oil takes on the essence of chilli and very pleased with how many things you can add use the oil in…..a spoonful when you are making mayonnaise, for example, really sparks it up.  And it is, you’ll probably agree, a particularly pretty jar to have in your kitchen.

    What more can you ask for – a multitasking end product? Useful AND pretty.

    Kedgeree

    I do so love a good breakfast and when breakfast almost turns into lunch that’s even better. That means you are up later so you missed breakfast and  you are hungry but it’s too early for lunch. That’s why they call it brunch.
    Weekends and lazy days. like today (our anniversary)  are perfect times for relaxing, celebrating and enjoying cooking and eating  food and one of the perfect things to make on days like this? Kedgeree 
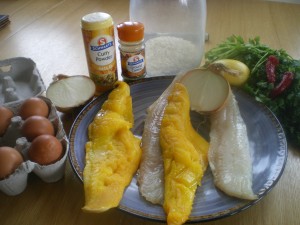
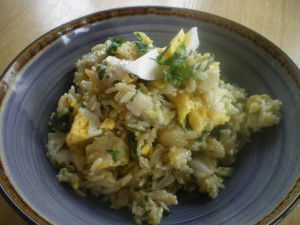
    So get some basmati rice, an onion, some curry powder (yes, I know, but this is one recipe that just needs it…no need for grinding lots of spices), maybe some ground cumin (but no need to worry if you don’t have it) some eggs, some smoked haddock, coriander leaves and a red chilli and some cream. I have a mix of natural undyed smoked haddock and some smoked cod there. Not for any reason other than  there was only a small bit of smoked haddock available when I went shopping, so I had to get some extra fish…. You have to do that sometimes. Just be flexible and don’t worry.
     Pumpkin soup and kedgeree 008

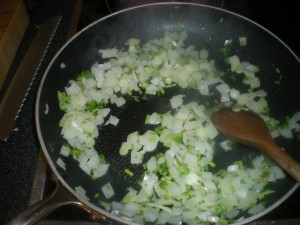
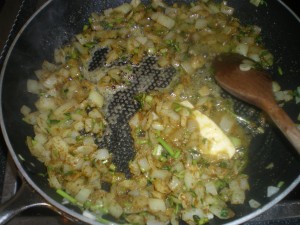
    First of all, in a large frying pan, gently cook some chopped onion in some oil and butter. This softens the onion nicely . If you like coriander as much as I do then chop in some of the coriander stems as well.

    Pumpkin soup and kedgeree 012

    While that is gently cooking, put your smoked fish in another pan with some water and poach at a soft simmer. I was going to say a gentle simmer but I realised I had said “gently” far too many times already. There again, I suppose it is a theme of the day…. this is the sort of breakfast that goes with a relaxed mood.

    Pumpkin soup and kedgeree 011

    Put 4 eggs in a pan and start boiling them for 4 minutes. As soon as the time is up, put the pan under a cold tap and run the water to cool them quickly. This will stop them cooking, keeping them just slightly soft and making sure there’s no horrible black rings round them.

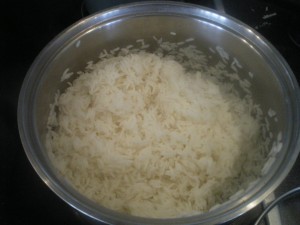
    Measure your basmati rice – for four people, I use 1 mug of rice, and add a mug and a little bit of water. Bring this to the boil then turn the heat down. Basmati rice cooks quickly so keep your eye on it. If you have measured the water then it should all have absorbed

    Pumpkin soup and kedgeree 009

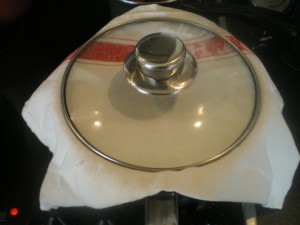
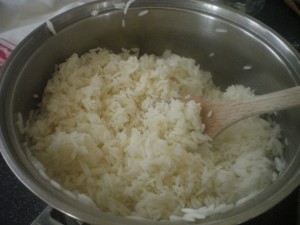
    Thing is, it won’t be perfectly fluffy rice just yet. What you need to do is to get a clean tea towel and put that over the pan (taking it off the heat, of course) and then put the lid on top…. this absorbs the last bit of steam

    Pumpkin soup and kedgeree 010

    While that is on one side, the onion will have softened so stir in a teaspoon of curry powder, a pinch or so of cumin (if you are going to add it)  and a knob of butter. This deepens the flavour and makes it taste rich and delicious.

    Pumpkin soup and kedgeree 013

    By now the fish will have poached so take it out carefully with a fish slice and let it cool enough so you can remove the skin and flake it into bits.

    Pumpkin soup and kedgeree 018

    And, when you peek under the tea towel,  the rice will be perfectly fluffy

    Pumpkin soup and kedgeree 015

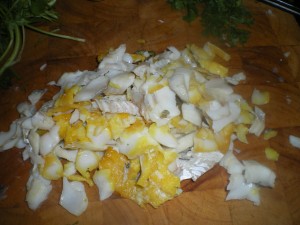
    Your eggs will be cooled so peel and quarter them.

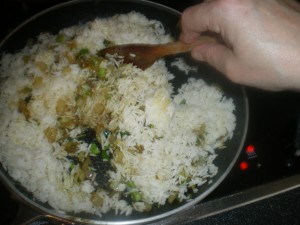
    Now? Now you start to put everything together…… First, the rice gets stirred into the oniony mixture in the frying pan

    Pumpkin soup and kedgeree 016

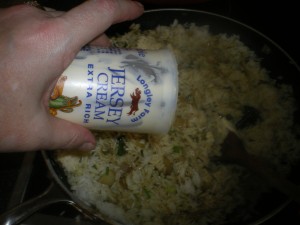
    Then, if you have cream, stir in a couple of tablespoons of cream… or failing that, some mayonnaise. Not too much, just enough to smooth out the flavours of the curry powder and onion and rice

    Pumpkin soup and kedgeree 017

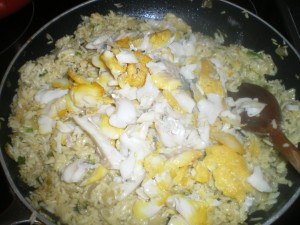
    Then, carefully (you don’t want to break the fish into shreds and you have, I know,  flaked it so carefully) fold the fish into the rice mix

    Pumpkin soup and kedgeree 019

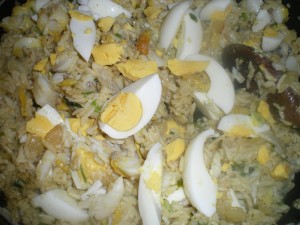
    Then… add the eggs

    Pumpkin soup and kedgeree 020

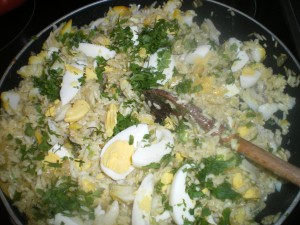
    Chop the coriander leaves and scatter over the top

    Pumpkin soup and kedgeree 022

    Smell that……. maybe a quick squeeze of lemon juice to sharpen things up and then…. into a bowl

    Pumpkin soup and kedgeree 023

    Doesn’t that look delicious? I always chop a bit of chilli to scatter over the top – very finely chopped chilli, not too much, just enough to leave tiny red specks of heat in the occasional mouthful

    Pumpkin soup and kedgeree 028

    If you haven’t made it before… try it. Honest, it’s good.

    A perfect brunch on a perfect day.

    Laura

    This section is for Laura and this is what she says about her cooking journey..

    “right,  my blog thing.

    where to start???? aged 19 I flew the coop and moved in with my husband to be (he was a wanker). Anyway, I had to cook, and loved feeding him. I learned largely from my grandmother and always had something up my sleeve.

    And then I woke up and got rid of him (yay).

    I don’t really remember what I used to cook for Jonathan because in the end it all became about Isobel. When she started solids I would cook all sorts for her. She had to take her own lunch to nursery and I was always making freezable home cooked meals for her, Annabel Karmel I love you!!!!!

    As time wore on I worked more and more, and Jonathan worked more than that and we were all of a sudden having Chinese or frozen stuff. Then Wendy put a picture on Facebook of bread she’d made!! Well I had to have a go, or two…………

    and the rest is history!”

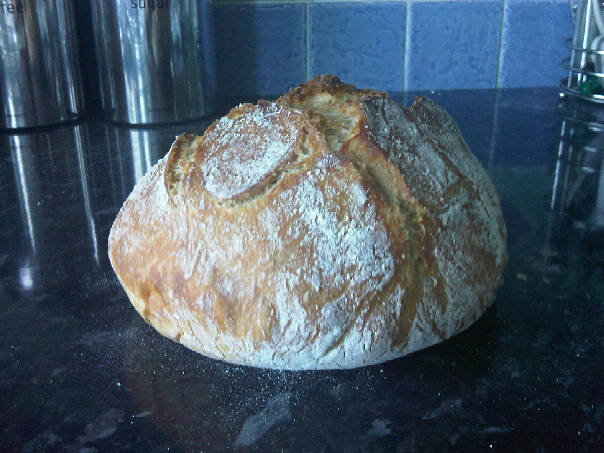
    Laura was  the first T.O.B Cook. She made bread……the No Knead Bread

    Laura G Breadbmp

    And it turned out brilliantly

    Laura G bread2bmp

    She has encouraged the others to try it… so well done Laura!

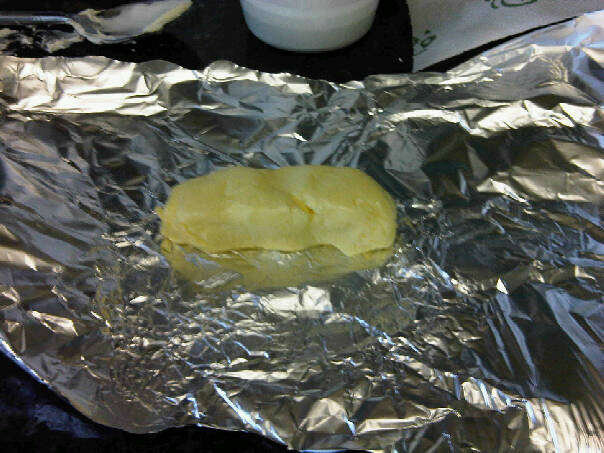
    Then she made the butter to go with it..

    Laura G butterbmp

    And followed that with chillies… those delicious bacon wrapped, cream cheese stuffed chillies…

    Laura G chillies

    Brilliant, Laura…

    Laura G slow roast pork

    Slow roast pork and orange glazed carrots with roast potatoes! Mmmmmmm……

    January 2010

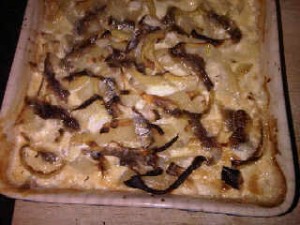
    I made Jansson’s Temptation and Laura wanted to do it too… the problem was she lived too far from Ikea to get the sprats, anchovy style. Which are an absolute essential…

    I couldn’t let that hold her back so I posted her a tin ( the lady in the Post Office did look at me oddly when I said I was posting a friend some sprats…. Swedish sprats, anchovy style… 🙂  )

    See how technical we are? She prepares food, takes a picture with her BlackBerry and sends it to mine….

    We discuss how it is going and she sends a picture of the finished dish!

    (She liked it… as did her in-laws!)

    Debs

    This page is for Debs… I will add her pictures as she cooks and she can add her comments. Of course the ideal situation would be for her to be able to do it all by herself but as this is done by me and I haven’t the faintest idea how to change things (at the moment, anyway) this is how it will be done.

    Long live amateurism!

    Debbie’s first attempt was cooking the No Knead Bread

    Debbie bread_s

    See that style? Netbook on the counter… glass of wine at hand (condensation beading on the glass…. she’s chilled that properly)  and bread started. Full marks, that woman!

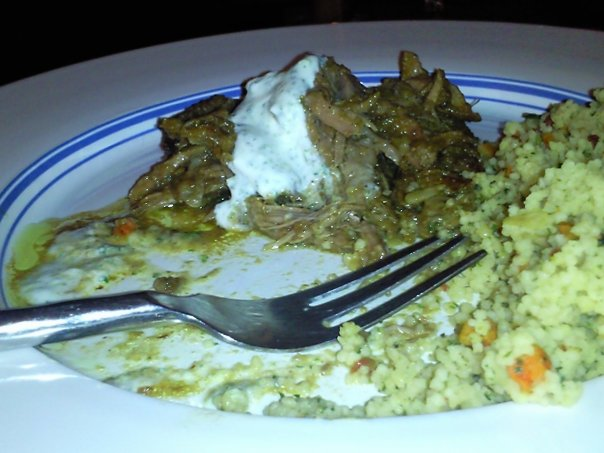
    Next she did the slow roasted spiced lamb…. despite not liking couscous

    Debbielamb

    Followed by the chillies…

    Debbie chilliesbmp

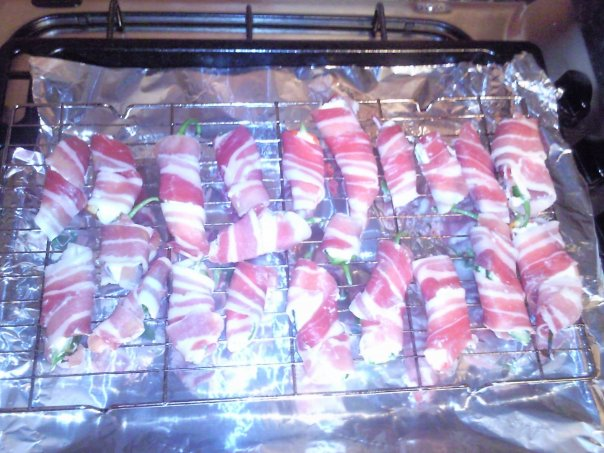
    Debs freely admitted she didn’t care for chillies but, you’ll notice, there isn’t a picture of the cooked chillies. That is because as soon as they were cooked they ate them. She has now made them several times and admits to thinking about them, longingly, mid afternoon and having to wait until the evening to make them.

    Debs is now a chilli addict.

    Her latest cooking escapade was porridge.

    Debbie's porridgejpg

    I’ll leave her to comment on how everything was received but in recognition of her excellent efforts to try things out… and because I know she doesn’t have one, The Omnivorous Bear is proud to award Debs with her very own spurtle. The first prize ever awarded by the site….An authentic Scottish porridge stirring stick!

    Every home should have one.

    Mayo, fish and crisps, lamb shanks and spurtle 028

    The spurtle is now in the post to her but as we currently have a postal workers strike there’s no guarantee it will get there before next week.

    Keep on cooking, Debs!

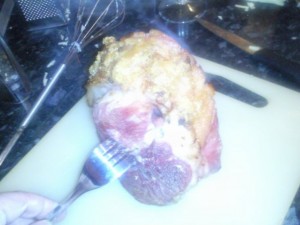
    Debs then made the ginger ham… DEbs ham

    this is what she said

    “I know this is a rubbish photo but this is the end result. After removing the rind, I scored the remaining layer of fat and spread a thin layer of mustard, grated fresh ginger and sugar… it went into the oven for about 15 mins and that was that.

    The gingerness went to well with the ham, it was absolutely fabulous and even the 6 yr olds loved it and that’s saying something!!” … and the photo was a bit indistinct.

    1Nov – Debs made the pumpkin soup

    Debs pumpkin soup

    Tomorrow she will do the pumpkin seeds.