Parmesan custards

Not only do I love cooking and eating, I love reading recipes and articles about cooking and eating. I’m a great snipper and copier out of recipes that I think will be worth doing, or that interest me. I’m always on the lookout for recipes that can be made in advance – we lived in an apartment in Nottingham where the upper floor was an open space for the kitchen, dining and living area and here, in Malaysia, we have much the same layout. That’s lovely when everything is tidy and ready to go but if you have guests sitting around with drinks it’s not so great for them to see you juggling pans and plates, cursing mildly and getting hot and bothered.

I like to have things ready to bring out – for one thing, it gives me time to brush my hair and wipe flour, sweat and splashes off my shiny, red face.

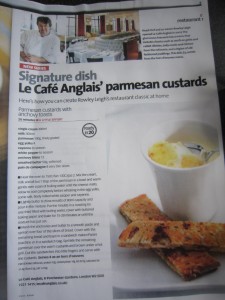
In my folder of Things I Really Must Make, I found this article, from Olive Magazine, dated June 2008,  but searching the site now, there’s no recipe listed. You’ll just have to follow what I write out.

Rowley Leigh, of Le Cafe Anglais has, amongst the many wonderful dishes he makes, a classic starter, Parmesan Custards – creamy, cheesey, savoury set custard served with thin fingers of toast, spread with a thin smear of anchovies, perfect as a simple, yet stunning, make ahead starter.

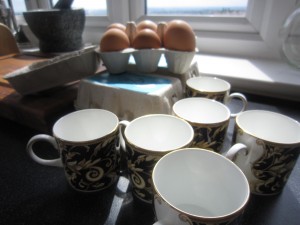
I have a set of espresso cups that are just about the right size and as they are part of my Wedgwood Cornucopia dinner service, they were going to look perfect at the table. We  were having good friends round to dinner and I wanted to make sure everything was as lovely as possible. There’s no point in keeping things ‘for best ‘- my motto is, if you’ve got it, use it! If you haven’t got espresso cups, little ramekins or china moulds (they need to hold around 80 ml) will do just as well.

I needed 4 egg yolks; 300ml of single cream; 300ml of milk; 12 anchovy fillets; 100g of finely grated parmesan for the custard and another 150g for some parmesan crisps I was going to make as an extra; 50g of softened butter; 8 slices of good bread ( I used thinly sliced No Knead Bread) plus cayenne and white pepper to season everything with. The recipe said this would make 8 small pots but the six espresso cups took slightly more than the recommended 80 ml so everything evened out. Besides, there were going to be six of us eating.

This really is quick and easy – so easy, that the first thing you do is get the oven turned on to 150°C/300ºF/gas mark 2.

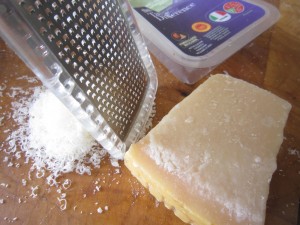
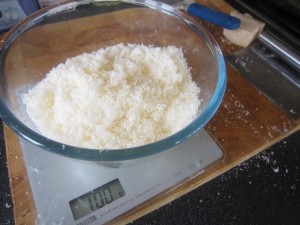
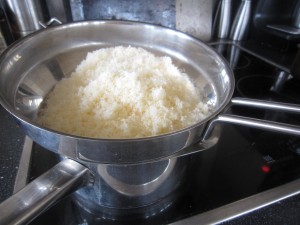
Then, grate the parmesan finely so it makes a lovely, light and airy mound

Remember that this is for the custard…. I need the rest of the parmesan for crisps, later.

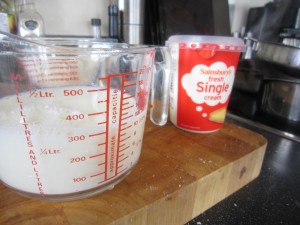
Mix 300ml each of the milk and the cream together

….then add in all but a tablespoon of the parmesan, if you are using ramekins.  You save this because you can sprinkle this last bit on top and then grill your pots to make a crisp topping.  I was going to make parmesan crisps instead because I didn’t want to put my lovely Wedgwood under the grill.

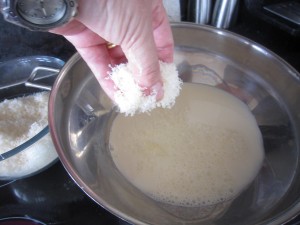
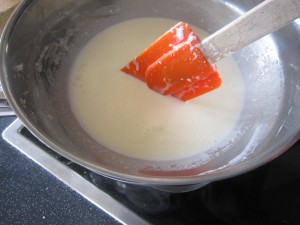
…and heat gently in a bowl or a bain marie, over a pan of boiling water until the parmesan melts.

Allow this to cool completely

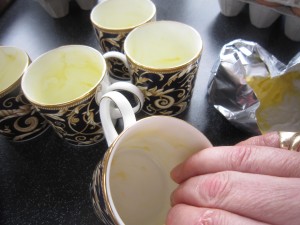
While the mix is cooling, butter your cups or little bowls.

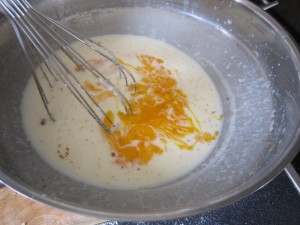
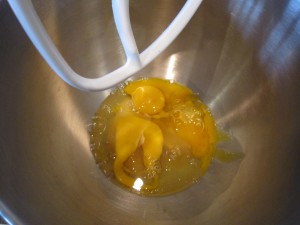
Once your mix is cool,  whisk in the four egg yolks, a pinch of cayenne, the same of finely ground white pepper and maybe a pinch of salt. You must let it coolproperly because otherwise you will end up with cheesey scrambled egg.

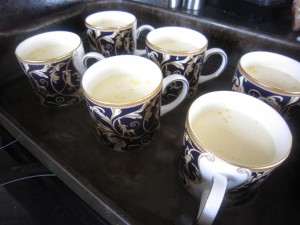
Put the cups in a roasting tin, then fill them with equal amounts of the custard mix, then put the tin on the oven racck before you add boiling water. You need enough to come maybe one third of the way up the cups. Doing it this way prevents the mix slopping about and you pouring boiling water over your feet. Always a plus point in my book.

Cover the  top of this with some buttered baking parchment or a silicone sheet and then let everything bake for about 15-20 minutes, when they will be just set.

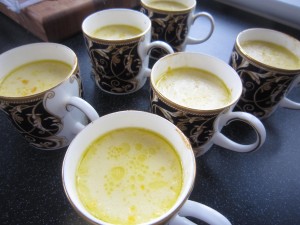
They emerge, looking gorgeous. I put them to one side while I made the toasts and the crisps……

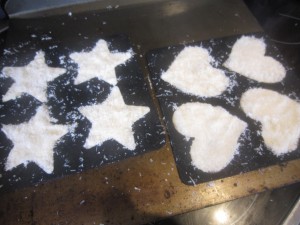
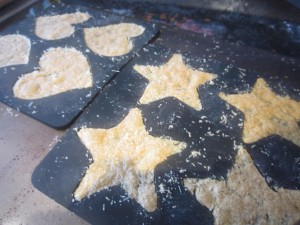
My sister gave me some Curtis Stone silicone wafer baker molds as a Christmas present and I really wanted to try them out  –  you simply pack them with the rest of the finely grated parmesan and put in a low oven, on a baking tray

.. until they turn a soft, golden brown. Leave them to cool and you can get started on the anchovy toasts.

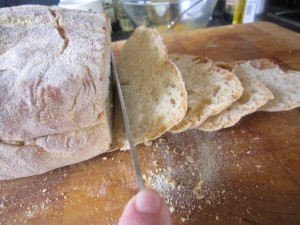
Thinly slice some good bread – each person will need a slice – and cut the crusts off to make lovely, neat, evenly sized rectangles

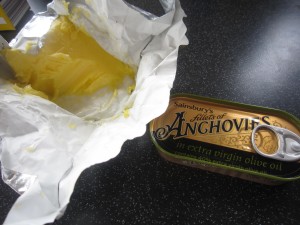
Then take your softened butter and the anchovies (drain them – you don’t want the oil)

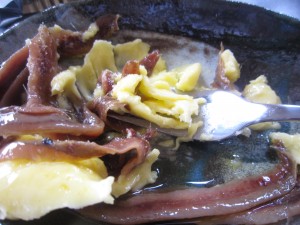
….and mash them into a smooth paste

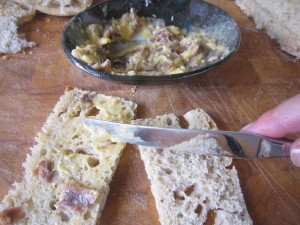
Lightly spread half of the slices of  bread – and I do mean lightly. You don’t want to overpower everything with too much anchovy.


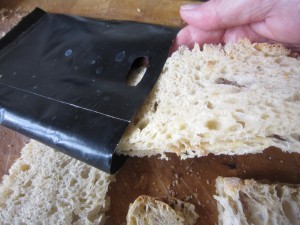
Lay a slice of unbuttered bread over the spread ones to make dainty sandwiches. The easiest way to toast them is in a toasted sandwich bag and then pop them in the toaster for a short time. You don’t want to make them too toasty and crisp – you have to slice them into fingers after that…


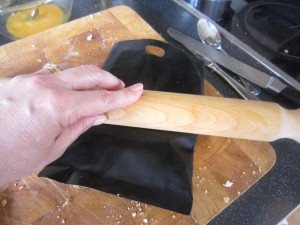
A good way to get very thin toasts is to roll them, still in the bag, with a rolling pin to get them nice and smooth, then toast them. When they are done they can easily be cut into fine fingers.


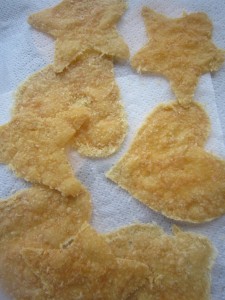
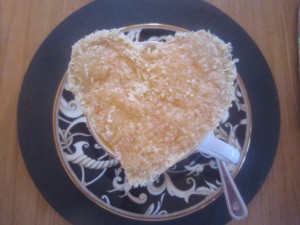
By now, the parmesan crisps are cool and can be gently lifted from the molds. How fantastic is that?

And then… well, then you are nearly ready.


Wipe down the kitchen and set the table….


When you are ready to serve, if you are using ramekins or china molds, sprinkle the last of the parmesan on top of the custards and brown gently under a hot grill. I had my parmesan crisps to place on top, instead.

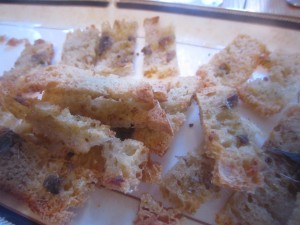
The fingers of anchovy toast were piled onto a plate

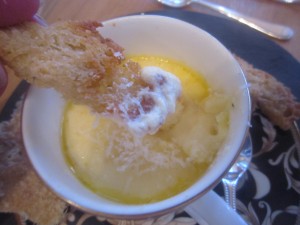
The starter was served…..

The crispness of the toast fingers contrasted deliciously with the soft, savoury custard.

The parmesan wafers added a gorgeous crisp bite.

Successful? Yes.

Tasty? Very much so.

Easy to do? Yes, so much so that this, with its comforting creaminess and rich, savoury flavour, would be a great dish to do when you needed some lovely comfort food.

In fact, the more I think about this, the more I want to make it again. It will remind me of a wonderfully happy night in Nottingham and I can introduce it to my new friends here in Malaysia.  What a good reason to invite people round to supper!


Remembrance of Things Past… madeleines for an anniversary tea.

One year ago today I started this blog. I can’t believe how many things I have cooked since then. One good thing about writing about what I cook is that I have been forced to cook new things. I know how easy it is to rely on the same old favourites all the time. I have been inspired by reading all the blogs my new friends have written or have pointed me to. I have made things I had just previously read about and discovered that things are never as tricky as they might seem. All it ever takes is a bit of time to read things through so you understand the process and love and determination in your heart. My main inspiration is the Bear – I just want to make good things for him… and after all, this blog is named after him.

When I look back at all the posts I’m amazed that anyone read them or that they continue to read them.

I had to celebrate a full year of blogging and all the friends I have made because of it. I’d love to be able to celebrate with you all here.. maybe laughing and talking about the past year over cups of tea and cakes….

And that made me think of Marcel Proust. And madeleines. Proust talks of eating a madeleine with a cup of tea and being transported back to earlier times….

She sent out for one of those short, plump little cakes called petites madeleines, which look as though they had been moulded in the fluted scallop of a pilgrim’s shell. And soon, mechanically, weary after a dull day with the prospect of a depressing morrow, I raised to my lips a spoonful of the tea in which I had soaked a morsel of the cake. No sooner had the warm liquid, and the crumbs with it, touched my palate than a shudder ran through my whole body, and I stopped, intent upon the extraordinary changes that were taking place…at once the vicissitudes of life had become indifferent to me, its disasters innocuous, its brevity illusory…”

— Remembrance of Things Past, Volume 1: Swann’s Way.

What better cakes to bake for a wet Sunday afternoon when I want to look back on the last year?

The rain was lashing against the windows and all over Britain people were staring at the dismal weather and deciding to stay inside. We were going to do the same but I was going to make tea time special to celebrate this special day.

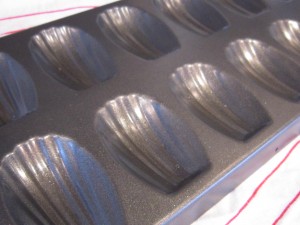
To make madeleines you need a madeleine tin. These have a wonderful scalloped base that are essential for the perfect madeleine. You won’t regret buying one (if you need any encouragement, that is) If you are looking at kinds to buy, avoid the silicone ones – the metal heats better and is  much easier to handle than a wobbly, rubbery tray.

You also need good instructions and the best I have found (after intensive searches) is from David Leibovitz  on “Living the sweet life in Paris”

First of all melt, then let cool, 120g unsalted butter.

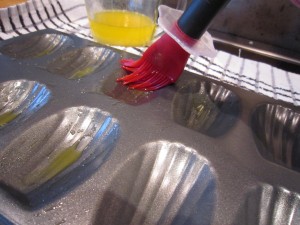
You will use most of it in the cake batter but just lightly brush the madeleine tins with a quick wipe of melted butter.

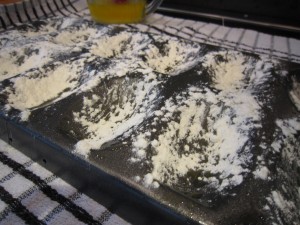
Sprinkle the buttered tins with flour

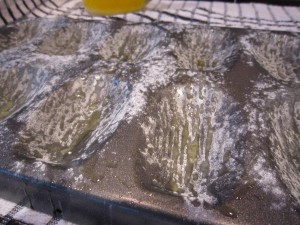
Then upend the tin over the sink and shake off the excess.

Put the tin in the freezer to chill down properly.

In the bowl of a mixer, put a pinch of salt, 130g of golden granulated sugar and three large eggs (that have been allowed to come to room temperature)

Whisk them together for five minutes until the mix becomes pale and thickens slightly.

Weigh out 175g of fine plain flour – I always use ’00’ (it’s available in most supermarkets now, in the baking aisle) and add 1 level teaspoon of baking powder. The baking powder makes them rise well, giving the traditional (and desired) “humpy” effect on the back of the finished madeleines.

Sieve the flour mix into the egg and sugar bow and fold it in carefully.

Zest a lemon and add it to the melted butter. Remember to scrub the lemon if it is a waxed one.

Once the flour is in, add a little of the melted butter and fold it in gently.


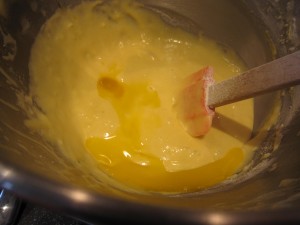
Gradually, add it all slowly and carefully. Don’t overwork it because all that will do is toughen the gluten. Just fold it in as lightly and smoothly as possible.

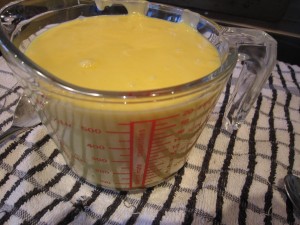
Pour your beautifully smooth and silky batter into a jug and put it in the fridge for at least an hour. You can make the madeleine batter up to 12 hours ahead, if that will suit you?  What a great thing that would be if you had people coming round!
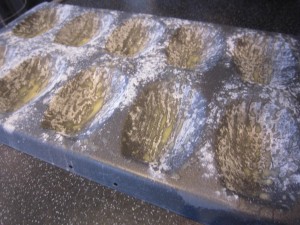
When you are ready, heat the the oven to 220 degrees C/425 degrees F

Get your beautifully frozen tin from the freezer

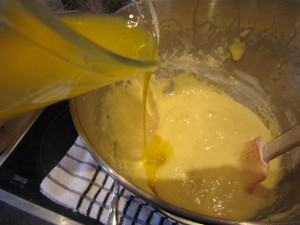
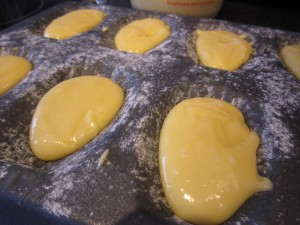
… and spoon in a dollop of the madeleine mix

The madeleines will only take between 8 or 9 minutes, so while they are baking, make some  tea.

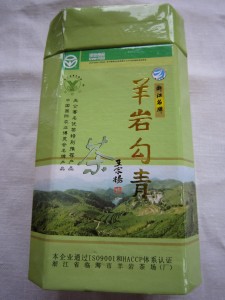
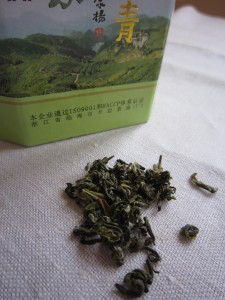
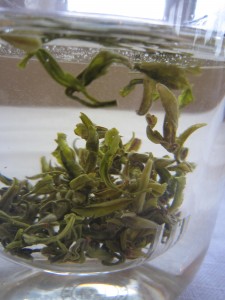
We love beautifully fragrant green tea and I think the pure, delicate taste would be perfect with the light, sweet cakes.

As the tea infuses the leaves unfurl.

At the same time,  the madeleines are ready.

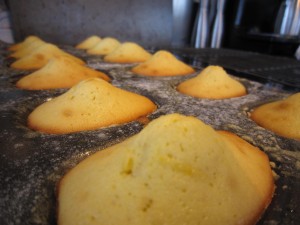
Beautifully humped and golden.

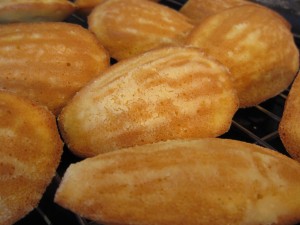
They are tipped out onto a wire rack to cool slightly. The underside has the gorgeous scalloped markings of the perfect madeleine.

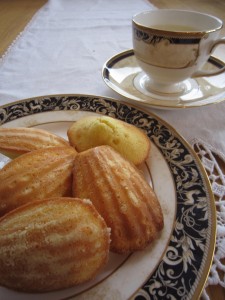
Golden, sweet, warm cakes. Light and delicious.

We ate them with our steaming cups of tea as we looked back over the past year. We used the random post picker button on the main website page (which you can also get to by clicking on the Bear in the top corner) and read about meals and treats and smiled as we did so.

The weather may have been awful but the madeleines were fabulous.

Happy Anniversary to the blog!
Moroccan meatballs with egg

I was on a roll with making food from my 400 and Under collection of recipes. I always look out for recipes that provide less than 400 calories per serving because that means we have some leeway with having a glass of wine, say, while still keeping our calories down and, therefore, still (theoretically at least) sticking to a diet. The thought of Moroccan spiced meatballs with egg in a delicious tomatoey sauce seemed too good to be true – a rich and delicious supper that would only add up to (according to Good Food Magazine, where I found the recipe) a mere 377 calories per serving.

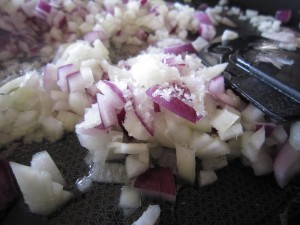
It’s diet food! And it would be delicious. Who wants to live on cottage cheese and celery when you can have a gorgeous steaming bowl of meatballs? Meatballs in a tomato and chickpea spiced sauce with a lovely egg cooked in there…….I had everything I needed so I started by chopping a small sweet white onion and a small red onion. That’s because the recipe said one onion… and these were more midget sized onions.

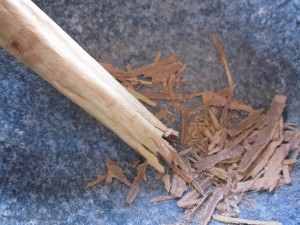
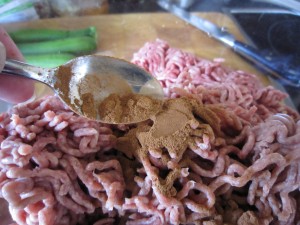
They went into the frying pan to soften while I started on the meatballs themselves. I did have one problem – I had no ground cinnamon and I needed that for a real Moroccan hit. I love the smell of cinnamon (and having made this recipe once, the next time I will add more cinnamon) I did have, however, cinnamon sticks and a large pestle and mortar…

Quite therapeutic to bash and grind the cinnamon into a soft and fragrant powder. But possibly easier to buy it ground…..? I did manage to get some ground cinnamon but there were lots of bits of the stick left. Anyway, I did, in the end, after lots of pounding, finish up with half a teaspoon or thereabouts which I added to 250g of lamb mince.

(Having made the dish I have to say that I would, when I do it again, add more than half a teaspoon of cinnamon because I so love that rich and exotic taste and smell. If you aren’t as keen on Middle eastern flavours then just stick to the recipe)

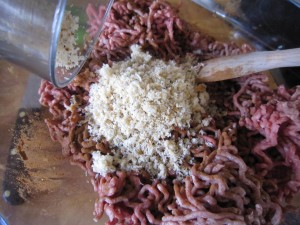
I added 50g of fresh breadcrumbs (I made them by whizzing up a breadbun I had)

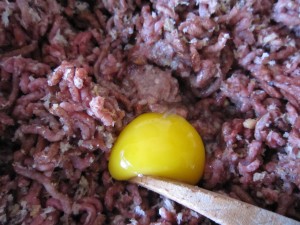
and added an egg, salt and pepper.

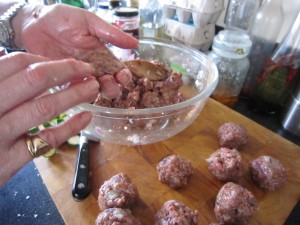
By now the onions were beautifully soft and once they cooled slightly, I stirred them in, mixed them round and started to make meatballs. The Bear was called into action… my poor Canon camera gets so much abuse with my sticky fingers but I really couldn’t subject it to meatball mix.

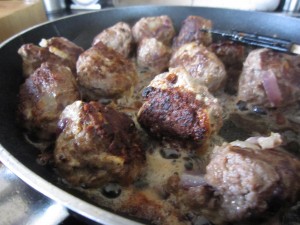
They had to be cooked in the fat left in the frying pan, turning them gently until they were browned

That only takes about 8 minutes – don’t worry, remember they do go back into the pan when you have made the tomato sauce. Take them out and put them to one side.

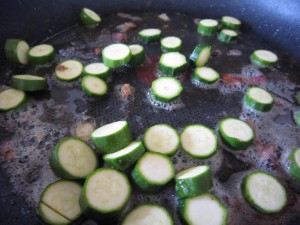
The recipe said use a courgette, thickly sliced but I only had baby courgettes, so I reckoned three of them would be the equivalent of a normal courgette… so they got sliced and gently fried for a minute or so

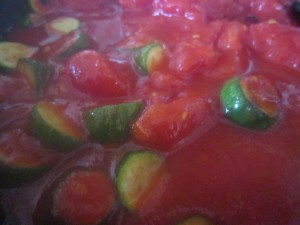
Before adding in a couple of cans of chopped plum tomatoes

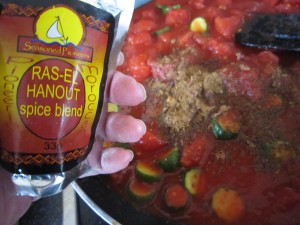
… a teaspoon of Ras-el Hanout – a Moroccan spice blend that you can buy in most large supermarkets nowadays. You can make it yourself if you can’t find it – click on that link and it takes to a description and a recipe.

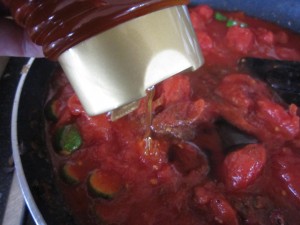
… and two teaspoons of honey

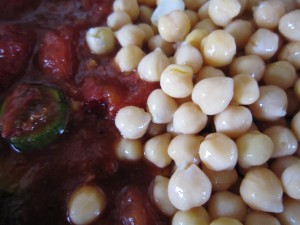
Once the tomatoey mix was soft, a tin of chickpeas was added and the stirred round

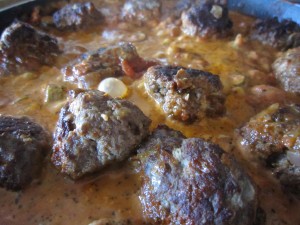
and then the meatballs put in

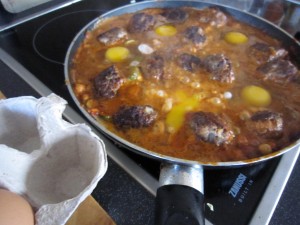
After that, the recipe said to make four hollows in the suace and crack eggs into them… I couldn’t really manage – maybe my sauce wasn’t thick enough? – anyway, I broke the eggs in and pulled the sauce away from underneath so the raw egg dropped down into the sauce.

The pan was covered for 5 minutes or so and left on a low heat to set the eggs……

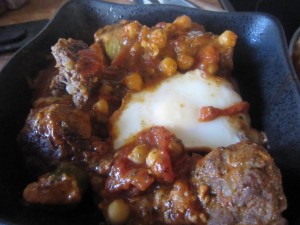
And it was delicious! The cinnamony richness of the meatballs was perfect with the spicy tomato, chickpea and Ras-El Hanout spices and the beautiful egg was the perfect addition in terms of difference in texture and taste.

This is definitely something we shall be cooking again… and it was on our diet! Less than 400 calories per serving….if you stick to one serving that is….oh, it is delicious!

As Good Food doesn’t have a link to the recipe – here it is

Ingredients:

1 onion finely chopped; 3 tbsp of olive oil; 50g fresh breadcrumbs;  250g of lean lamb mince;  1/2 tsp of ground cinnamon; 5 eggs; 2 garlic cloves, sliced; 1 courgette thickli sliced; 2x400g chopped plum tomatoes; 2 tsp. of honey; 1 tsp ras-El Hanout spice blend; 400g chickpeas, rinsed and drained.

Fry the onion in 1 tbsp oil until soft, leave to cool. Mix with the breadcrumbs, mince, cinnamon, 1 egg, 1/2 tsp salt and lots of pepper then shape into about 24 meatballs. Fry in the remaining oil in the pan for about 8 minutes until bgrowned. Lift out and set aside.

Add garlic to the oil in the pan and fry till softened. Add courgettes, fry gently for about a minutes then add tomatoes, honey, Ras-El Hanout, seasoning and a couple of tbsp of water. Stir and cook until pulpy

Stir in the chickpeas and the meatballs. Make 4 hollows in the sauce and break in the remaining eggs. Cover and cook for 5 or so minutes over a low heat till the eggs are set.

Serves 4 Preparation 40 minutes, cooking 30 minutes

Per serving – 377 calories, protein 26g, carbs 20g, fat 22g, saturated fat 7g, fibre 3g, sugar 8g, salt 0.94g

Cheese and chorizo omelette…. Or, supper from scraps

It was half way through the working week and it felt like it should be the end of the week. I got in from work, too tired to go to the supermarket on the way back  and was desperately craving something tasty and filling to eat. Looking around the kitchen I found various bits… some ends of cheese, a couple of limp looking spring onions,  the last bit of a chorizo, the end of a pot of cream, two wafer thin slices of  Parma ham and, of course, eggs.

I love eggs. I really do. I could happily eat eggs every day.

Some times I do. I mean… they are packed full of protein and they have been shown to have no real effect on cholesterol. If you eat eggs for breakfast, the high protein levels make you feel full for longer, which is just the thing you need to stop you snacking mid morning. Eggs for supper stop you having cravings late at night.

So, it seemed just right to have an omelette. I had that lovely chorizo which neede using up

And  I had that cheese… so Cheese and Chorizo Omelette it was going to be.

There was  the last of the Emmental and Gruyere cheese that I had used in Omelette Arnold Bennett and some farmhouse Cheddar.  The sorry looking spring onions weren’t bad once I had trimmed them down and refreshed them in ice cold water.

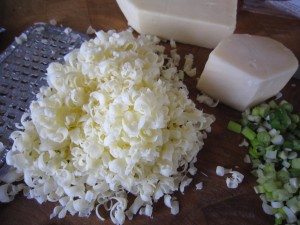
I microplaned the cheese and sliced the spring onion.

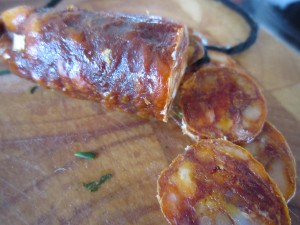
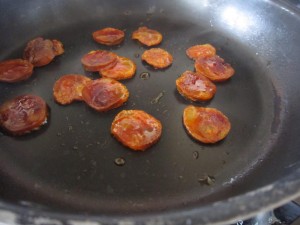
Dry frying sliced chorizo releases the oil and cooks the outside to a sort of caramelised bronze. Once the slices were browned on both sides, I took them out and left them to cool.

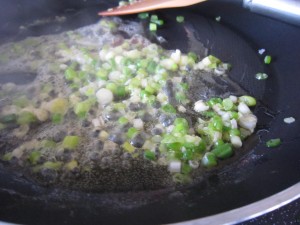
A knob of butter softened the spring onions (I really can’t stand raw onion … it gives me a headache)

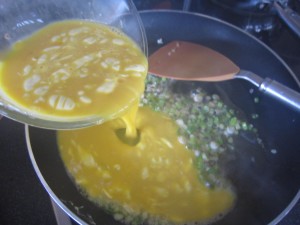
I briefly whisked the eggs with a fork and added the last of the cream. That’s what you can see in the egg mix. I didn’t bother to whisk it all in smoothly (it was very thick cream) but I knew that with cooking it would all melt in with the cheese.  That was all poured in over the softened spring onions.

My mother always calls them scallions and I don’t know why. I really should ask her.

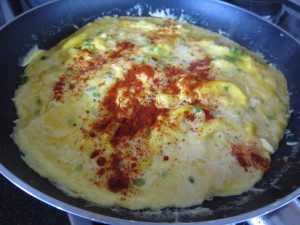
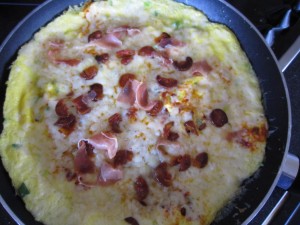
Look how gorgeous it looks… I scattered over some sweet smoked paprika because I love the taste and that would be echoed by the chorizo. Don’t add it before the omelette has started to set because otherwise you get a diffuse pinky orange looking omelette. I still like to see the creamy golden yellow of the eggs.

Slices of chorizo would be too much but it is easier to cook them in slices. Once they were cool I cut them in half and scattered them over the still soft egg.

Then a layer of cheese and those two remaining slices of Parma ham, torn into pieces..

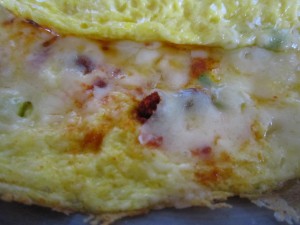
I stuck the pan under a hot grill for a minute and the cheese softened and melted over everything… the eggs puffed up a bit more and then…..

Then, it was supper made from scraps.

A truly delicious  omelette. The cheese and chorizo worked perfectly well together and I had not only used up stray items in the fridge but I had made supper in less than twenty minutes.

It really did taste gorgeous. I really must make sure I have more scraps in my fridge.

Maggie’s Lemon Drizzle Cake … an homage to my aunt

As some of you know, my aunt passed away a few weeks ago. What you might not know is just how much of an influence she was on my life.

When I started this blog, I told you how I had spent a lot of my life not cooking. I ate, obviously, but I got other people to cook for me. I didn’t need to cook as I lived on my own and anyway, I was always travelling. I ate in great restaurants and had a marvellous time.

I come from a family that always celebrate things with a family meal. Every occasion was marked with a get together. My mother and my aunt used to swap occasions… Christmas Day, one of them would cook, Boxing Day, the other would do it. Whoever did New Year wouldn’t do Easter. Everybody’s birthdays were a reason to come together as a family and eat.

My aunt was a great cook and always made the most superb cakes. Her Christmas pudding really couldn’t be beaten and, since I started cooking,  I always used to ask for some to take home with me so I could use it in Christmas Pudding Icecream. She always believed that a person should be able to cook and, more to the point, be able to cook well.

She was so pleased when I started cooking and asking her how things were done. I used to ring her from my car as I drove the thousands of miles I used to do on motorways in my other job. She would tell me how I was supposed to make things and patiently go through the shopping I would need to get in order to make whatever it was she was helping me with. I would stop in some far away town, get my ingredients and carry on driving home. Then, when I got there, I’d ring her again and check I had everything right in my head.

She was the one who taught me how to cook ham properly….. she taught all of us.  My brother adapted her recipe and came up with Gingery. Which is, in our eyes at least, possibly the world’s most delicious roast ham. Her daughter, my cousin, has been baking for years and is the maker of the world’s most delicious chocolate cakes which pleases her sons and her nephew no end. My aunt was never happier than helping people learn – she was a teacher all of her life. She even taught my postman when he was a little boy and whenever I saw him he would always send his best wishes and tell me that my aunt and uncle were the best teachers in that school.

Anyway, while my cousin and I were sorting things out at my aunt’s house, she dragged me to a bookcase and said she had found this….

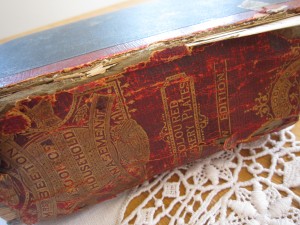
………An ancient copy of Mrs Beeton’s Book of Household Management.

My cousin said she wanted me to have it, tattered though it was, because it was something my aunt had had for years. It’s falling apart, as you can see and the covers are hanging off. I wish I’d asked my aunt about the book … who it belonged to before her and what she had learnt from it….anyway, I have it now and it is on my cookery bookshelves. You never know, it might get picked on the next round of Cookery Lotto!  How proud she would have been to think that I was even contemplating cooking something from it.

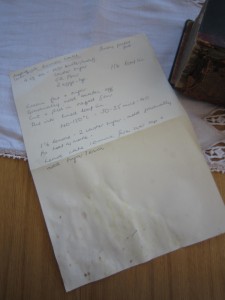
The very first cake she taught me to make was her simple and delicious Lemon Drizzle cake. I found the recipe in my cook book, scrawled on a piece of paper. She will have dictated that to me as I, no doubt, sat in the car at some motorway services, parked up in the rain.

I think she chose that as it is the simplest cake in the world to make and if she was going to entice me into the world of baking, she would need to make sure that I could manage. I think she was reckoning on a small cake, emerging triumphantly from the oven, would be the first in a line of cakes.

And, I suppose, in a way, it was. I decided, this weekend, to bake the Lemon Drizzle cake because it reminded me of her.

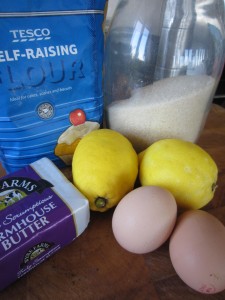
The ingredient list was simple and concise – 4 oz each of soft butter, caster sugar, self raising flour and a couple of large eggs. How hard could that be? And some lemons for the lovely drizzle to be poured over the top.

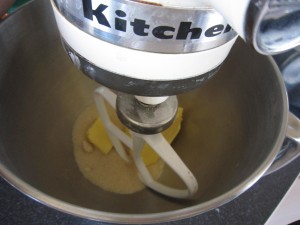
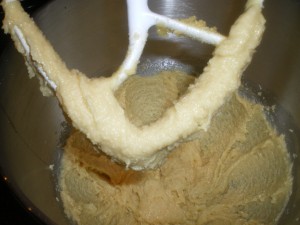
My note did say to cream the butter and sugar together and I’m certain she meant doing it with a wooden spoon… but you see the Kitchen Aid mixer? She bought me that as my wedding present. I have to use it, then, don’t I? I think she realised by the time I eventually got married that I was turning into a cook and a Kitchen Aid was going to be far more use to me in my married life than some standard wedding present of crystal or maybe bed linen. It was an incredibly generous gift, from an incredibly generous aunt.

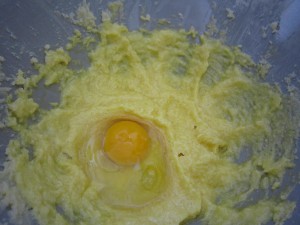
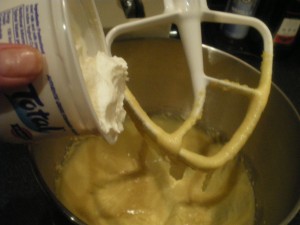
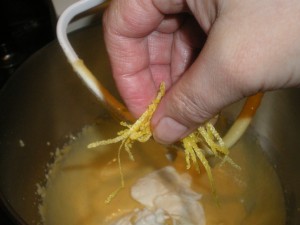
A couple of the brilliantly golden-yolked free range eggs turn the mix into a vibrant yellow. Finely grate some lemon zest in there – you will be using the lemons later. Just remember to make sure you used unwaxed lemons and if you don’t, give the lemons a good scrubbing first.

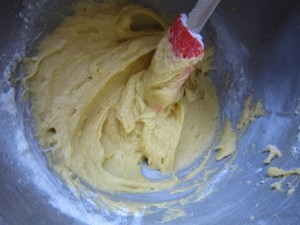
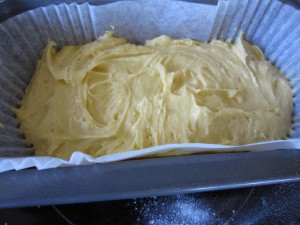
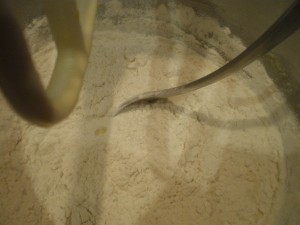
That 4 oz of flour (she told me to sieve it) was folded in and then everything put into a lined loaf tin.

Those silcone paper tin liners are an absolute godsend. No more snipping about with pieces of greaseproof paper or baking parchment… the hours they must save across the world!

And into the oven for about 30-40 minutes at 140-150 degrees.

Now to make the lemon drizzle…

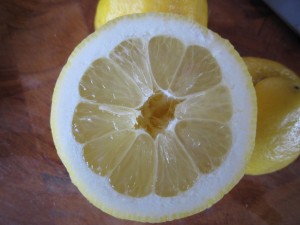
That too, is simple…. Just the juice of one and a half lemons and some icing sugar – a good 2 ounces.

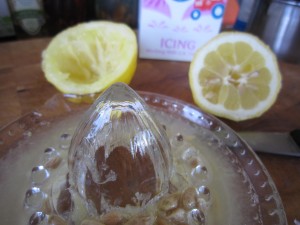
(I know that whenever you see chefs on the TV they squeeze lemons in their hands but I always use that glass lemon juicer. I don’t think you need to get your fingers covered in juice and besides, the pips will always drop in whatever it is you are making. Anyway, you get far more juice out of the lemon or the lime with one of them than you do by just squeezing. Maybe my hands aren’t strong enough? )

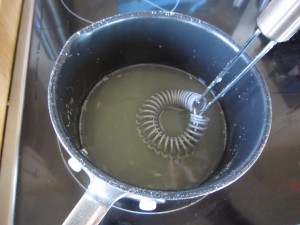
Heat it gently in a pan until the icing sugar dissolves.

Then let it cool.

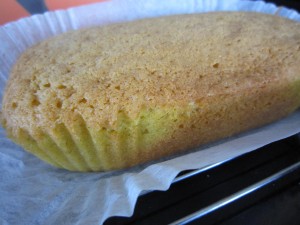
At the end of the cooking time, take the cake out and peel back the paper to let it cool for ten minutes or so.

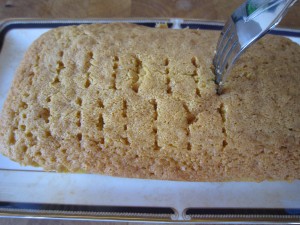
Once that’s done, take a fork and prick over the surface of the cake

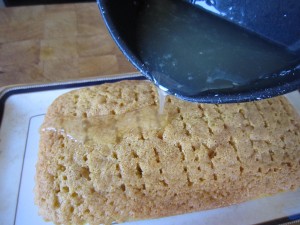
This will let the lemon sugar syrup sink in when you gently drizzle it over the surface.

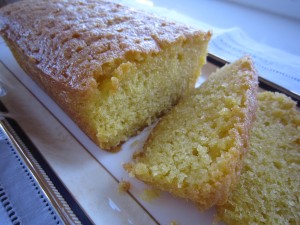
And there you have it.

The simplest cake in the world… but also one of the most delicious.

Golden cake with a lovely, sweetly sharp lemon drizzle. The first cake I made and one that will always remind me of my darling aunt.

Thanks for everything, Maggie.

Omelette Arnold Bennett

Although we live in a large city, it is a city surrounded by farmland. There are amazing local food producers and farm shops everywhere.

Our closest farm shop, Spring Lane,  is less than a mile from our apartment and I go there every weekend to buy eggs, cheeses, vegetables and meat. There’s a bakery there, too, and sometimes… just sometimes, I buy fresh cream cakes.

But the best things of all, in my eyes, are their fantastic eggs.

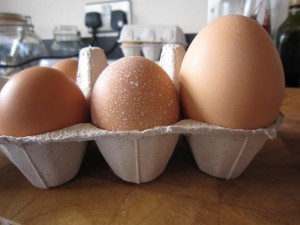
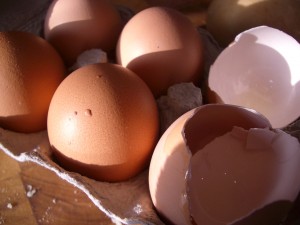
Free range, with fantastic golden, almost orange yolks… and oh,  the size of them….

I’d gone there as usual and picked up a dozen extra large eggs and got my fresh vegetables and came back. I had a fancy for an omelette.

Specifically, Omelette Arnold Bennett, the beautiful, open omelette with smoked haddock and a creamy cheese sauce.

(Whenever Arnold Bennett stayed at the Savoy Hotel, he ordered this and loved it so much that wherever else he travelled  he asked for it. Eventually, the Savoy Hotel named it after him and it has stayed on the menu ever since)

I always buy the extra large eggs at Spring Lane and this time, being in a hurry, I grabbed my dozen eggs,  some fresh vegetables and cream, then  set off home again.

I hadn’t checked the eggs because I have never before found a broken one in one of their boxes (they are so careful with all of their produce) so I hadn’t looked inside the box. Anyway, there I was, standing at the bench, about to prepare for the omelette when I noticed that the lid wasn’t down properly on the box.

I opened the box to see this rather surprising sight

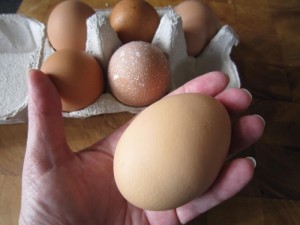
Look at the size of that!

That wasn’t just an extra large egg… that was an extra, extra large egg.

In the UK there are regulations about egg sizes. Each egg size, from pullet to small, to medium, to large and then to extra large has a weight range.

 An extra large egg  must be 75g and above.

That beauty weighed 114g.

All I could think was that the hen who was involved in that production was probably just as surprised as I was.

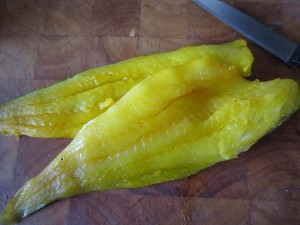
Onto the omelette then – I also had some smoked haddock

(actually, I prefer undyed smoked haddock, but needs must and all that. I wanted that omelette and I wanted it that day so I was prepared to accept the dyed fish)

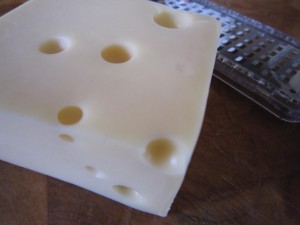
And some cheese – both Emmental and Gruyere.

And I always have pots of cream in the fridge.

Now there are plenty of recipes available to tell you how to make Omelette Arnold Bennett and some of them are very involved indeed – telling you to make flour based cheese sauces, making you use lots of pans and it is all very labour intensive. What I do would get me thrown out of the Savoy kitchens but, you know, it works for me.

So… here goes… the quick and easy way to make an Almost Arnold Bennett Omelette …

Poach the haddock gently in some milk. You don’t want to boil it fiercely, just sort of bubble along softly for a few short minutes.

While that’s doing, break 4 eggs into a bowl and whisk them gently with a fork and add a good spoonful of cream.

Grate huge handfuls of lovely cheese and add it to another bowl where you have put some more of the thick cream. You want more cheese than cream and the cream needs to be thick.

What you need is a thick and delicious mixture of cheese and cream.

By now, the haddock will be ready, so, carefully, take it out of the pan and flake it.

(Remember to take the skin off before you flake the fish – imagine how difficult it would be to peel the skin off after tearing it to pieces!)

Put the grill on high and get your best omelette pan out and start heating it on the hob with a knob of butter

Pour the eggy, creamy mix into the pan and swirl it round, pulling the softly cooking bits to the middle and letting the runny bits spread out so it cooks gently.

I like to pop it under the grill at this stage so it puffs up slightly in a sort of souffle-ish fashion.

Just a bit though, you don’t want it too cooked because it goes back under the grill later.

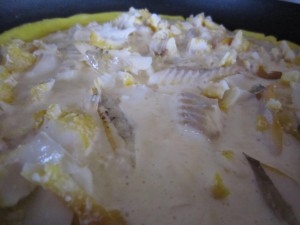
Scatter the flaked fish over the omelette and then pour over the cheese and cream mix and then pop it straight back under the grill.

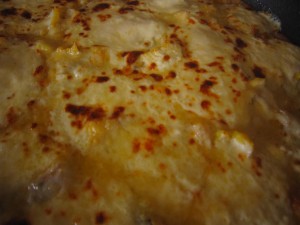
You need a minute or so so the cheese browns on the top

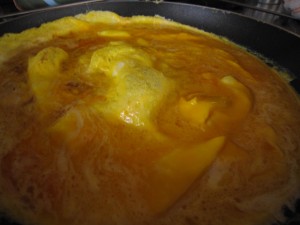
And there it is…..

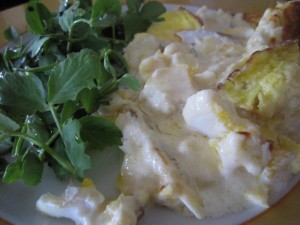
Fluffy omelette with smokey fish, covered in a creamy cheese sauce…. all you need, perhaps to go with it is a salad

That’s it. Sit down and fork up that gloriously tasty omelette.

Oh, and say a quiet thank you to the hen who valiantly produced such wonderful eggs!

Broccoli and Stilton Pastryless Pie

At long last the days are becoming brighter and the weather seems to be improving. Today at work I had the windows open as it was getting rather hot, sitting behind glass with the sun shining in. It’s time, I think, to start freshening up food…. making it lighter and more summery.

Time, in fact, to make something like a pastryless pie.

I often make this because it is perfect with a light, dressed green salad for supper and also because it is absolutely ideal to take to work for an easy packed lunch.

A pastryless pie is, in effect, a quiche without pastry. The quiche filling is baked inside strips of ham. What that means is that if you are baking it to share with friends then anyone with a wheat intolerance or coeliac disease doesn’t have to miss out.

If you are trying to cut carbs from your diet, well, it isn’t exactly Atkins because there’s plenty of vegetables in there but it does, at least, avoid pastry.

So then… what do you need?

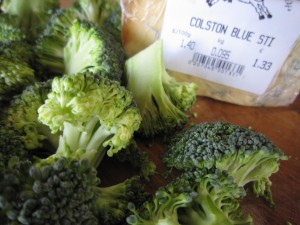
I had some broccoli in the fridge and that, along with a lovely piece of Stilton cheese would make a lovely pie.

I had half a dozen free range eggs, a small pot of cream, a packet of sliced Serrano ham, 200g of Emmental cheese (which I love for its sweet nuttiness) a courgette, a handful of cherry tomatoes and few baby salad potatoes.

For those of you who don’t have access to Stilton or Serrano ham or, in fact, anything else I have listed, just remember I am putting those ingredients in because that’s what’s in my fridge.

As long as you have eggs, cream, some ham (some kind of air dried ham, sliced thinly) some cheese and some vegetables you can make this.

Now, because you are making what is really a quiche filling, it is going to be runny. And you don’t have a pastry shell to pour it into. I told you we were wrapping some air dried ham around it but that isn’t going to stop the filling from running out, so this is what to do

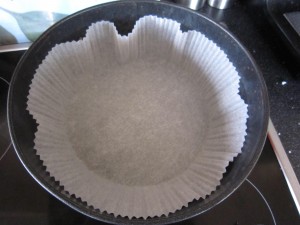
You can buy silicone paper cake liners from most places now – one of these popped inside a springform cake tin makes the ideal liner to keep all your lovely ingredients from seeping out when you bake it.

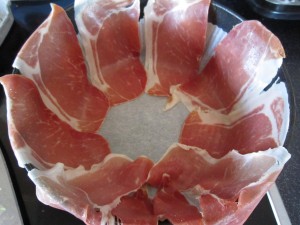
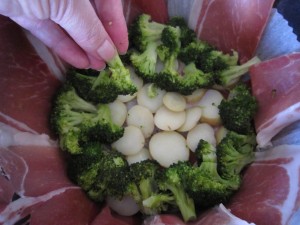
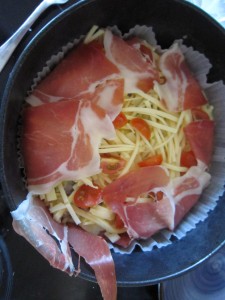
Open your packet of ham and drape the slices round the edge.

You don’t need to completely cover the sides and you don’t need to cover the base. What you are doing is making what will turn out to be a lovely, savoury, lightly crisped ham edging. It helps keep it in one piece when you cut it.

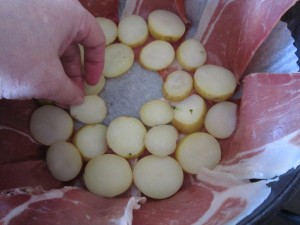
The bottom of the pie will be lined with a layer of steamed and sliced potatoes – it makes for a firmer base. Either slice them and steam them now, or use left  over cold salad potatoes. Because I am using broccoli, I steam that at the same time.

See? Just a thin layer of little slices of potato.

Followed by a lovely layer of broccoli florets

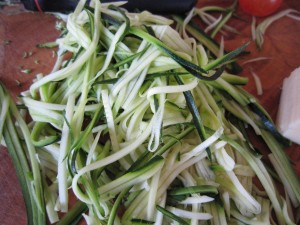
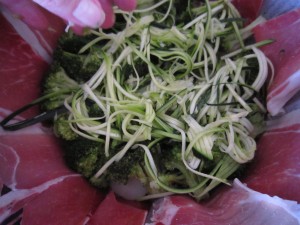
I found a courgette in the fridge and if you use a julienne cutter, you get a glorious tangle of shredded courgette. When this cooks it disappears into the gorgeousness of the creamy, cheesey, eggy filling so even for avowed courgette haters… this would slip right on past them. Another vegetable chalked up!

Scatter those shreds over the broccoli layer

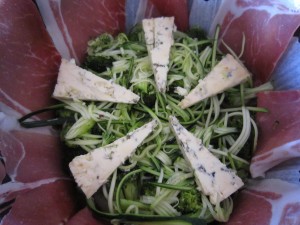
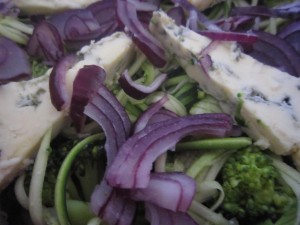
And as it is a broccoli and Stilton pie, now is the time to slice that piece of Stilton you saw earlier.  You could crumble it if you want to, and scatter it across but I thought how pretty and symmetrical it looked to arrange it in thin slivers.

I had half of a red onion left over from something else I’d made so I thought that, sliced finely so that it would cook through while the pie was baking, it would add an extra hint of savouriness.

 That was scattered on top of the cheese.

That’s the vegetables taken care of, the next thing is the delicious cheesey, eggy mix.

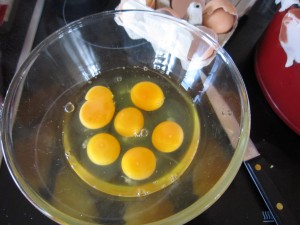
6 beautifully golden fresh free range eggs need breaking into a bowl and whisking round with a fork.

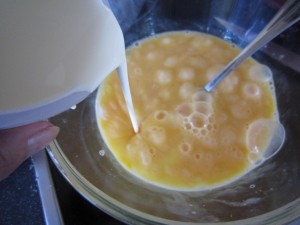
A small (150 ml) pot of cream gets poured in and whisked around again.

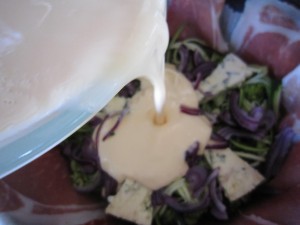
And pour it in……

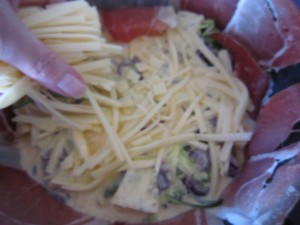
Give the springform tin a gentle shake from side to side to make sure the eggy mix falls down around those lovely vegetable layers.

I had some sliced Emmental to use up as well, so that was shredded and scattered over the top.

Little cherry tomatoes (there were only 4 or 5 left) were quartered and added to the top layer before the ends of the ham were folded over.

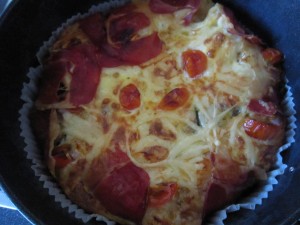
You can see when you do this that the egg and cream mixture seeps between the slices of ham and then you realise just what an excellent idea it was to use the paper liners…

Into the oven with it at 160 or so degrees C for approximately 30 -40 minutes.

You can tell when it is done when the top looks golden and if you give it a gentle side to side shake the pie quivers just a little bit… and if you press it with your finger it feels soft but firm…

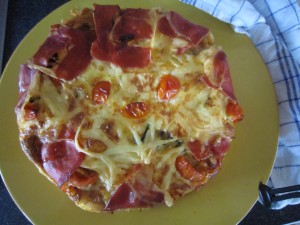
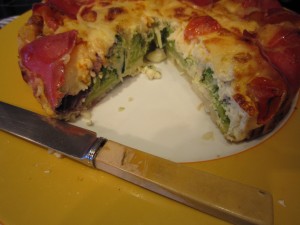
The only thing to do now is to free it from the springform tin, peel back the paper liner and slide it onto a serving plate

The hardest part is waiting for it to cool slightly so you can slice into it….

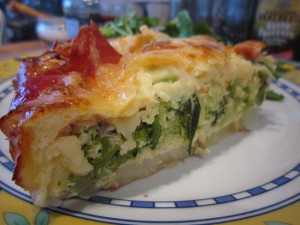
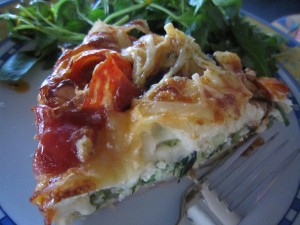
With a green salad it truly is the perfect lunch or supper.

Tasty, easy to make, easy to take for lunch… cunningly packed full of vegetables in the midst of that delicious filling… just the thing for the summer months!

Cooking with kids… gluten-free Bear Bars

When I was a kid, we used to spend Saturday afternoons watching the wrestling on TV. Not the kind of wrestling that’s on now – in those days it was English wrestling with the likes of Giant Haystacks and Big Daddy. And, I have to say, we watched it on a black and white television. My parents didn’t really like us watching television, so it was only while they were out and we were being looked after by one of our parents’ more indulgent friends that we could manage to sneak the TV on.

It was all faked, you know. The wrestling, that is. But we used to love it. I’m sure we should have done something more constructive, but, somehow, sitting down on the floor with a bag of sweets and watching staged fighting was great fun. I suppose we knew, even then that it wasn’t real, which is why it didn’t frighten us all. Kids are OK with play acting.

Actually, now I think of it, I’m sure we couldn’t have watched wrestling every weekend. For one thing, I can’t believe that our parents would have been out every single Saturday. Funny how things like that stick in your memory.

It would be nice if I could be part of a child’s memories of growing up though…….

Last week my friend came round with her daughters and we made pasta and we had such good fun that we decided to spend this Saturday afternoon cooking something else. We needed to choose something that the children could make easily at home and it would be good to make sure that the   something was something that would taste good enough, while being healthy, and might just replace chocolate biscuits.

This time, one of their brothers came with them. We decided to make Bear Bars, but as I was trying out recipes to see what they were like gluten-free, we thought we would adapt our usual recipe and make sure that everything we used would be safe for coeliacs.

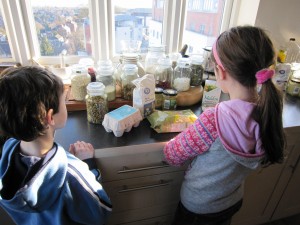
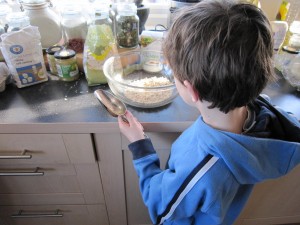
I got my little helpers to carry the jars of nuts, seeds and fruit from the larder. Because I want them to learn that so much of cooking is just good judgement (well apart from fancy sugarwork or pastry, say) we got out a big bowl and a scoop. I wanted them to see that cooking could be relaxed and fun.

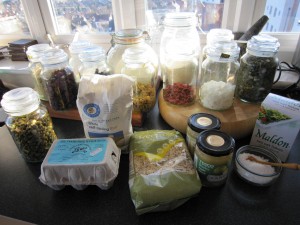
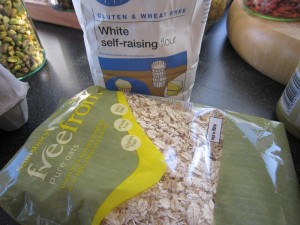
We had pistachios, goji berries, green sultanas, dessicated coconut, raw flaked coconut, chopped mixed nuts, golden granulated sugar, ground almonds, dried cranberries, raisins, two small jars of Bramley Apple Sauce (thank you, Tesco!) two eggs and, because we were making this for coeliacs or gluten intolerant people

instead of using my normal wholewhat self raising flour, I bought gluten free flour and (and this is a rarity, according to my coeliac friend, A)  porridge oats that are guaranteed to be gluten free.

It’s not the oats that cause a problem…. it’s the fact that they are usually processed in a factory that processes other grains so the oats are liable to pick up some trace of contamination. For a coeliac this can cause (even in minute amounts) severe problems. If you are using oats make sure that they, like these, are made in a controlled environment and are certified as being gluten free.

We started off with two scoops of gluten free porridge oats

A scoop of gluten free self raising flour

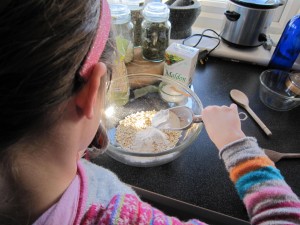
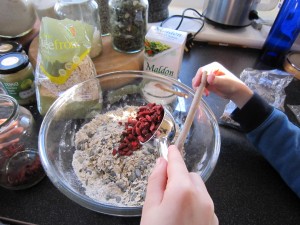
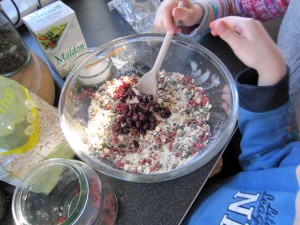
And then we set about, taking turns, adding a scoop from every jar. The one who scooped, couldn’t stir… the one who stirred could scoop the next time.

We loved looking at all of the different colours.

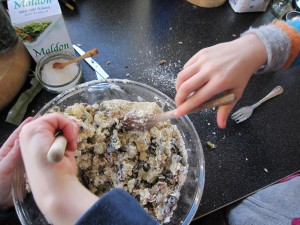
All of the dried ingredients have to be mixed together with a scoop of sugar and a pinch of salt added.

With a bit of help, two eggs were cracked into a jug and enthusiastically whisked with a fork and that, along with the contents of two small jars of Bramley Apple Sauce into the big bowl and stirred round.

This was probably the hardest bit of the job – partly because they both insisted on mixing the egg and apple in together.

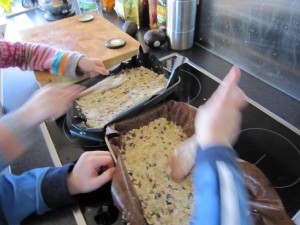
One of the good things about having lots of ingredients was that it makes lots of Bear Bar mix. That means the two of them could have a flapjack tin each to spread out the mix

I’d lined the tins with silicone sheets so the bars would be easier to get out once they were baked and the two of them decided to race each other to see who could get the smoothest mix….

The oven was lit , heated to 160 degrees and the tins went in for half an hour.

Now, good and clever those children are (they knew, for example, the difference between herbivore, carnivore and omnivore)  they somehow hadn’t managed to grasp the concept of time….

“Is it half an hour yet? Are you sure? I can smell the Bear Bars… are they ready?”

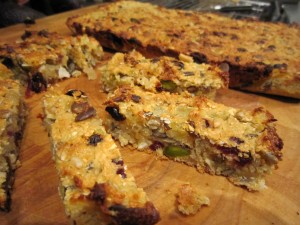
Eventually they were. The only problem I had then, was keeping them from snaffling some until they were cooled.

The children went home clutching a ready supply of gluten-free Bear Bars, that, I have to say, were no different from normal Bear Bars.

The only question they had was that if they were made for the Bear (our lovely Omnivorous Bear) was that because they had everything in that a Bear would eat? I said yes, of course.

“So where’s the meat, then? A bear would eat wolves and there’s no wolf meat in there”

How very true. We appear to have made gluten-free and wolf-free Bear Bars.

Saturday – snow bound breakfast

Even though it is the weekend, I still wake up before 6am, just as I do for work.  And, just as I always do, I go, quietly, upstairs to our kitchen to make coffee and look out at the city below us.

It’s been snowing again and even though we are right at the top of our apartment block and even though it is bitterly cold with the wind howling past, the snow is piling up against the windows.

I know I said I wanted to be snowed in but this is ridiculous.

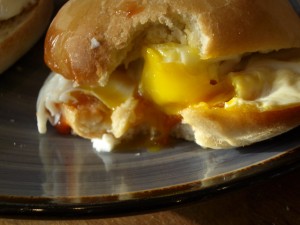
This is not the morning for having a cold breakfast. This is the kind of morning that something like a fried egg sandwich, say, is just what is called for. White bread, all soft and giving, with a hot, fried egg, sizzling as it drops on to the bun, then oozing golden egg yolk down your chin as you bite into it.

There is, as there so often is, a problem…. we have no white bread. There’s time enough, though, to make some buns  – and, as an added bonus, putting the oven on will help warm the place up a bit.

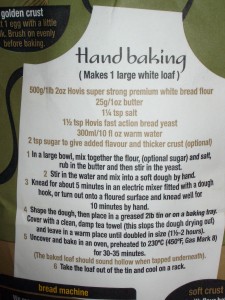
As I get the flour out of the larder, I see there’s a recipe on the back of the Hovis bag. I usually make slow risen bread, bread that has some texture, taste and strength to it, but today I want soft, white rolls. I just want fresh white bread that will mop up buttery, eggy, tomato saucy dribbles…….

Good old Hovis, eh?

500g of flour, 25g of butter, 1 and a quarter teaspoons of salt, 1 and a half teaspoons of fast action yeast (that’s one sachet of the instant yeast),  300 ml of warm water and 2 teaspoons of sugar ( that adds flavour and thickens the crust, apparently)

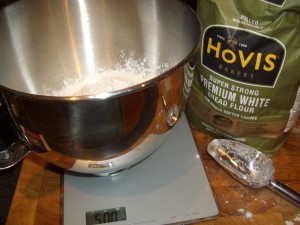
Add the dry ingredients to the flour and mix them through (it’s the only way to make sure it all mixes evenly before you add the butter and the water) Then add 25g of butter – cut it into pieces so it is easier to deal with

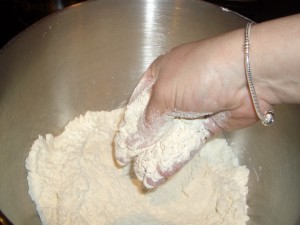
Then, using the tips of your fingers, rub the butter through the flour – you need to get the bits of butter evenly distributed through the flour… just rub it through till there are no more big bits left

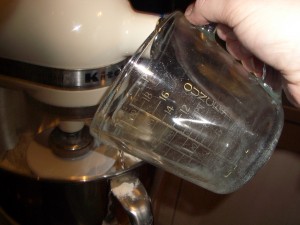
Then add 300 ml of warm water and stir it together.

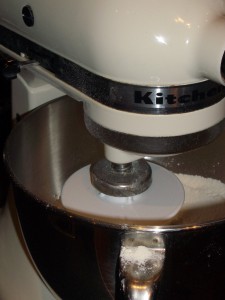
I wanted to go and read the papers on line while I drank my coffee (that weighing and mixing everything together only took a few minutes) so I put it all in my mixer, with the dough hook and set it away to knead.

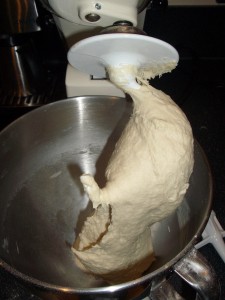
You can do it yourself, of course, but luckily… I don’t have to! I left the Kitchen Aid  whirring softly, at a gentle speed, for five minutes as I read about the widespread snow and the probability of more.

There you go… beautifully silky dough, ready to make into buns and let it rise.

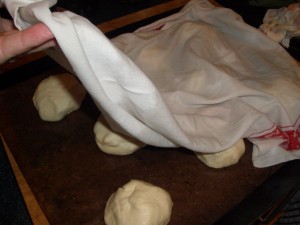
A quick roll into bun shapes, then pop them onto a silicone sheet on a baking tray and cover them with a dampened tea towel to stop the dough getting a crust before it is ready to bake.  The buns need to rise for an hour or so before you bake them

But it was, still,  just after 7 am so there was plenty of time before I needed to make breakfast… and it was snowing again.

The oven went on at 230 degrees and when the dough had doubled in size… in those buns went for half an hour so so…

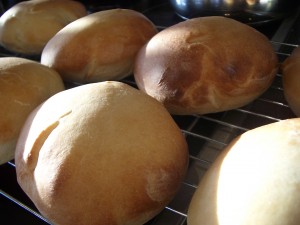
Oh they were lovely! The kitchen was warming nicely, the smell of baking bread was filtering downstairs to wake the Bear….. beautiful little plump, white breadbuns emerged from the oven… time to get the breakfast ready

There are some lovely free range eggs from the farm shop….

some butter to spread on those warm buns….

a squirt of tomato sauce…..

Breakfast bliss…….now that was an easy way to happiness.

Lemon glazed cake

There’s something very nice about a plain cake to have with a cup of coffee or tea. A plain and simple cake with a single flavour… no huge amounts of whipped cream and jam… just something to have with a hot drink. Something to change a snatched drink and a quick pause from work into a relaxing break.

Easy enough to make, as well…. I had an old recipe that I thought I might do – hence the measurements being in ounces… I have converted them because I can’t, for the life of me, work out how to get my digital scales to switch from grams to ounces.

I thought a nice plain cake with perhaps a lemon glaze would be good…

lemon glazed cake, tandoori pheasant, toffee vodka 002

 Start off by heating the oven to 180 degrees then mix

lemon glazed cake, tandoori pheasant, toffee vodka 003

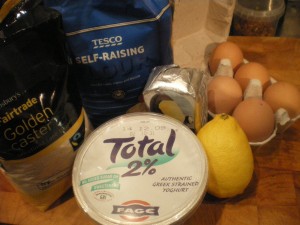
310g /11 oz caster sugar

56g/2 oz butter

3 egg yolks (you use the whites later)

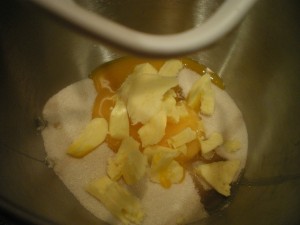
Get everything mixed together

lemon glazed cake, tandoori pheasant, toffee vodka 004

See, it is still grainy here… keep going until it is smooth.. then add  225g/8 oz of yoghurt –

lemon glazed cake, tandoori pheasant, toffee vodka 005

Zest a lemon and add that to the mix

lemon glazed cake, tandoori pheasant, toffee vodka 006

Stir it in gently – don’t overbeat things at this stage, then fold in 170g/6 oz self raising flour

lemon glazed cake, tandoori pheasant, toffee vodka 010

Then whisk the egg whites

lemon glazed cake, tandoori pheasant, toffee vodka 013

lemon glazed cake, tandoori pheasant, toffee vodka 014

And carefully fold them into the cake mix… start with a spoonful first to get the mix broken up slightly and then add more

lemon glazed cake, tandoori pheasant, toffee vodka 015

There you are, done.

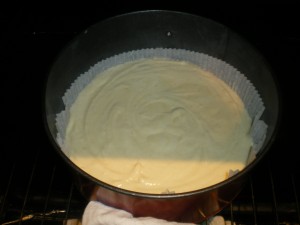
All you have to do now is pour that into a cake tin – a springform is best as you can get the cake out easily afterwards, and popping in a paper cakeliner makes it the easiest job in the world.

lemon glazed cake, tandoori pheasant, toffee vodka 017

Into the oven with it for maybe 35 minutes.

lemon glazed cake, tandoori pheasant, toffee vodka 020

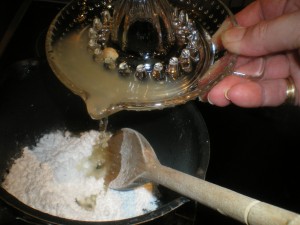
You can occupy yourself by making the lemon glaze….remember you zested a lemon for the cake mix? Squeeze it now

lemon glazed cake, tandoori pheasant, toffee vodka 022

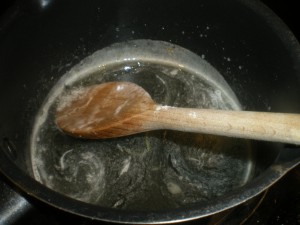
and add it to some icing sugar  in a pan and heat it through, making a lovely syrup

lemon glazed cake, tandoori pheasant, toffee vodka 026

.. which needs to cool.

You can relax now until the cake is ready to come out… stick a skewer in to make sure it is cooked and then get it out to cool

lemon glazed cake, tandoori pheasant, toffee vodka 028

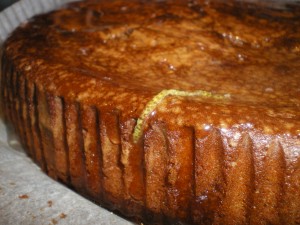
Once everything has settled… stick holes in the cake and then pour over the syrup to make a lovely glaze

lemon glazed cake, tandoori pheasant, toffee vodka 030

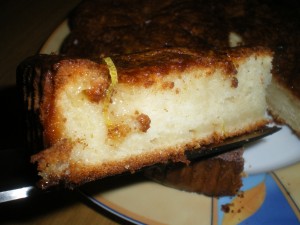
It is a really rather lovely cake, you know. Light and moist and beautifully tangy.. just the thing for a mid afternoon boost.

My boss, who doesn’t normally like cake, ate two slices and would perhaps have eaten more… but for the fact the whole thing had been polished off already. I suppose that is as good a rating as you will get for a cake.