Parmesan custards

Not only do I love cooking and eating, I love reading recipes and articles about cooking and eating. I’m a great snipper and copier out of recipes that I think will be worth doing, or that interest me. I’m always on the lookout for recipes that can be made in advance – we lived in an apartment in Nottingham where the upper floor was an open space for the kitchen, dining and living area and here, in Malaysia, we have much the same layout. That’s lovely when everything is tidy and ready to go but if you have guests sitting around with drinks it’s not so great for them to see you juggling pans and plates, cursing mildly and getting hot and bothered.

I like to have things ready to bring out – for one thing, it gives me time to brush my hair and wipe flour, sweat and splashes off my shiny, red face.

In my folder of Things I Really Must Make, I found this article, from Olive Magazine, dated June 2008,  but searching the site now, there’s no recipe listed. You’ll just have to follow what I write out.

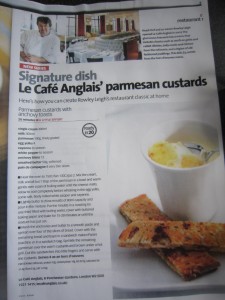
Rowley Leigh, of Le Cafe Anglais has, amongst the many wonderful dishes he makes, a classic starter, Parmesan Custards – creamy, cheesey, savoury set custard served with thin fingers of toast, spread with a thin smear of anchovies, perfect as a simple, yet stunning, make ahead starter.

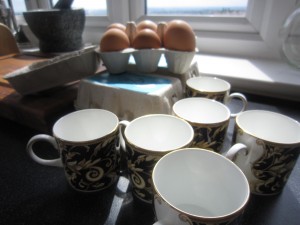
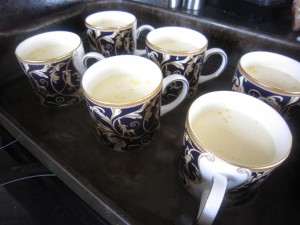
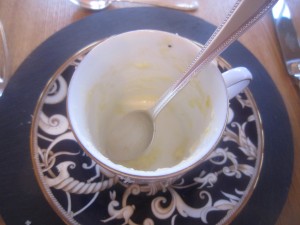
I have a set of espresso cups that are just about the right size and as they are part of my Wedgwood Cornucopia dinner service, they were going to look perfect at the table. We  were having good friends round to dinner and I wanted to make sure everything was as lovely as possible. There’s no point in keeping things ‘for best ‘- my motto is, if you’ve got it, use it! If you haven’t got espresso cups, little ramekins or china moulds (they need to hold around 80 ml) will do just as well.

I needed 4 egg yolks; 300ml of single cream; 300ml of milk; 12 anchovy fillets; 100g of finely grated parmesan for the custard and another 150g for some parmesan crisps I was going to make as an extra; 50g of softened butter; 8 slices of good bread ( I used thinly sliced No Knead Bread) plus cayenne and white pepper to season everything with. The recipe said this would make 8 small pots but the six espresso cups took slightly more than the recommended 80 ml so everything evened out. Besides, there were going to be six of us eating.

This really is quick and easy – so easy, that the first thing you do is get the oven turned on to 150°C/300ºF/gas mark 2.

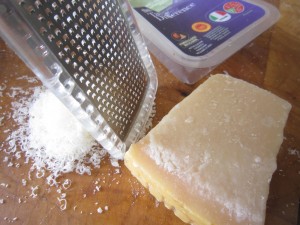
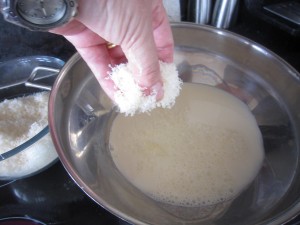
Then, grate the parmesan finely so it makes a lovely, light and airy mound

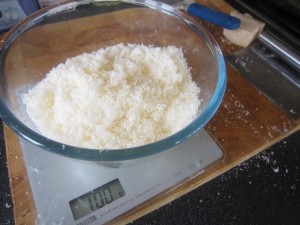
Remember that this is for the custard…. I need the rest of the parmesan for crisps, later.

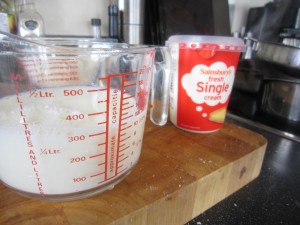
Mix 300ml each of the milk and the cream together

….then add in all but a tablespoon of the parmesan, if you are using ramekins.  You save this because you can sprinkle this last bit on top and then grill your pots to make a crisp topping.  I was going to make parmesan crisps instead because I didn’t want to put my lovely Wedgwood under the grill.

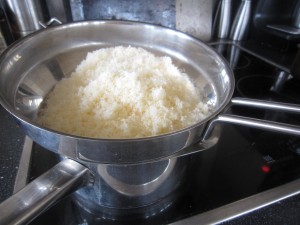
…and heat gently in a bowl or a bain marie, over a pan of boiling water until the parmesan melts.

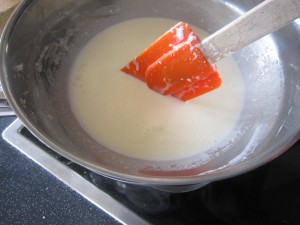
Allow this to cool completely

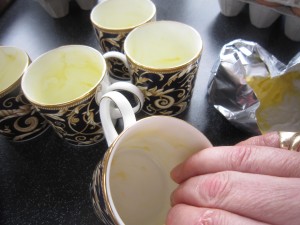
While the mix is cooling, butter your cups or little bowls.

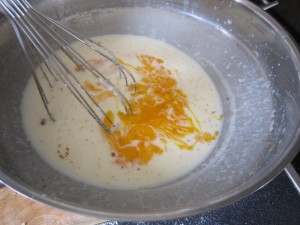
Once your mix is cool,  whisk in the four egg yolks, a pinch of cayenne, the same of finely ground white pepper and maybe a pinch of salt. You must let it coolproperly because otherwise you will end up with cheesey scrambled egg.

Put the cups in a roasting tin, then fill them with equal amounts of the custard mix, then put the tin on the oven racck before you add boiling water. You need enough to come maybe one third of the way up the cups. Doing it this way prevents the mix slopping about and you pouring boiling water over your feet. Always a plus point in my book.

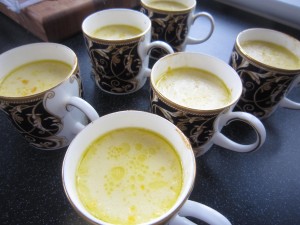
Cover the  top of this with some buttered baking parchment or a silicone sheet and then let everything bake for about 15-20 minutes, when they will be just set.

They emerge, looking gorgeous. I put them to one side while I made the toasts and the crisps……

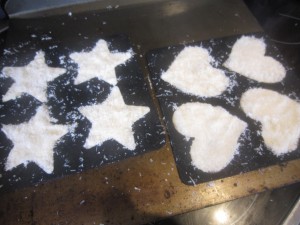
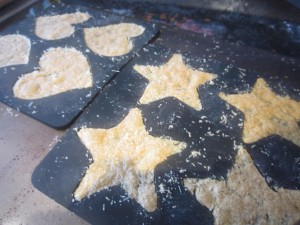
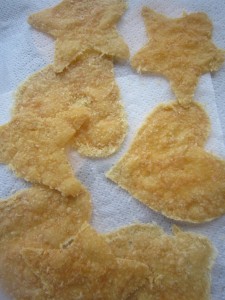
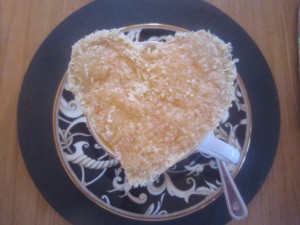
My sister gave me some Curtis Stone silicone wafer baker molds as a Christmas present and I really wanted to try them out  –  you simply pack them with the rest of the finely grated parmesan and put in a low oven, on a baking tray

.. until they turn a soft, golden brown. Leave them to cool and you can get started on the anchovy toasts.

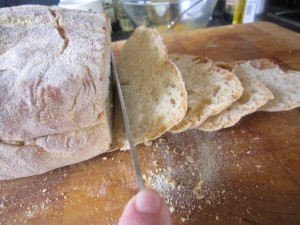
Thinly slice some good bread – each person will need a slice – and cut the crusts off to make lovely, neat, evenly sized rectangles

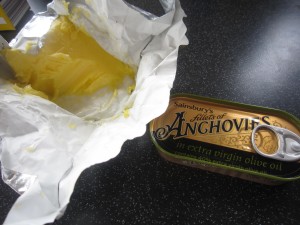
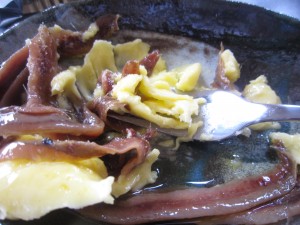
Then take your softened butter and the anchovies (drain them – you don’t want the oil)

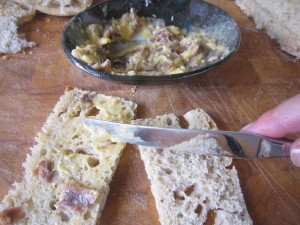
….and mash them into a smooth paste

Lightly spread half of the slices of  bread – and I do mean lightly. You don’t want to overpower everything with too much anchovy.


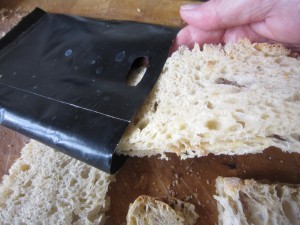
Lay a slice of unbuttered bread over the spread ones to make dainty sandwiches. The easiest way to toast them is in a toasted sandwich bag and then pop them in the toaster for a short time. You don’t want to make them too toasty and crisp – you have to slice them into fingers after that…


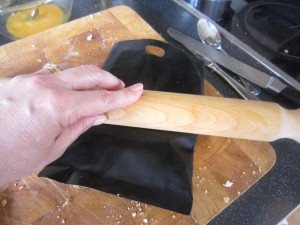
A good way to get very thin toasts is to roll them, still in the bag, with a rolling pin to get them nice and smooth, then toast them. When they are done they can easily be cut into fine fingers.


By now, the parmesan crisps are cool and can be gently lifted from the molds. How fantastic is that?

And then… well, then you are nearly ready.


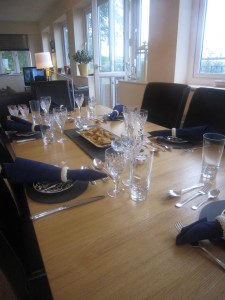
Wipe down the kitchen and set the table….


When you are ready to serve, if you are using ramekins or china molds, sprinkle the last of the parmesan on top of the custards and brown gently under a hot grill. I had my parmesan crisps to place on top, instead.

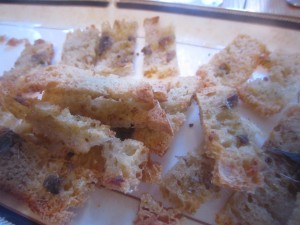
The fingers of anchovy toast were piled onto a plate

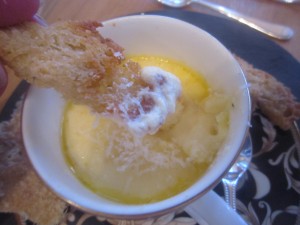
The starter was served…..

The crispness of the toast fingers contrasted deliciously with the soft, savoury custard.

The parmesan wafers added a gorgeous crisp bite.

Successful? Yes.

Tasty? Very much so.

Easy to do? Yes, so much so that this, with its comforting creaminess and rich, savoury flavour, would be a great dish to do when you needed some lovely comfort food.

In fact, the more I think about this, the more I want to make it again. It will remind me of a wonderfully happy night in Nottingham and I can introduce it to my new friends here in Malaysia.  What a good reason to invite people round to supper!


Ravioli with a soft egg

I love weekends….I love the fact that although I may still wake up at 6 am, I don’t have to start rushing about, getting ready for work.

I love the fact that the Bear goes to make my coffee because I always do it during the week… I love being able to relax in bed, with the pillows plumped up behind me, reading the news online and checking up with any gossip on Facebook. Even though I can happily spend a couple of hours doing all that and it feels like I have had a complete morning off, when I get up there’s still most of the day stretching ahead of me.

I’d been thinking of what other treats I could have that day….what I could cook that would make me happy.

Before the Bear and I got married, I’d bought a pasta machine and, in the first optimistic rush of enthusiasm, we decided to make ravioli. Perhaps we should have started with something easier than that if we’d never used a machine before, because what we turned out was an utter disaster. We hadn’t got the seasoning right, we hadn’t sealed the ravioli, we weren’t quite confident with the machine…oh it was a sad and soggy meal that we sat down to.

It quite put me off until I decided to start again and make something simple. Like tagliatelli or papardelle, simple strips of pasta. And you know what? It really was simple. It turned out really well and the two of us have had great times – one feeding the pasta and the other winding the handle. It is, actually, simple enough to do by yourself but we do like to work together.

It’s simple enough that when I was playing Cookery Lotto (where those of you who are reading the blog at the time choose a random cookery book and then a random page and I have to cook the recipe) and pappardelle was chosen as the random recipe, I decided to make it with the help of a nearly two year old and a ten year old and, you know what? It was fantastic… they loved making it and felt such a sense of achievement when they produced beautiful tagliatelli to take home to their brothers. Now, if I can get two little girls, (one of whom was very little indeed) to set to and produce pasta I think that shows how easy it can be.

I decided that this would be a day where I made pasta and when I asked the Bear what he fancied, he reminded me of something we had seen on a cooking programme on TV (and no, we can’t remember which one it was) where the ravioli filling was a mix of ricotta and herbs and an egg yolk. When you cut into the ravioli the egg yolk was still soft and delicious….

There were several plus points to having a go at this: firstly the ravioli were going to be large as they had to contain an egg yolk, which meant they would be easier to deal with; secondly, we had lots of wonderfully fresh eggs from the Farm Shop and thirdly, it pandered to my intense yearning to be messing about in the kitchen trying something new.

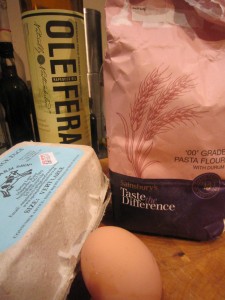
Making pasta is a cinch – all you need is decent ’00’ flour (and most supermarkets sell it nowadays), good oil (I had chosen Oleifera, a delicious cold-pressed rapeseed oil) and fresh eggs.

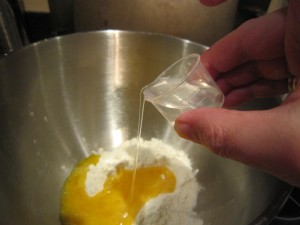
Weigh out 140g of flour and put it in a mixing bowl with a  lightly whisked egg, add three teaspoons of good oil (I was using my new organic rapeseed oil) and 15 ml of water.

You know how I was ill all over Christmas? I survived on bottles of cough and cold cure and they all came with a handy little measuring cup…. which, as it turns out, are perfect for keeping for baking adventures and measuring out, accurately, small amounts of liquids. Waste not, want not.

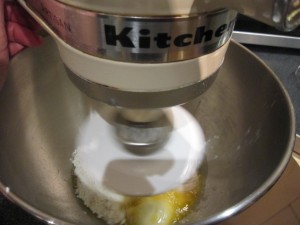
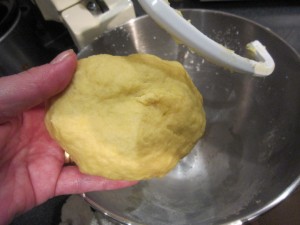
All you do then is mix it together. Obviously, if I was trying to recreate a true home made pasta in the style of an Italian housewife, I would have rolled up my sleeves and set to, mixing and kneading the dough. As I wanted all of the fun and less of the hard work, I let the mixer deal with it while I had a cup of coffee.

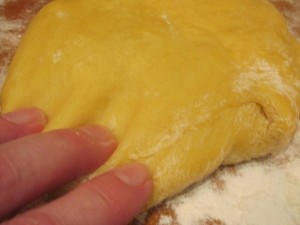
See how it comes together, looking golden from the egg yolk? When you feel it, it is almost hard and tough.

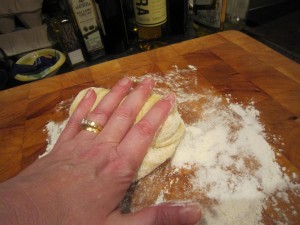
Dust a board with flour and start to knead it. You then need to let it rest and relax, so cover  it lightly in cling film and leave it to relax. It doesn’t take long, maybe ten minutes or so, but if you want to leave it for longer, you can.

While the pasta is relaxing, you may as well get on with the filling. If we are going to use an egg yolk then I needed something to nestle the yolk into and usually soft cheese, flavoured with herbs or even truffles is used. Strangely, my cupboards seem bare of truffles so I had to make do with a mixture of Parmesan cheese, ricotta and whatever else I could find in the fridge.

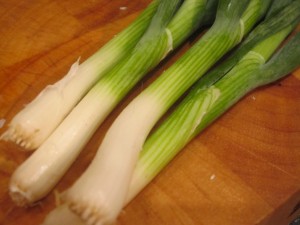
And what was in the fridge were some spring onions.

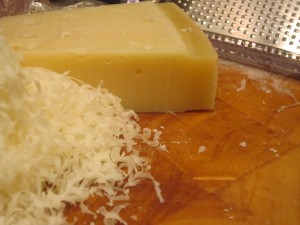
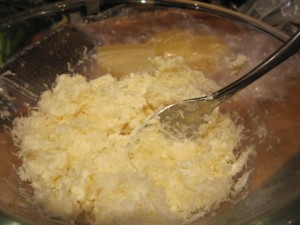
I put a tub of ricotta into a bowl and grated a good chunk of parmesan into it. (As I didn’t have a recipe to work from I thought I’d make a bowl of filling and whatever wasn’t used I would make into a cheese savoury sandwich)

The amount of parmesan added was enough to make the ricotta and parmesan mix taste good to me…. you do what you fancy.

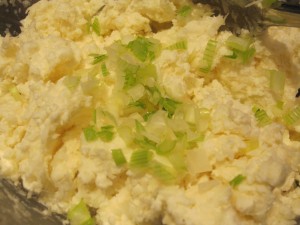
Then I added some of the finely chopped spring onion. Now it really did taste good.

Once I’d done the cheese mix and wiped down the benches, I looked at the pasta dough. Whereas before it had seemed tough and unyeilding, now it was soft and giving. Perfect.

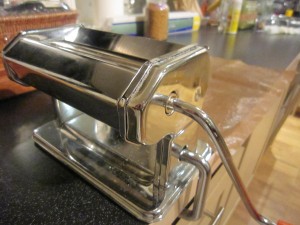
The pasta machine needs to be clamped onto the bench before you can start whizzing the dough through.

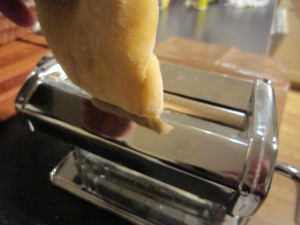
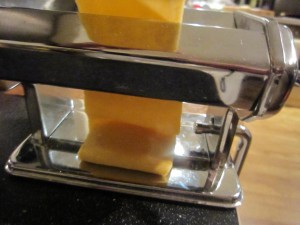
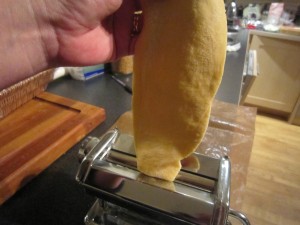
I rolled out the dough lightly and set the machine to the widest setting and then started feeding through the dough.

With each go through, I reduced the setting, making each rolled piece thinner and thinner.

After the first couple of goes you’ll need to cut the dough in half because it becomes too long to handle.

Remember to dust it with flour to stop it sticking and by the time you reach the lowest setting, you will have beautifully thin and smooth pasta.

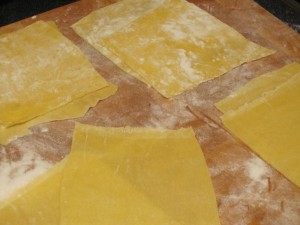
And that’s it… well that’s it for how you make the pasta. For the ravioli you will need squares of pasta because you are going to put the filling and the egg on them, so dust your board and cut… it doesn’t matter if it isn’t perfectly neat as you will be serving two to a plate and they look wonderfully handmade. If you were serving more, you’d need them to be smaller and neater, I think.

I cut eight squares of pasta for the two of us.

Remember you will need an equal number of pasta squares – one for the top and one for the bottom. One set of four was slightly larger than the other set because that was going to be the top layer and it would have to stretch over the cheeses and egg.

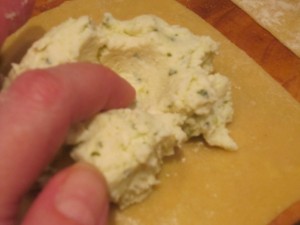
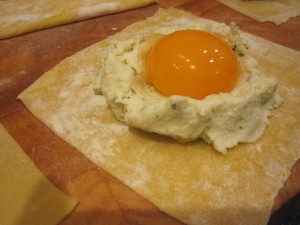
On the bottom, smaller piece put a spoonful of the ricotta, parmesan and spring onion mix and, using your finger, make a hollow in the cheese.

This is going to be the nest the egg yolk sits in.

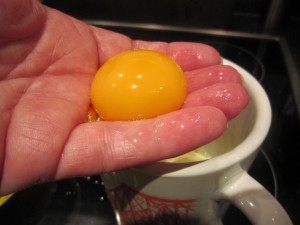
It’s a lot easier to separate the egg yolk by cracking it onto your fingers and letting the white of the egg drain away. When you do it by tipping the egg from half shell to half shell there’s a greater danger of breaking the yolk. 

See how it sits snugly in its little cheesey nest?

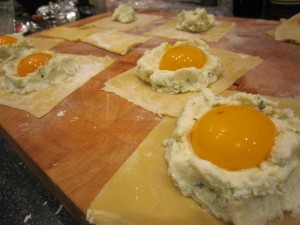
And as quickly as anything the other squares were filled.

I realised that not only had I got some cheese left over but I also had plenty of pasta, so thought I would make us a simple cheese ravioli with the left overs. So much for a sandwich filling, eh?

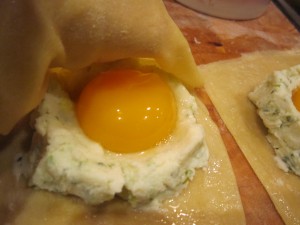
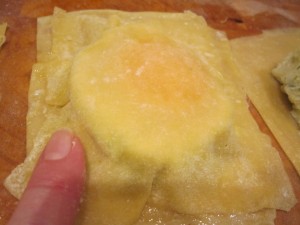
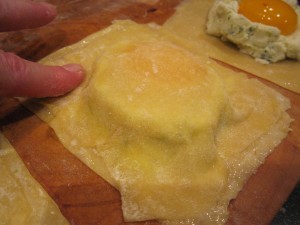
The ravioli had to be covered now, so having whisked up some of the egg white, I pasted it round the edges of the bottom layer and covered the filling with the top square which, if you remember was cut slightly larger all round. The egg white will act as a glue and stick the two pieces of pasta together.

Carefully press down the edges of the pasta so they stick firmly. Make sure there are no air bubbles as that will burst the ravioli when they are in the pan.

You can see what gorgeously generously sized ravioli they are going to be.

I trimmed them neatly and they were ready for the pasta pot.

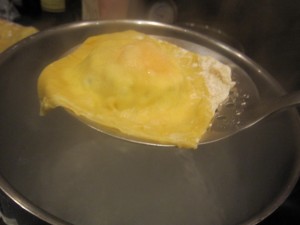
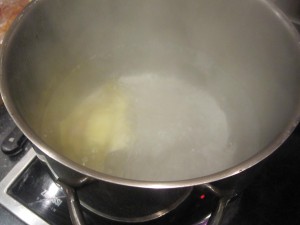
The water needs to be boiling and you’ll need a slotted spoon to get them in and out of the water.

And… and it worked!
Two, maybe three minutes in the pan and the ravioli floated on the top of the water. The first one didn’t burst and neither did any of the remaining ones.

I drained them on the slotted spoon and got ready to serve them….

I’d got some leaves to make a salad and made a tangy balsamic vinegar dressing which I sprinkled over the leaves and the ravioli.

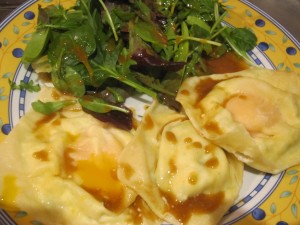
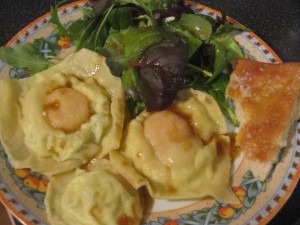
Two soft egg ravioli and a little cheese filled ravioli…..

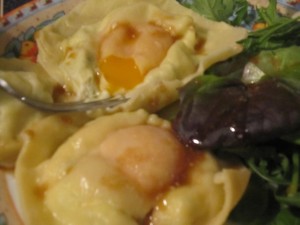
The soft egg ravioli looked like yellowy fried eggs.

But were the yolks soft?

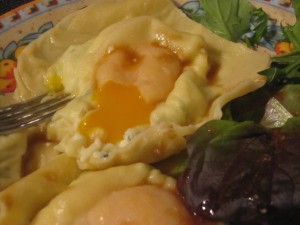
They were.

It was delicious.

The pasta was soft and tender, the cheese filling was tasty and fresh and the yolk…. oh, that yolk was delicious, running out and covering everything like a golden tasty sauce….

That was, the Bear and I concluded, a ravioli triumph.

I’m going to do it again – it would make a marvellous starter for a meal with friends because you could get everything ready and then leave them in the fridge for a while and then cook them at the last minute. Imagine the surprise when you serve that to people because it does look as if it would have been more bother to make than it really was.

Simple, delicious and spectacular – can you really ask for anything more?