Meatfree Monday – Roast Garlic and Marrow Soup

It’s the time of year when everyone who gardens starts to look around for people to take their extra produce off their hands. There are messages at work telling people if they want apples or pears they can help themselves, people come to work carrying bags of fruit and vegetables and we all start to look for recipes to use up the glut. This week’s harvest is vegetable marrow.

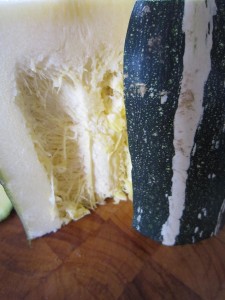
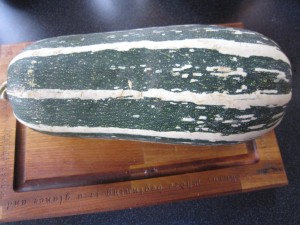
Vegetable marrow, for those of you who aren’t British, are a kind of squash with a very pale, slightly sweet flesh. They are quite large, as you can see – that’s one lying across my large chopping board – and when they are ready for harvesting, there are bound to be lots of them. That’s quite a lot of marrow to deal with.

I need to think of something tasty and warming. I also need to keep an eye on the calorie count. It’s so easy to go wild when the weather turns cold and treat yourself with calorific goodies. I want the best of both worlds – rich and delicious as well as low calorie and healthy.

The weather is changing and this weekend has been very grey and miserable. The temperature is dropping and the winds are picking up. Looking out of our windows I can see rain coming down on the horizon and it is moving our way. I want to stay inside and be cocooned in warmth and comfort.

Soup, I thought. A big bowl of silky, tasty soup. That was what I needed.

Now, vegetable marrow has a very delicate flavour that can, if handled badly,  seem insipid. What I wanted to do was enhance its lovely sweetness and one way of doing it is to add roast garlic to the soup. Garlic, when roasted, develops a lovely sweetness of its own and it works well with the pure taste of the marrow.

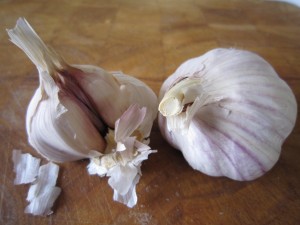
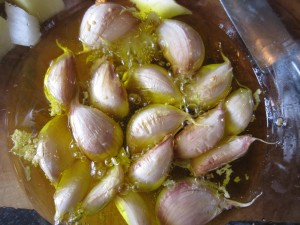
So, first roast your garlic. I have one and a half bulbs, which might seem a lot but once garlic is roasted gently it loses its pungency and becomes almost sweet.

Heat the oven to 200 degrees C/390 degrees F.

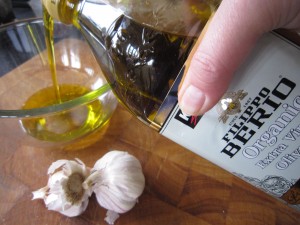
While the oven is getting to the right temperature, pour some olive oil into a heatproof bowl. You need enough to cover the cloves of garlic, but don’t worry – once the garlic has cooked gently you can save the oil to use again. Not only have you made a necessary ingredient for your soup but the by-product is a gorgeously flavoured garlic oil that you can use in all sorts of things later.

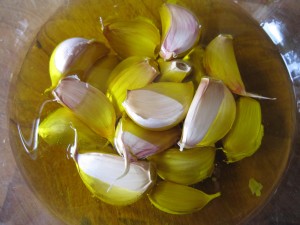
Separate the cloves, removing the outer layer but leave the skins on. Put them all in the bowl with the olive oil, making sure there’s enough oil to cover the cloves and put the bowl in the oven for 10 to 15 minutes.

While that is cooking, get started on the marrow.
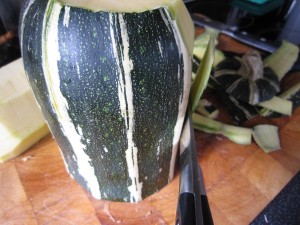
The skin of a vegetable marrow is extremely hard so the only way to peel it, I found, is to cut the marrow into manageable pieces and then cut the skin off.

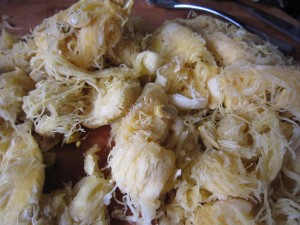
Scoop out the seedy, fibrous middle and cut the flesh into cubes.

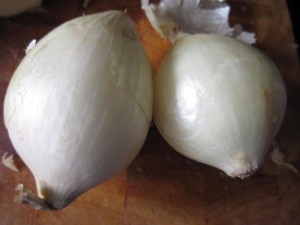
I wanted to emphasise the sweet and aromatic flavours in the soup, so I chose sweet white onions for the base.

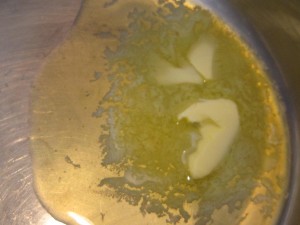
A good tablespoon of butter was heated in a large pan. And when I say large pan, that’s what I mean.

Until the marrow cooks down you will end up with what seems like an enormous quantity so use your biggest pan.

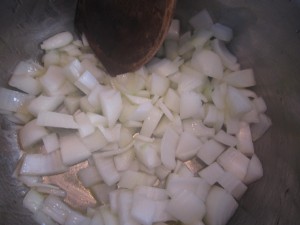
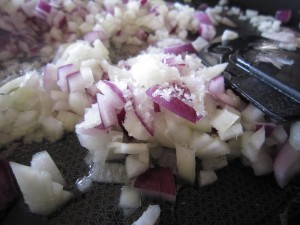
Peel and dice the onion and start to soften it gently. Add a pinch of salt to keep the onion soft and white. You don’t want burned or browned onion as the final soup is a lovely pale cream colour.

By now, the garlic will be cooked so take the bowl out carefully and remove the cloves of garlic with a slotted spoon so they can cool enough to be handled. Remember to keep the oil and bottle it when it is cooled so you can use it later.

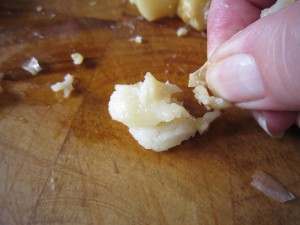
Once you can touch the garlic cloves easily, snip the end off the papery outside covering and squeeze out the soft white inside.

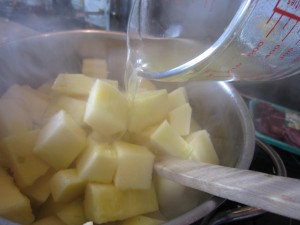
Add the garlic, the marrow and a pint and a half of vegetable stock.

Add a small amount of chilli. I get those tubes of chilli, ready prepared, and keep them in the fridge. Very labour saving and, seeing as this year’s chilli harvest has been a dismal failure to date, an absolute god-send.

Stir everything round, bring to the boil, then cover and simmer gently until the marrow is soft.

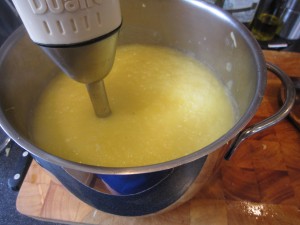
Whizz the softened marrow mix to a smooth consistency.

You’ll see that it looks rather watery and it needs something to pull it together into a rich and delicious soup.

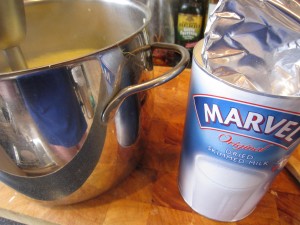
And this is it.

Dried skimmed milk powder. Almost totally fat free.

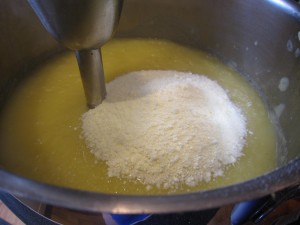
Adding a ladle full of Marvel will make the soup taste rich and creamy with negligible addition of fat. Trust me, this is a brilliant way to make soup taste like it is made with cream. You have plenty of liquid already in the soup base, the milk powder dissolves into that  and enriches the whole pan without adding extra liquid.

Whizz it round and you can see the texture change from  an almost granular in appearance puree, to a smooth and silky soup base.

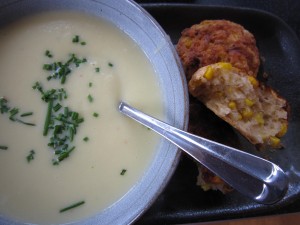
Snip some chives to go on the top of the soup and serve it up.

That was, when served with some savoury scones, absolutely gorgeous.

Each big bowl of soup contained minimal calories yet it felt as rich and luxurious as if it was made with double cream. Of course, if I had been really serious about cutting calories I wouldn’t have made the scones as well…. but hey ho. It’s a start, isn’t it?
Moroccan meatballs with egg

I was on a roll with making food from my 400 and Under collection of recipes. I always look out for recipes that provide less than 400 calories per serving because that means we have some leeway with having a glass of wine, say, while still keeping our calories down and, therefore, still (theoretically at least) sticking to a diet. The thought of Moroccan spiced meatballs with egg in a delicious tomatoey sauce seemed too good to be true – a rich and delicious supper that would only add up to (according to Good Food Magazine, where I found the recipe) a mere 377 calories per serving.

It’s diet food! And it would be delicious. Who wants to live on cottage cheese and celery when you can have a gorgeous steaming bowl of meatballs? Meatballs in a tomato and chickpea spiced sauce with a lovely egg cooked in there…….I had everything I needed so I started by chopping a small sweet white onion and a small red onion. That’s because the recipe said one onion… and these were more midget sized onions.
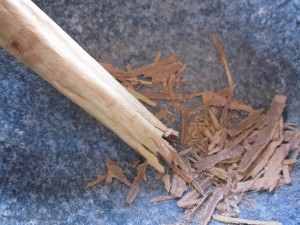
They went into the frying pan to soften while I started on the meatballs themselves. I did have one problem – I had no ground cinnamon and I needed that for a real Moroccan hit. I love the smell of cinnamon (and having made this recipe once, the next time I will add more cinnamon) I did have, however, cinnamon sticks and a large pestle and mortar…

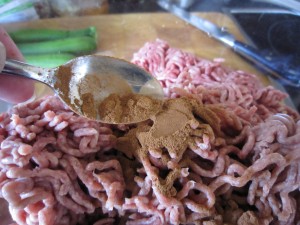
Quite therapeutic to bash and grind the cinnamon into a soft and fragrant powder. But possibly easier to buy it ground…..? I did manage to get some ground cinnamon but there were lots of bits of the stick left. Anyway, I did, in the end, after lots of pounding, finish up with half a teaspoon or thereabouts which I added to 250g of lamb mince.

(Having made the dish I have to say that I would, when I do it again, add more than half a teaspoon of cinnamon because I so love that rich and exotic taste and smell. If you aren’t as keen on Middle eastern flavours then just stick to the recipe)

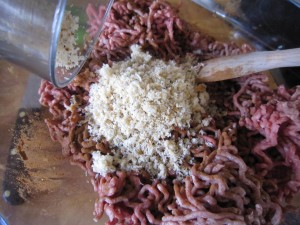
I added 50g of fresh breadcrumbs (I made them by whizzing up a breadbun I had)

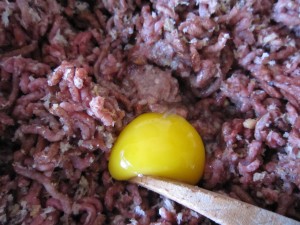
and added an egg, salt and pepper.

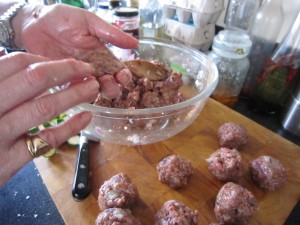
By now the onions were beautifully soft and once they cooled slightly, I stirred them in, mixed them round and started to make meatballs. The Bear was called into action… my poor Canon camera gets so much abuse with my sticky fingers but I really couldn’t subject it to meatball mix.

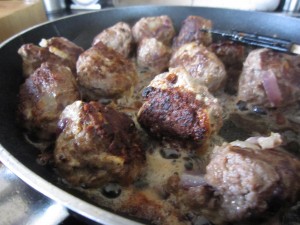
They had to be cooked in the fat left in the frying pan, turning them gently until they were browned

That only takes about 8 minutes – don’t worry, remember they do go back into the pan when you have made the tomato sauce. Take them out and put them to one side.

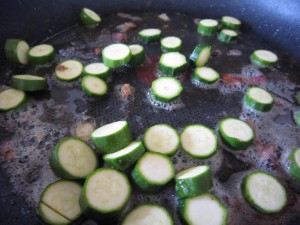
The recipe said use a courgette, thickly sliced but I only had baby courgettes, so I reckoned three of them would be the equivalent of a normal courgette… so they got sliced and gently fried for a minute or so

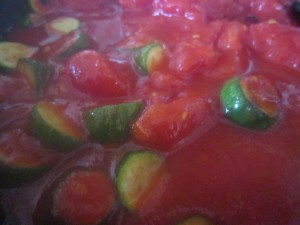
Before adding in a couple of cans of chopped plum tomatoes

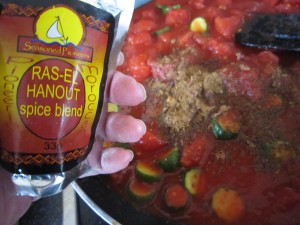
… a teaspoon of Ras-el Hanout – a Moroccan spice blend that you can buy in most large supermarkets nowadays. You can make it yourself if you can’t find it – click on that link and it takes to a description and a recipe.

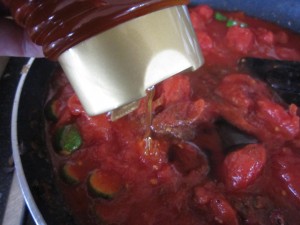
… and two teaspoons of honey

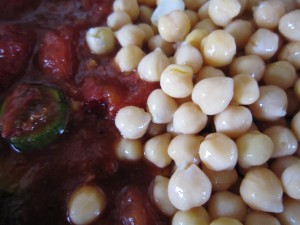
Once the tomatoey mix was soft, a tin of chickpeas was added and the stirred round

and then the meatballs put in

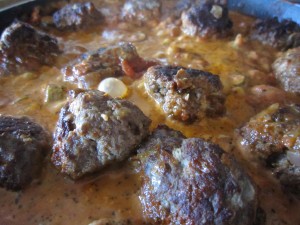
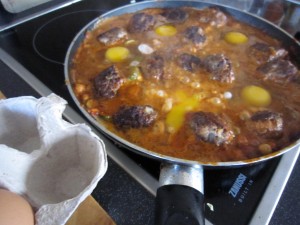
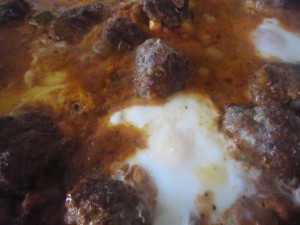
After that, the recipe said to make four hollows in the suace and crack eggs into them… I couldn’t really manage – maybe my sauce wasn’t thick enough? – anyway, I broke the eggs in and pulled the sauce away from underneath so the raw egg dropped down into the sauce.

The pan was covered for 5 minutes or so and left on a low heat to set the eggs……

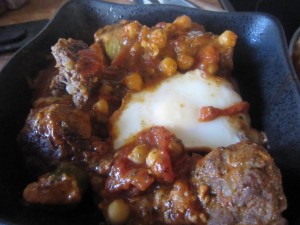
And it was delicious! The cinnamony richness of the meatballs was perfect with the spicy tomato, chickpea and Ras-El Hanout spices and the beautiful egg was the perfect addition in terms of difference in texture and taste.

This is definitely something we shall be cooking again… and it was on our diet! Less than 400 calories per serving….if you stick to one serving that is….oh, it is delicious!

As Good Food doesn’t have a link to the recipe – here it is

Ingredients:

1 onion finely chopped; 3 tbsp of olive oil; 50g fresh breadcrumbs;  250g of lean lamb mince;  1/2 tsp of ground cinnamon; 5 eggs; 2 garlic cloves, sliced; 1 courgette thickli sliced; 2x400g chopped plum tomatoes; 2 tsp. of honey; 1 tsp ras-El Hanout spice blend; 400g chickpeas, rinsed and drained.

Fry the onion in 1 tbsp oil until soft, leave to cool. Mix with the breadcrumbs, mince, cinnamon, 1 egg, 1/2 tsp salt and lots of pepper then shape into about 24 meatballs. Fry in the remaining oil in the pan for about 8 minutes until bgrowned. Lift out and set aside.

Add garlic to the oil in the pan and fry till softened. Add courgettes, fry gently for about a minutes then add tomatoes, honey, Ras-El Hanout, seasoning and a couple of tbsp of water. Stir and cook until pulpy

Stir in the chickpeas and the meatballs. Make 4 hollows in the sauce and break in the remaining eggs. Cover and cook for 5 or so minutes over a low heat till the eggs are set.

Serves 4 Preparation 40 minutes, cooking 30 minutes

Per serving – 377 calories, protein 26g, carbs 20g, fat 22g, saturated fat 7g, fibre 3g, sugar 8g, salt 0.94g

Salt and Pepper Pork Tenderloin

I had a fancy for something tasty. Actually, what I really had a fancy for was our local takeaway’s Salt and Pepper Squid, which is probably the most delicious salt and pepper squid anywhere. And I should know – just ask the Bear. Wherever we go if I see it on the menu, I ask for it.

I’ve eaten it in Perth, Brisbane, Sydney and Hobart in Australia; in Honolulu and on Kauai in Hawaii; in Florence, Barcelona, Dublin, Copenhagen, and Lisbon. I’ve eaten it in smart restaurants in the UK and in cheap ones, but somehow, nothing beats our local takeaway. They cook everything in an open kitchen and the food is spankingly fresh.

The batter round the squid is light and lacy. The squid is never chewy and the salt and chillies are perfectly balanced. The only annoying thing is that whenever I order it, people who HAVEN’T ordered it (because they don’t like squid… or chillies… or whatever else..) suddenly decide they want to try and it and then they take mine!

Anyway, despite wanting it so much that my fingers itched to phone an order in, I decided to try and stick to our vague diet. No salt and pepper squid for us that night.

But the thought of salt and peppered something just stuck in my mind.

I’d worked out a salt and pepper seasoning that didn’t involve deep frying or batter and I’ve used it on prawns and steak. Because you almost dry fry whatever protein it is you are using,  the calorie count drops significantly.

There you go, then, I thought. Perfect justification to make something tasty for supper. I WAS going to have salt and pepper after all. And I could still say we were on a diet.

I like to make lots of salt and pepper seasoning because whatever I don’t use, I keep in an airtight jar ready for my next night of craving. I had some left but I needed to top up my supply.

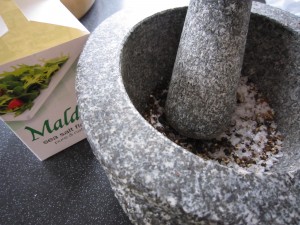
First of all, toast some salt in a large frying pan – yes, this sounds bizarre but it is essential. You will see the colour change slightly and it takes less than a minute. I used a couple of heaped tablespoons of crushed Maldon (I have to crush it in the pestle and mortar because the crystals are large and I need to end up with a smooth spice mix) Take the pan off the heat until you have the spice mix ready.

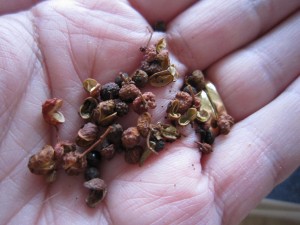
See those? They are Szechuan pink peppercorns. Not real pepper of course but they add that hint of authenticity.  They need to be pounded along with the same amount of black peppercorns.

I didn’t have any star anise but I did have some Chinese 5 Spice Powder so a good dessertspoon or so of that was added to the mix

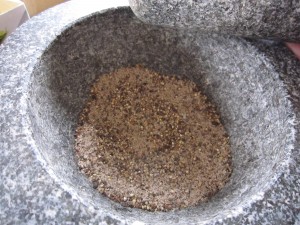
You end up with a fine mix.

Add that to the salt in the frying pan and toast again – beware of the aromatic fumes though, they can be a bit strong. Just a minute or so is all it needs, so stir it round so it toast evenly and leave it to cool. Once it is cool, put it in your jar and wipe the pan out.

And that’s it.

On to the next step – the meat.

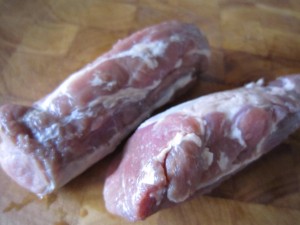
Tonight I was going to use pork tenderloin, which is, amazingly, a very inexpensive cut of meat. Even more inexpensive if you, like I did, manage to call in at the supermarket on the way home and find it reduced for a quick sale.

Now the spice mix is cool, put some on a plate and roll it round, pressing down so it sticks to the outside of the meat.

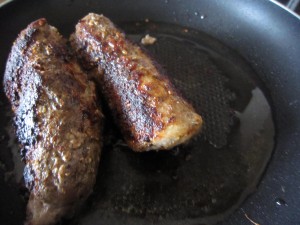
Put your pan back on the heat with a scattering of oil in it (maybe a teaspoon or so… we ARE dieting you know!) and once it is hot pop in the tenderloin.

Roll the tenderloin  so the spice mix browns and crusts beautifully.

Once the crust looks good, turn the heat down and let the meat cook through for ten minutes or so.

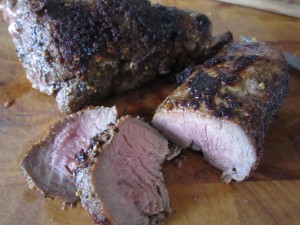
Let it rest for five minutes then slice it into medallions….. Delicious.

Healthy and tasty, oh so very tasty. Quick and easy and low in calories. pretty much of a perfect supper, eh?

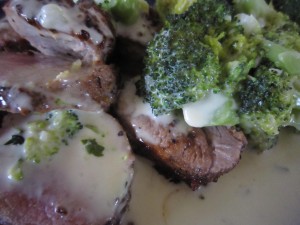
You can serve it with anything you like – let it cool and serve it with salad leaves or add some vegetables. If you aren’t dieting serve it with rice… or potatoes, maybe. Well, we were dieting and potaoes were off limits. I wanted to eat it hot so I made broccoli to go with it.  And yes, the Bear was eating  with me, so I made broccoli a Bear would eat.

And when served with broccoli it becomes heaven on a plate!