Mushroom pâté

Here we are in January again. The excitement of Christmas and the New Year celebrations are over and we are all back to work. This time last year I was rather happy at finding a Le Creuset cast iron terrine dish at less than half price. The Bear, of course, was asking if I really needed a terrine dish and, if I had one,  would I use it enough to justify even the half price… well, the answer is yes.

I have made bread in it… I made a ham hock terrine, I’ve made numerous chicken liver parfaits in…and now I decided I needed to make a mushroom pâté in it.

I needed mushroom pâté because I had a wonderful loaf of No Knead Bread on the go (ready to be baked the following day) and I had the soft, sweetly savoury and delicious caramelised red onions that would be perfect with the bread and the pâté…. and I also had a large bag of chestnut and shitake mushrooms. 

There’s something so rich and tasty about both chestnut  and shitake mushrooms. They’re almost meaty in their texture and the flavour is deep and earthy.

Shitake always seem so substantial for a mushroom – you know how some mushrooms seem to disappear when you cook them, becoming small and almost translucent and frail? Shitake don’t. They are firm and lovely and the flavour  is perfect for making a pâté with.

I’d been out when I spotted the mushrooms, piles of them, looking gorgeous. I really had no plan at the time to make pâté but it all seemed to come together.

If you see mushrooms in the peak of perfection you really should buy them and think of what to do with them while you walk home with your bag of goodies. When I picked the mushrooms, I just put handfuls into bags – when I weighed them at home (yes, the shop did that but I wasn’t paying attention and the only reason I weighed them again was so I could tell you) there were roughly 25og of chestnut mushroom and half that of shitake and together they cost me £2.40.

I knew I had everything else I would need at home – 250g of butter and the remnants of a pot of cream, maybe 125ml or so.

All a pâté is (and what the literal meaning is) is a paste of something. You need the main ingredient and something to stick it all together. Butter and cream are the logical choices as they melt into whatever you are using then chill down, making a beautiful, spreadable paste.

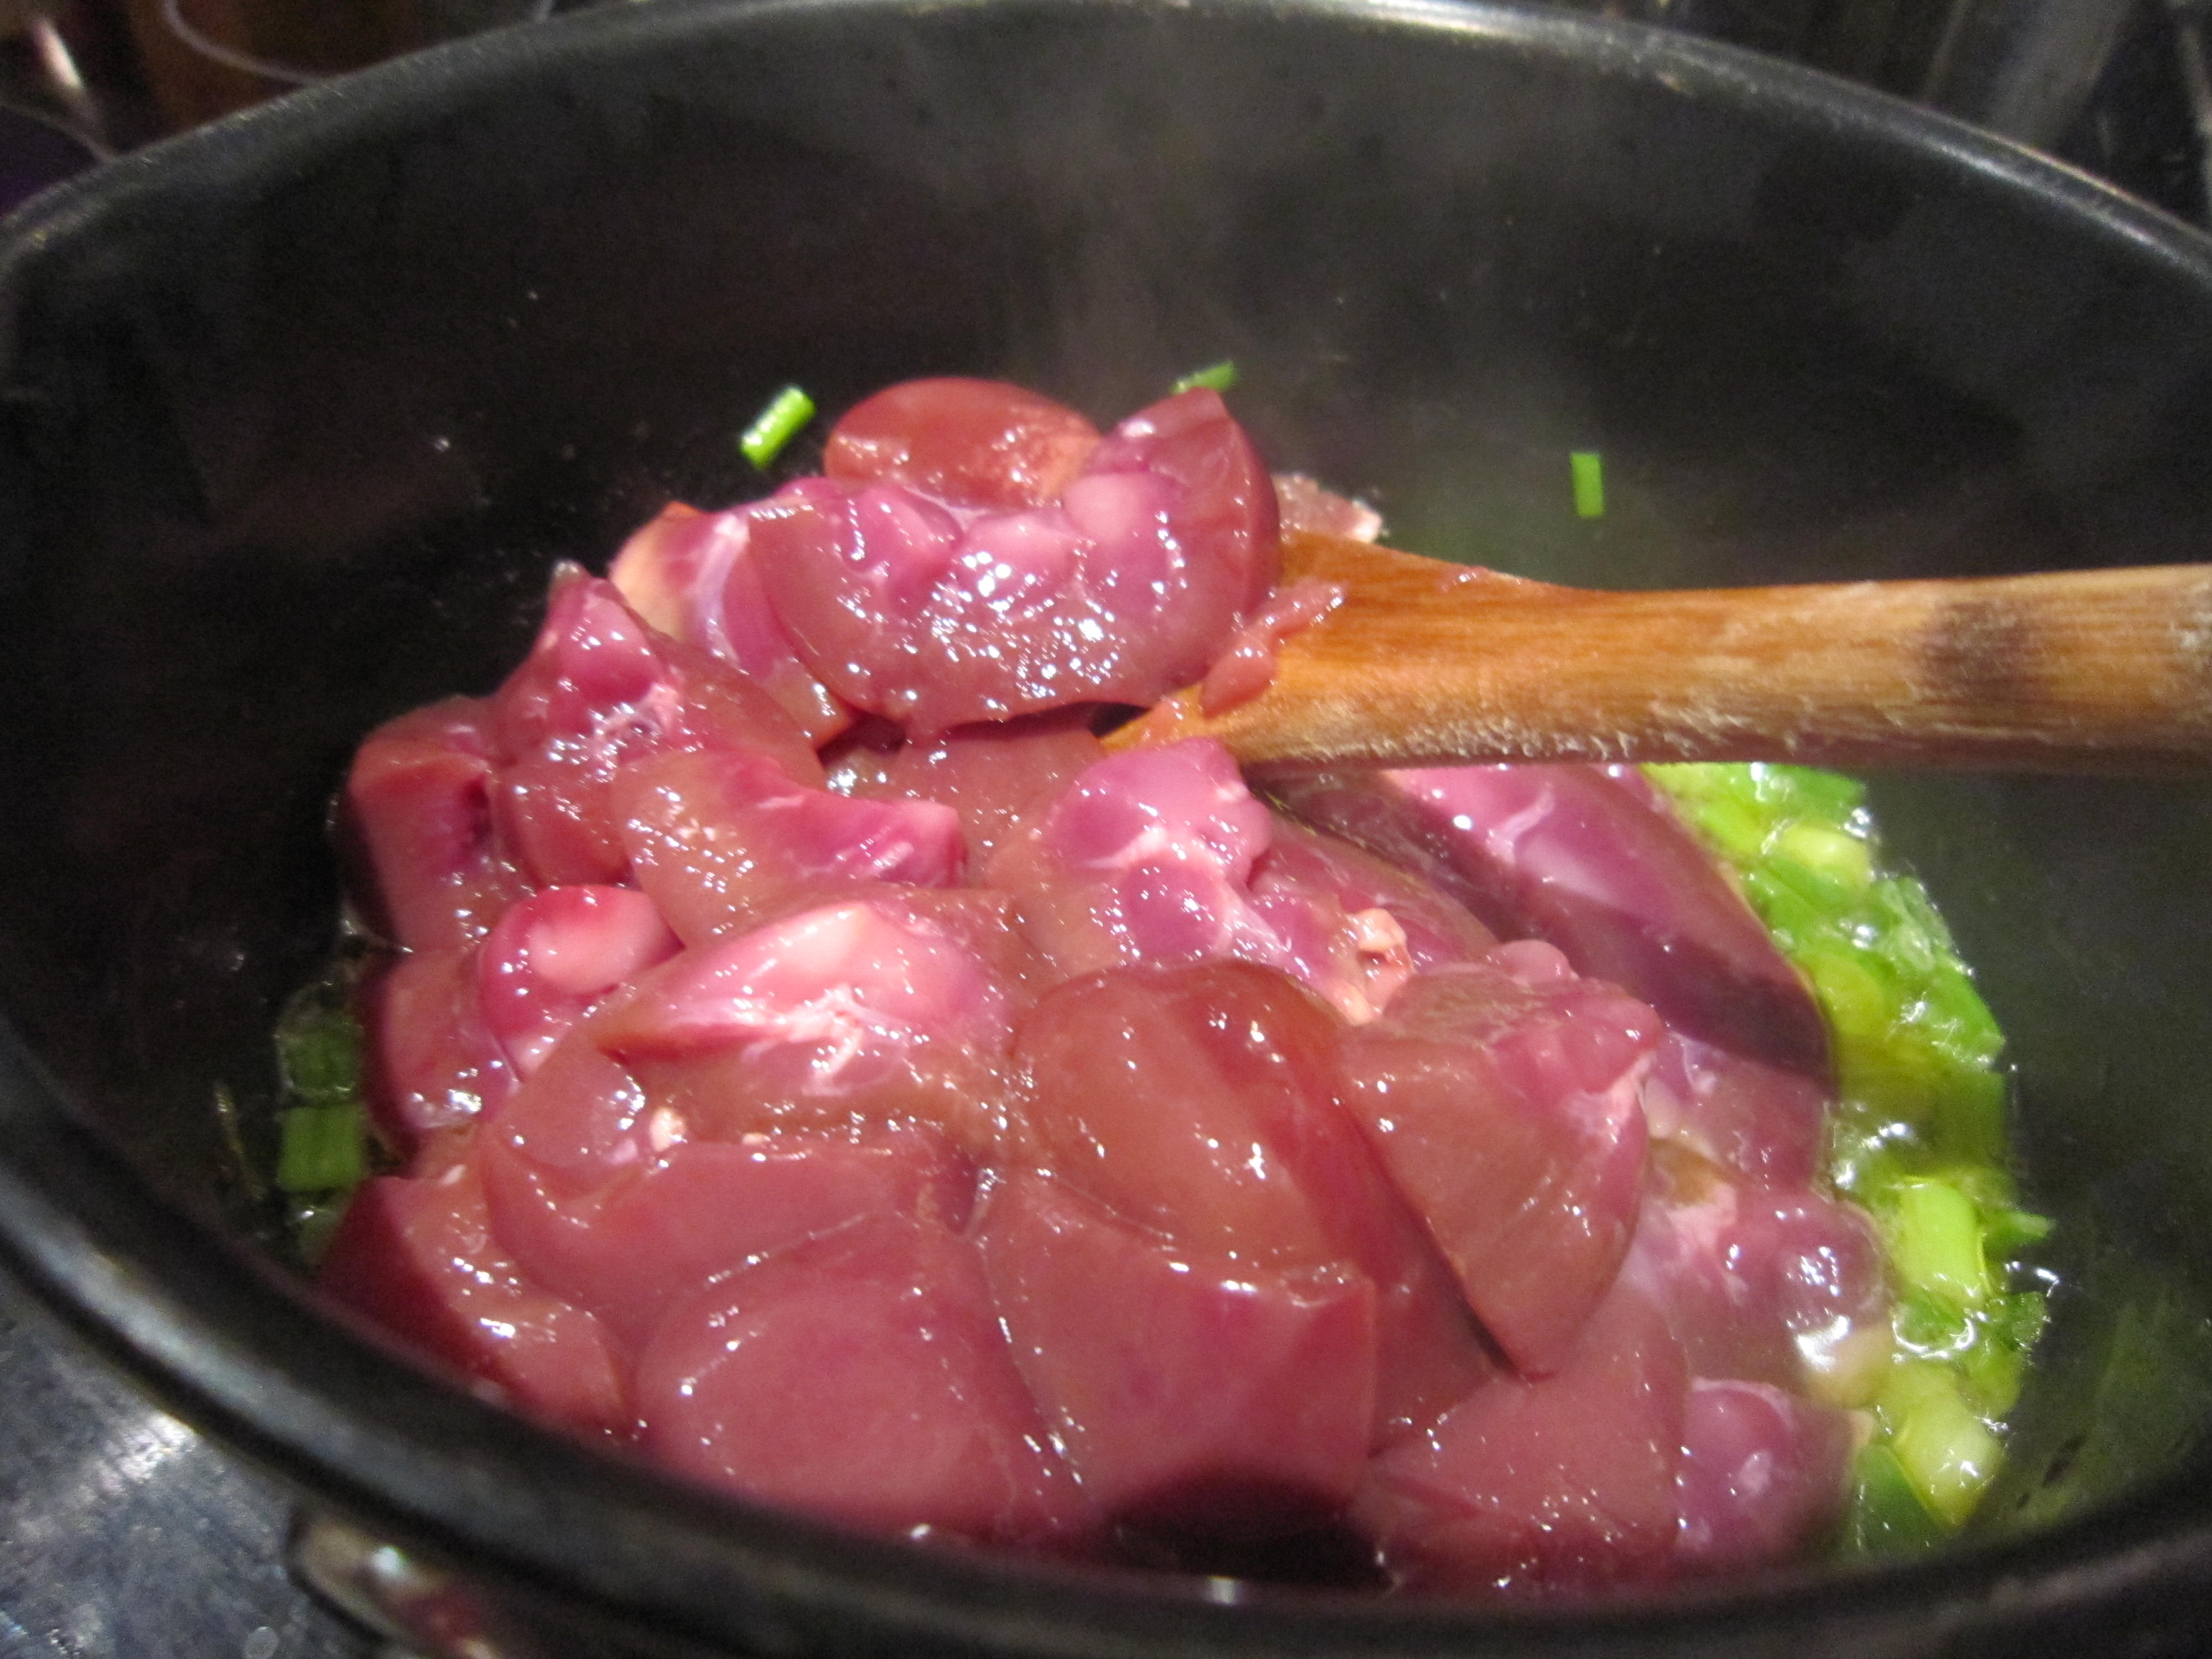
Back in the kitchen, I chopped them roughly and started to sweat them down with a knob of butter and a pinch of salt.

Thyme added to mushrooms

I had some soft thyme growing in a pot on the windowsill so I tore off the baby fine shoots and added them. If you are using thyme that is growing outside then you must strip the leaves off – an outside hardened plant has very tough stems. When it is as soft and tender as this is, it isn’t a problem.

A couple of finely chopped garlic cloves added at the same time  will cook down well making an aromatic  layer of flavour. It won’t be overpowering because it will cook long and slowly so the pungency of the garlic softens beautifully.

I knew I had a box of dried wild mushrooms and I decided to add some of them to the mix. I put a handful into a pyrex jug and added boiling water to hydrate them. If you haven’t got any don’t worry… but the funny thing is, people always tend to have a box in the back of the larder. Maybe it is because we all think we will make risottos with them… then go and buy the fresh mushrooms anyway.

By now the fresh mushrooms were softening nicely. Keep them on a gentle heat and keep stirring them every so often.

You want them to be cooked and to have concentrated their flavour. If you are in the mood for it, you can add a splash or so of cognac just to add in yet another layer of flavour. It doesn’t matter if you don’t want to, it’s just an option. This is such an easy thing to make that you just change and adapt until it pleases you.

The dried wild mushrooms will have plumped up beautifully by this stage so you can squeeze out the excess water and add them to the mix so they can cook through and absorb the buttery, mushroomy juices.

If you are planning on doing something else with mushrooms the rehydrating water could be used as a stock, but really, there’s not that much there and with dried mushrooms you have to be wary of any little bits of sand or grit that might have been in there. For once, much though I try and make sure there’s no waste in my kitchen, I didn’t see the benefit in saving the water.

An extra knob of butter won’t go amiss….

Look at how they all mix together – that’s not the clearest picture but I kept getting the lens steamed up, so that’s the picture that was taken.

Now then, it’s time to make the pâté.

Put the mushrooms into a processor or, if you are like me and find it just as fast to use a hand blender, put them into a jug with maybe 50g of butter. It’s the butter and cream that hold this together and when it has been chilled in the fridge you end up with a beautifully smooth pâté.

Don’t be afraid of the amount of butter because the amount of pâté you eat in a serving is not that much.

Start whizzing it smooth.

Keep going till you have whizzed all the mushrooms smooth and with each whizzing you have added more butter. Of course if you had bothered to get to the back of the cupboard where the food processor is, you could have done it all in one go….. I didn’t. So I had to keep whizzing in a jug and putting the smooth blend in a bowl.

Look at it…. rich and smooth….

Stir in the cream and make sure it is all blended properly.

You should check the taste of it to see if it is well seasoned – you might need to add in some salt. I put in a pinch or so and stirred it all round.

Then, all you have to do is spoon the thick and rich blend into the terrine dish.

A silicone scraper makes an excellent flexible smoother.

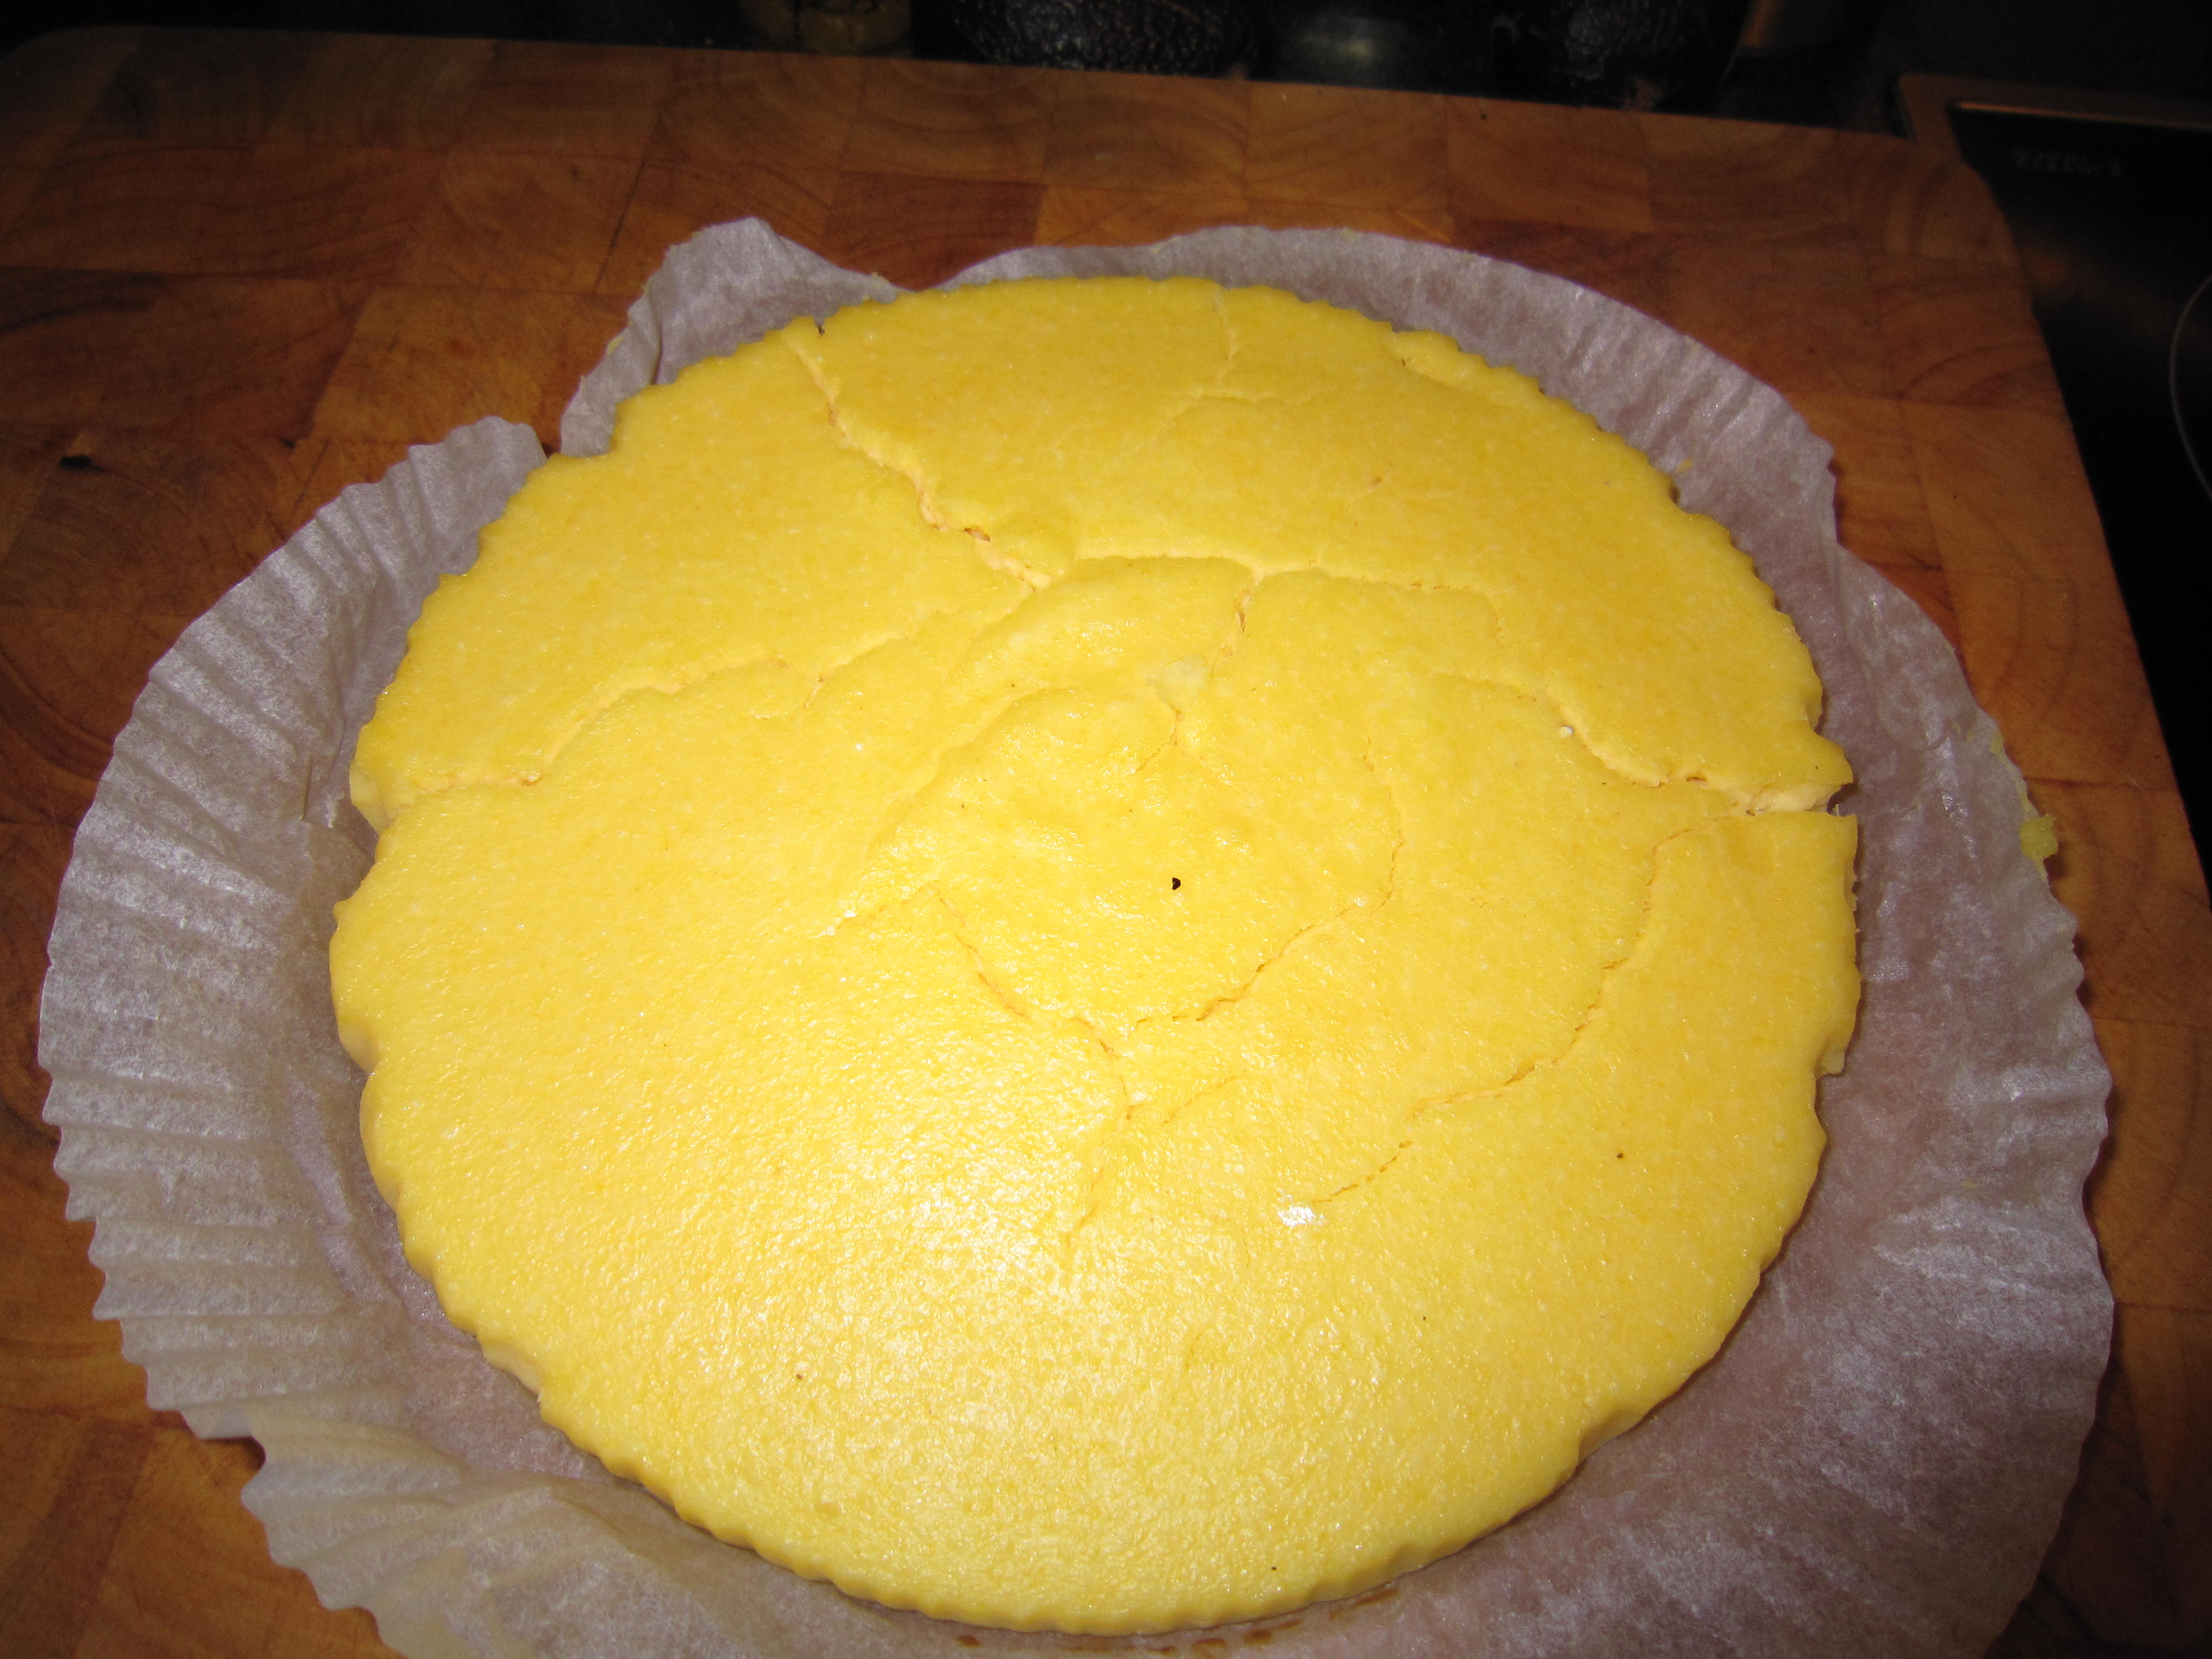
Look how beautifully smooth it is…..

And all you have to do now is to chill it.

The mushrooms were cooked in the pan and the butter and cream were blended in, now the butter needs to set again so the pâté becomes firm and you can slice it.

Put the terrine into the fridge and leave it to set and chill. I usually leave it overnight, unless, of course, I can’t wait.

The next day, I sliced some No Knead bread thinly and baked it for ten minutes in a moderate oven. Not enough to toast it but just enough to to dry it out. This was going to be my Melba toast that I would serve with the pâté and the rest of the caramelised onions that had been waiting patiently in a jar in the fridge.

This was going to be a lovely light meal….

And it was.

It was rich and smooth and made the perfect starter when some friends came round for supper.

It keeps well in the fridge and you can, if necessary, freeze it, if you wrap it tightly in cling film. That’s good news because, as ever, I had made far too much.

I cut it into portions, and wrapped it well. One word of advice though… do remember to label it!

So, two bags of mushrooms, a block of butter and some cream and you end up with possibly the best mushroom pâté you have ever tasted. What more do you need, except a glass of wine and company to share it with?

Roasted pumpkin seeds

Sometimes we all need a little treat.

I don’t tend to buy crisps, crackers or olives  to nibble at with a glass of wine unless we have guests. I don’t know why… maybe I think we don’t deserve it or maybe it is that we are fat enough and having extras isn’t a necessity. Perhaps I think it is a needless extravagance?

But you know what? We do deserve to have something every now and again. After all, the person I like best in the world would be sharing them with me and I’m happy enough to put stuff out for people I don’t love half as much.

So, what follows is the ideal compromise. It’s healthy, it’s tasty and it doesn’t cost very much at all.

I’d bought a small pumpkin to make some Puy Lentil and Pumpkin Soup and I’d had to scoop out all of those plump seeds. What better than to use something that others might just throw out?

They are all embedded in the fibrous middle but they are easy enough to remove if you gouge at it all with a spoon.

If you put them in a colander and run water over them it’s quite easy to pull the orange fibres off, leaving just the seeds behind. They will feel very slippery so give them a good rub in fresh water.

Once they are clean, spread them, out on a board and leave them to dry off.

This time I wanted plain and simple butter and salt roasted pumpkin seeds (I often make them and flavour them with things like chilli powder or spices ) but there’s something rather delicious about the plainness of the roasted seeds… plain, certainly but tasting deliciously of butter and salt!

Get a flat baking tray and put a knob of butter and some salt on it (I always use a silicone sheet because it is so easy to clean and doesn’t tear if you scrape at it. If you haven’t got any, it doesn’t matter – use tin foil or be prepared to clean the baking tray)

Put the tray in a pre heated oven at 200 degrees C/390 degrees F and get the butter melted and hot.

Toss the pumpkin seeds in the melted and salted butter and put them back in the oven for ten minutes or so.

After ten minutes, give them a shake… they should be browning nicely.

Put them back in if they need a few minutes more – this will depend on how much moisture was left in the seeds.

Once they have cooled… put them in a bowl and share with your best friend.

A glass or two of wine makes this the perfect pre-dinner snack – healthy, tasty and all it took was a knob of butter, ten minutes and some otherwise thrown away seeds!

Meatfree Monday – Baguette baked with cheese, tomatoes and peppers

For me, there’s something so soothing about baking bread. I love getting out a big bag of flour, some yeast and some good salt and knowing you can turn it into something delicious. Those ingredients, by themselves, could never be a meal (unlike quite a lot of things we cook with) but together, in some almost alchemical way, become something nearly essential to our day to day life. We talk of “breaking bread together” to refer to eating together. Bread in the Bible is called “The Staff of Life”  and means it is a staple, or a necessary food. We talk of  “Our daily bread”  both in prayer and conversation. It doesn’t matter if you aren’t religious in any way, it’s just the Bible tends to be the oldest, most widely accessible book in the world and phrases and proverbs from there crop up in our everyday language without the majority of us even noticing, or realising where they come from.

The fact that these terms have entered our language and are used daily point to the importance of bread for the majority of people. “Bread” and “dough”  are even used as slang terms for money.

Anyway, I love the action of making bread. I love the smell of it baking and I especially love cutting into a still warm loaf. I think I could get away with murder in our house as long as the Bear can have his fresh loaf. His favourite is the No-Knead Bread but sometimes I make soft white bread because, really, there’s nothing like it for a fried egg sandwich which is one of our favourite weekend breakfasts.

This  wasn’t planned as a breakfast , however. I wanted to make us something nice for lunch. Something light and tasty but also something that would brighten what was a rather vile day. There were thick clouds everywhere and violent rain storms. The Met Office were issuing storm and flood warnings. A typical British Summer, eh?

I had a fancy for a sandwich but a kind of baked and stuffed sandwich. Sort of like a calzone pizza but with lovely white bread. I wanted a light and fresh toasted sandwich – certainly not a heavy meaty one…and it had to be suitable for Meatfree Monday.

But first of all I had to make the bread.

That’s as easy as anything, really.

250g of strong white bread flour with a teaspoon each of dried yeast and salt are stirred together so you have all the dry ingredients evenly dispersed

50g of butter can then be rubbed through, rubbing the butter lumps with your fingers so they make a fine, almost granular in appearance, mix.  (Yes, the Bear took that photograph as my hands were messy)

5 fluid ounces of warm water need to be poured in and mixed through. The warm water helps the yeast become active, so don’t have it too hot as this will kill the yeast and too cold means it won’t start to work its yeasty magic and make the bread rise.

The dough will come together quickly and then you need to knead it. Either do it by hand (and it’s not a tough job as this is only a small quantity of dough, just enough for two people) or if you have a mixing machine with a dough hook, stick it in there for 5 minutes. If you are doing it by hand, take ten minutes and think of it as a meditative exercise… I stretch the dough away from me and pull it back again and again. The texture of the dough changes from an uneven, lumpy mass into a smooth and almost silky ball of dough that bounces back when you poke it. It’s a marvellous way of calming down or settling your mind.

Once the dough looks right – and you will be able to tell the difference from when you started out – make it into the shape you want and leave it to rest, lying in either a greased loaf tin, covered with a damp tea towel to stop it drying out or, as I have done, lying on some lightly  oiled cling film and loosely wrapped. I wanted a baguette shape so I rolled it between my hands for a free form shape.

That needed to rise quietly by itself until it had doubled in size, which, in normal temperatures, takes about an hour or maybe an hour and a half. In the depths of winter it can take longer and you might have to find a warm place so the dough can rise.

Once it had grown into the size it should be – i.e. a baguette big enough for two – I pulled it apart and started putting the filling in.

Sun dried tomatoes went first.

Slices of lovely, tangy Tallegio cheese on top of that. I chose Tallegio because it melts well and tastes divine. You choose whatever you think is the nicest.

And remember those roasted red peppers I made?  I thought they would add an extra layer of flavour, so the last of them were laid on top.

Then it was simply a matter of making sure the oven was heated to 230 degrees C/45o degrees F and the edges of the dough pinched back together

A few slashes across the top to let it expand and then it went iinto the oven for half an hour or so.

You’ll be able to smell it when it’s ready – that gorgeous baking bread smell fills the apartment and the Bear starts to look around, sniffing, realising his lunch is nearly ready.

The bread has risen nicely and browned gently… some of the cheese has started to ooze out….

And cut into? It’s not doughy at all but a lovely, well risen soft white baguette with a hot and savoury tomatoey, cheesey and smokey peppered middle!

A success, if I say so myself.

The Bear thought so too and, really, that’s what counts for me.

Try it… put whatever filling you like in – the heat of the oven will heat the filling as it bakes the bread. It really is worth it… delicious baguette stuffed with your favourite things. Just what you need to brighten a wet and windy August day!

Broccoli and Stilton Pastryless Pie

At long last the days are becoming brighter and the weather seems to be improving. Today at work I had the windows open as it was getting rather hot, sitting behind glass with the sun shining in. It’s time, I think, to start freshening up food…. making it lighter and more summery.

Time, in fact, to make something like a pastryless pie.

I often make this because it is perfect with a light, dressed green salad for supper and also because it is absolutely ideal to take to work for an easy packed lunch.

A pastryless pie is, in effect, a quiche without pastry. The quiche filling is baked inside strips of ham. What that means is that if you are baking it to share with friends then anyone with a wheat intolerance or coeliac disease doesn’t have to miss out.

If you are trying to cut carbs from your diet, well, it isn’t exactly Atkins because there’s plenty of vegetables in there but it does, at least, avoid pastry.

So then… what do you need?

I had some broccoli in the fridge and that, along with a lovely piece of Stilton cheese would make a lovely pie.

I had half a dozen free range eggs, a small pot of cream, a packet of sliced Serrano ham, 200g of Emmental cheese (which I love for its sweet nuttiness) a courgette, a handful of cherry tomatoes and few baby salad potatoes.

For those of you who don’t have access to Stilton or Serrano ham or, in fact, anything else I have listed, just remember I am putting those ingredients in because that’s what’s in my fridge.

As long as you have eggs, cream, some ham (some kind of air dried ham, sliced thinly) some cheese and some vegetables you can make this.

Now, because you are making what is really a quiche filling, it is going to be runny. And you don’t have a pastry shell to pour it into. I told you we were wrapping some air dried ham around it but that isn’t going to stop the filling from running out, so this is what to do

You can buy silicone paper cake liners from most places now – one of these popped inside a springform cake tin makes the ideal liner to keep all your lovely ingredients from seeping out when you bake it.

Open your packet of ham and drape the slices round the edge.

You don’t need to completely cover the sides and you don’t need to cover the base. What you are doing is making what will turn out to be a lovely, savoury, lightly crisped ham edging. It helps keep it in one piece when you cut it.

The bottom of the pie will be lined with a layer of steamed and sliced potatoes – it makes for a firmer base. Either slice them and steam them now, or use left  over cold salad potatoes. Because I am using broccoli, I steam that at the same time.

See? Just a thin layer of little slices of potato.

Followed by a lovely layer of broccoli florets

I found a courgette in the fridge and if you use a julienne cutter, you get a glorious tangle of shredded courgette. When this cooks it disappears into the gorgeousness of the creamy, cheesey, eggy filling so even for avowed courgette haters… this would slip right on past them. Another vegetable chalked up!

Scatter those shreds over the broccoli layer

And as it is a broccoli and Stilton pie, now is the time to slice that piece of Stilton you saw earlier.  You could crumble it if you want to, and scatter it across but I thought how pretty and symmetrical it looked to arrange it in thin slivers.

I had half of a red onion left over from something else I’d made so I thought that, sliced finely so that it would cook through while the pie was baking, it would add an extra hint of savouriness.

 That was scattered on top of the cheese.

That’s the vegetables taken care of, the next thing is the delicious cheesey, eggy mix.

6 beautifully golden fresh free range eggs need breaking into a bowl and whisking round with a fork.

A small (150 ml) pot of cream gets poured in and whisked around again.

And pour it in……

Give the springform tin a gentle shake from side to side to make sure the eggy mix falls down around those lovely vegetable layers.

I had some sliced Emmental to use up as well, so that was shredded and scattered over the top.

Little cherry tomatoes (there were only 4 or 5 left) were quartered and added to the top layer before the ends of the ham were folded over.

You can see when you do this that the egg and cream mixture seeps between the slices of ham and then you realise just what an excellent idea it was to use the paper liners…

Into the oven with it at 160 or so degrees C for approximately 30 -40 minutes.

You can tell when it is done when the top looks golden and if you give it a gentle side to side shake the pie quivers just a little bit… and if you press it with your finger it feels soft but firm…

The only thing to do now is to free it from the springform tin, peel back the paper liner and slide it onto a serving plate

The hardest part is waiting for it to cool slightly so you can slice into it….

With a green salad it truly is the perfect lunch or supper.

Tasty, easy to make, easy to take for lunch… cunningly packed full of vegetables in the midst of that delicious filling… just the thing for the summer months!

Kidneys and rice… offally good!

You might have noticed, if you have read anything here before, that I am very fond of cooking the cheaper and often forgotten cuts of meat because they can, if treated well, turn into the most delicious meals. The same with offal.

When I was a schoolgirl I was forced to eat dry, rubbery liver and bouncingly hard kidneys and I swore that when I grew up I would NEVER be made to eat them again… until I cooked them myself and realised that offal wasn’t awful at all.

Now, one of my favourite quick suppers (only when the Bear is away….. he’s still rather stubborn when it comes to kidneys, but I have no doubt with training he’ll get there) is kidneys in a cream sauce on basmati rice.

Kidneys are so cheap – I think that pile of beauties cost me less than a £1 – and all you need otherwise is some basmati rice (a cup full) a few spring onions, some butter, cream and a dash of something alcoholic and either some flour to thicken the cream sauce, or, like I did tonight, some thickening granules. Now, I would normally avoid produced goods and shortcuts like this, but they really are rather good. They USED to say they were gluten free, which made them a great option if I was doing something for my brother…now I think they have to say that the product is made in a factory that also produces products containing gluten. Anyway… that’s why I started using them and I still use them today. The granules are just stirred in to whatever you are cooking and they thicken… It’s an option, isn’t it?

So, let’s start.

You need to remove the centre core and the tubules from the middle of the kidney. It’s easy enough to do – just slice them in half and then snip out the white core and tubes with scissors.

Chop the spring onions into pieces and add them to a pan with a spoonful of butter and a dash of oil (this stops the butter burning too quickly)

I used my favourite chilli infused oil just to give the dish a hint of a bite.

Cooking takes just a few minutes – you’ll be able to tell because the kidneys go from fresh. bright red to a rich brown.

In the meantime, I put a cup of basmati rice in a pan, add a cup and just under a half cup  of water, a pinch of salt and set it away to boil. Basmati only takes a few minutes to cook and doing it this way means there’s no need to drain it. If you cover it with a teatowel and put the lid on after the water has been absorbed, then the excess moisture is absorbed and you are left with fluffy, dry rice.

When the kidneys have just cooked, I like to add a dash of something alcoholic to perk up the final dish. If you are cooking this for children then you don’t have to add it… though I have to say, any alcohol will be cooked off, so it shouldn’t affect them.  Tonight, I am using port.

Why port? Well, there’s a bottle open and also I think the sweetness will combine well with the musky tang of the kidneys. Sometimes I use brandy, or whisky. I’m tired tonight and i think I might fancy a touch of sweetness in there, so port it is.

Then, a sprinkle of thickening granules, stirred in

And, because I have some in the fridge and it needs finishing off, I add a spoonful or so of cream

And that’s it.

Just stir the cream round, taste for seasoning – maybe a pinch of salt or a grating of pepper and then pour it over your lovely, fluffy rice.

Supper in less than 20 minutes.

Comforting, rich and smooth. Gently cooked kidneys (no rubbery, bitter bounce here!) in a delicious, creamy sauce on fluffy rice.  Just what you need to brighten a lonely evening.

Superfood salad

Right then. Celebrations  are over and spring is on the way. 

I have a new job and a new bounce to my step. Everything is looking bright and cheerful and I am filled with optimism. Not only about having a real job but I am optimistic about starting a diet. Well, when I say starting… I seem to remember saying I was starting one some months ago but the horribly cold weather and gloom got in the way.

The brighter days and increasing warmth make me feel lively and less in need of solid, warming foods. Lovely though that Toffee Apple Crumble was, it seems my tastebuds are shouting out for brighter, fresher things too.

One of the things the Bear and I like to eat when we start to feel like this is Superfood Salad.  Lovely chopped salad with fresh, raw vegetables and quinoa with a lovely savoury, light dressing.

It makes a delicious meal by itself, or perhaps served  as a side salad alongside salmon or chicken. 

The basis for the salad is quinoa (and if the spelling confuses you, it is pronounced “keenwa” ) It was important to the Incans of South America (who called it the Mother of all Grains”) but nowadays, according to Wikipedia,

” In contemporary times, this crop has become highly appreciated for its nutritional value, as its protein content is very high (12%–18%), making it a healthy choice for vegetarians and vegans. Unlike wheat or rice (which are low in lysine), quinoa contains a balanced set of essential amino acids for humans, making it an unusually complete protein source.[4] It is a good source of dietary fiber and phosphorus and is high in magnesium and iron. Quinoa is gluten-free and considered easy to digest. Because of all these characteristics, quinoa is being considered a possible crop in NASA’s Controlled Ecological Life Support System for long-duration manned spaceflights.[4]

I don’t suppose you can say fairer than that, can you? And if you add a good selection of fresh, crisp and crunchy vegetables, well, you have Superfood salad.

So, first of all, get your quinoa.  About a half a cup full would make enough, when cooked, to make a decent sized salad for maybe four people. Or, if you are us, it makes enough for supper with two portions left to take to work for lunch the next day.

Give it a rinse and then put it in a pan to boil. It will take maybe ten minutes.

You will know when it is ready, because it goes from looking like little grains into grains with little sprouts appearing

See what I mean?

I often put a sprinkle of stock powder into the water to give the quinoa a bit of a hint of taste… you could try that.

Next, start on the vegetables.

The Bear won’t eat anything “stringy” (he thinks celery will strangle him) so I peel the outside with the potato peeler to get the worst of the strings off.

Once the celery has been transformed from a Bear-strangling-vegetable into a crisp and juicy stick of fresh greenness, I chop it into cubes.

And do the same with baby courgettes

And after scooping out the wet, seedy middle of a cucumber, I chop that into bits, too.

Get carrots, baby corn, spring onions, red pepper and baby plum tomatoes and do exactly the same to them.

A ripe avocado makes a good addition as well.

Now it really is a case of just putting it together – I put a handful or so of sunflower and pumpkin seeds in a bowl, then having rinsed in cold water and drained the cooked quinoa

I add that to the bowl and stir it round

Then add the chopped vegetables, stirring them into the quinoa and seeds

A good handful of chopped nuts  gives the salad an extra crunchy dimension

I make a light dressing with some walnut oil, some balsamic vinegar and some lemon juice and pour that over the salad.

And that’s it!

Look at it, isn’t it pretty? Fresh and crispy and delicious?

By itself it is gorgeous but I want to add a little extra to make it the perfect spring meal….

I have a lovely crisp pear and some organic feta cheese that, if I cut up, will go perfectly.

All that needs is the juice of half a lemon pouring over it to stop the pear turning brown and you have a sharp, sweet and salty extra to add to the salad.

So…. all you have to do is get some quinoa, a selection of vegetables that you like and with the aid of a sharp knife you can make yourself a really tasty salad that will not only brighten up your day by the sheer colourful crunchiness of it but it will also do you the world of good.

Spring is here – let’s eat something light and bright and good for us!

Baked polenta pie

Remember the polenta? How I said I had an idea for it? Because I’d made a big pan full of it?

Well I also had some broccoli…. and this was Saturday. The Bear was still away and, therefore, unable to kick up a fuss about me making something with broccoli in again. You can just hear the sigh in his words…. “oh not again…”

I’m sure I read somewhere that if you eat something you dislike ten times then you will learn to like it. Perhaps he is just a very slow learner? I don’t know. I keep feeding him broccoli. It has to have been more than ten times now, surely?

Admittedly he has stopped clenching his mouth shut and turning his head away in disgust as I try and make him eat it, but he just WON’T give in gracefully. Still, he wasn’t there and I could do what I liked!

When I made the polenta, I poured the majority of it into in silicone paper cake liner, in a springform tin

(Whoever invented these deserves a medal… the hours they have saved people cutting and snipping at baking parchment

I needed it to set… which it did, overnight.

All I had to do was prepare some broccoli…

I only used the florets this time – the stalks can be used elsewhere  (I’m fancying Broccoli Slaw later this week) – and put them in to steam, with some chilli oil. A quick way of doing this is to rinse the broccoli, shake off most of the water and put it in a bowl. I drizzle it with chilli oil and then cover the bowl and put in in the microwave for a minute or so on high. This is just enough to soften it and give it a gentle chilli bite.

While that is going on, I slice the polenta “cake” in two with the bread knife

And then (actually, this bit was quite tricky, but I did manage) get the base back in the tin (I put extra tin foil in because I thought the etxra fillings might run out…..)

I laid the bright green semi cooked pieces of broccoli on the base

Just because you can… and because you know it is going to make this taste more delicious than anything else….. add a few bits of Tallegio cheese.

I had some roasted peppers in a jar, leftover from when I made pork and pepper goulash, so I layered them between the broccoli florets

And then added tomato – I thought some quartered little Pomodorinos (tiny little plum tomatoes) would lighten up what is , essentially, a large wodge of polenta and cheese.

Flip the top over and on to… it might crack or break but don’t worry… it will all come together in the heat of the oven

And bake it at 175 degrees for maybe half an hour

Just look at it!

Doesn’t that make you feel like smiling? That gorgeous colour? The smell of delicious melted cheese and vegetables?

Absolutely perfect with some green leaves.

Major plus points – it is gluten free, quick and easy to make, and doesn’t cost a lot at all.

In my eyes, though? Best of all? It’s got broccoli in it!

Cheese rolls for New Year’s Eve bites…

We invited friends round for New Year’s Eve so I needed to make some little bites for us all. One of my friends doesn’t eat meat, so while sausage rolls and ribs were a given, and were currently in the oven, I needed to make something nice for E.

She does love cheese, though, and in the fridge I had some Philadelphia and some Dairylea slices (I know, I know… but I had made Aberdeen Angus beefburgers and wanted to add a cheese slice…and this was what was left from the packet)

So… with the rest of the puff pastry, I rolled it flat and then

put half a cheese slice on the pastry and then put a spoon full of cream cheese on top of that

and then rolled the pastry over.

A quick brush with egg, then slicing them into bitesize morsels  and off into a hot oven (200 degrees) with them for ten to fifteen minutes

And out they came.

Golden little rolls, stuffed with delicious melting cheese.

For something that was created quickly from necessity and bits from the fridge, they were delicious and I shall definitely do them again. The combination of cheese slice with cream cheese was gorgeous – the two tastes blended beautifully together.

As it happened, poor E was felled by a dreadful bug and couldn’t make it to the party.. so we ate them all and toasted her!

Just as well I ate them before starting on my diet, eh?

Broccoli slaw

Those of you who know me, know I adore broccoli.

 Those of you who don’t know me yet will soon learn…

I REALLY love broccoli……. once when  I left a temping assignment, they bought me presents… chocolate and wine, a lovely card…. and a  head of broccoli! OK, so that was a joke but it reflected the fact that there were so many packed lunches of mine that involved broccoli.

I thought I had broccoli cracked… I’d make soup, or steamed with chilli, or Thai green curry, or eat it raw, broccoli puree, broccoli with lemon, broccoli hot.. broccoli cold…. anything really. I love broccoli. I thought I had worked my way through the entire broccoli cookbook.

And then I read The Weekend Carnivore and Sarah Jayne wrote about Broccoli Slaw…. she added apricots, which I would never do,  but even so.. broccoli? Something new to do with broccoli? Oh I was happy!

coffee vod, apple cake, 025

I often make coleslaw and we love it but this was different… using the broccoli stem instead of cabbage.

coffee vod, apple cake, 026

Simple enough… just slice the broccoli stem into slices across and then across again and again until you have pieces the size of matchsticks.

coffee vod, apple cake, 027

… and grate the carrot

coffee vod, apple cake, 028

When you make cole slaw, you really have to add onion but I really don’t like lots of it. If I eat big bits of raw onion I get a headache… weird, eh? So what I have done to get round that is to use a microplane grater and grate some raw onion so it comes out rather like a puree….

coffee vod, apple cake, 029

and what I do then is add it to some mayonnaise to give the taste of onion without too much harshness.

I love making my own mayonnaise because I can tweak it according to what I intend to eat it with… lemon, perhaps, or chilli. This time I just wanted plain mayonnaise so the clean crisp flavours of the carrots and broccoli could shine through.

coffee vod, apple cake, 030

Stir in all that lovely, sweet, grated carrot

coffee vod, apple cake, 031

Then add the broccoli and a sprinkling of lovely Maldon Salt and stir it round…..


This is gorgeous. Really gorgeous.

coffee vod, apple cake, 034

And when fed to Bears? Bears who swear they won’t eat broccoli? Well………. it was eaten. And enjoyed!

To think that some people  throw the stem out….

Pea and Soya bean houmous with fresh cheese on toast

Apples, pea and soya bean hummus 006


I really like the taste of soya beans – there’s a lovely nuttiness to soya and the texture is really good. Not floury at all like so many beans, but clean and firm. I often make a mixed dish of soya beans and peas to serve with a meal as a vegetable side dish. It looks so pretty as well – bright green peas and beans together look beautifully fresh and taste clean and bright.

In the summer I had spotted a recipe in Good Food for Pea and Broad Bean Houmous and thought it looked delicious… but how much more delicious it would be, if the broad beans were replaced with soya beans.

As it is November, the heating systems have come on at work and they are proving difficult to control – it can be almost tropical at times, so a light and cooling lunch (that is ideal in summer time) actually has its place in the grey days of late autumn. You can make this and pack it easily for a lunch to be  taken to work… all you need are the soya beans, some peas

Apples, pea and soya bean hummus 007

Some garlic, a lemon, some oil, fresh cheese  (well, I made it at the weekend in the Great Greek Yoghurt Experiment and I still have some left so that will be perfect instead of the goat’s cheese in the original recipe) and some lovely, slow risen No Knead Bread.

Let’s start on the houmous then….. start by boiling the soya beans. They are done first because they are bigger than the peas… so give them a few minutes in a pan

Apples, pea and soya bean hummus 010

and then add the peas. Frozen vegetables, like peas and beans are marvellous because you end up with the freshest and tastiest little morsels – far sweeter than you could ever hope to get by buying them in pods.

The peas will only need a minute or two then drain the lot, rinsing them in cold water

Apples, pea and soya bean hummus 011


They really do look so lovely

Apples, pea and soya bean hummus 013

While they are rinsing and cooling down, pop two or three garlic cloves in the pan you have just emptied and add some oil…. this needs to be on the lowest setting so you can gently cosset those cloves into softness without burning them or making them change colour (though I have to say it isn’t the end of the world if they do change colour…)

Apples, pea and soya bean hummus 012

Then, whizz the peas and beans to a sort of roughishly smooth texture

Apples, pea and soya bean hummus 015

Once the garlic is soft, add the oil and the garlic to the pea and soya bean puree and whizz it round again – you want it smooth but not so smooth it has no texture at all. You are aiming for a graininess, I suppose.

And squeeze a lemon, after taking off its zest .. add the juice and the zest and stir ….season it well with salt and pepper…. it should taste lovely

Apples, pea and soya bean hummus 016

Put it in a bowl and drizzle with more oil… then… make some toast

Apples, pea and soya bean hummus 018

Get out your cheese

Apples, pea and soya bean hummus 020

Spread lightly

Apples, pea and soya bean hummus 021

Then top with your lovely houmous….

Apples, pea and soya bean hummus 022

… there you go… light and fresh and so very tasty. Ideal in the tropical temperatures of an overheated office. Even if it is the dog end of November.

Apples, pea and soya bean hummus 023