Toffee and Apple Butter Crumble

When I was at school we studied the English Romantic poet, John Keats. To this day, I can still recite many of his odes and whenever my friend J and I get together, something will trigger something in our heads and we will burst into recitation – either sonnets from Shakespeare or poetry or even psalms and verses from the Bible. It must be hard wired into our brains now and it still makes us laugh that after all these decades, the words our teachers drummed into our heads when we were little schoolgirls, still remain. It seemed so hard at the time to learn everything and now it seems we can’t forget anything! Makes us pretty good at quizzes, of course, and a source of irritation to our husbands as they weren’t taught like us Grammar School girls and they roll their eyes when we go into our synchronised recitation mode at the least provocation or reminder. We can’t help it. It just happens automatically. We must have been terrified of our teachers.

 Keats, in his ode “To Autumn” called this the “season of mists and mellow fruitfulness”  and he was right. The apple trees are bending under the weight of the apples and this morning, the first of the real autumn mists filled the valley below us. What might have seemed boring and irrelevant to our teenaged minds is now appreciated and I found myself reciting the ode as I made coffee for breakfast and gazed out of the window.

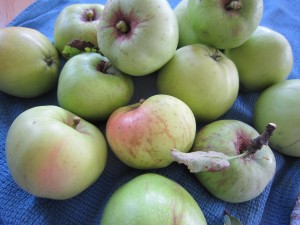
Mists certainly… mellow fruitfulness? Yes. We still had such a lot of apples from our brief foraging trip and I needed to use them.

I was going to be cooking a meal that evening for a visitor from South Africa and another colleague. It wasn’t going to be a fancy dinner but it had to be good. I wanted to show what traditional British cooking was like and prove that it is delicious. What better for dessert, I thought, than Apple Crumble? Perfectly British and perfectly delicious.

Last time I made crumble, I made Toffee Apple Crumble and it was delicious – the addition of fudge made an ordinary apple crumble something special. This time, I thought, I would use fudge again but also add the Apple Butter I made at the weekend. That would add in another layer of appley lusciousness to the crumble…..

So, I got in from work and peeled some apples. Normally I use good sized apples and allow one per person. That normally works out about right.

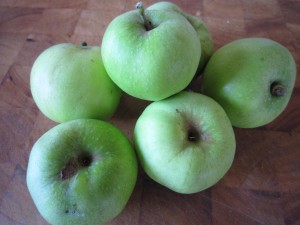
These were my foraged apples – not quite so big as ones from a managed orchard, so I decided 6 would do. Also, I am rather greedy and I was hoping for leftovers the next day.

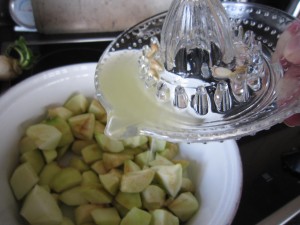
Peeled, cored and chopped, I put them in a large baking dish and sprinkled the juice of half a lemon over the bits to stop them getting too brown.

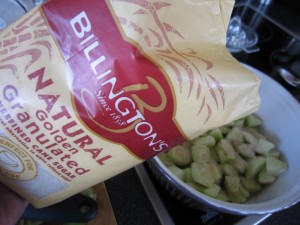
A sprinkling of golden granulated sugar over the top would balance things nicely and help make delicious juices (and I do mean, by the way, just a sprinkling. More sweetness will come from the fudge)

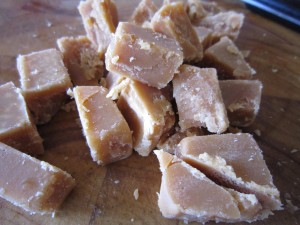
The fudge needed to be cut up too…

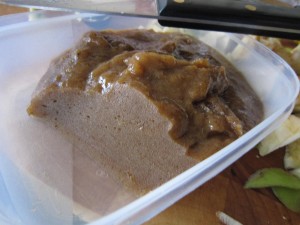
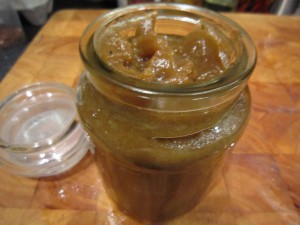
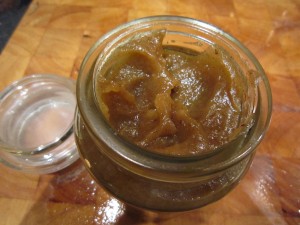
And the apple butter I made? Look how it has set… it can be cut into slices, just like real butter. Apple butter is just apples cooked slowly until their natural sugars caramelise, which is why it is a deep golden brown, and spices (cinnamon, ginger, nutmeg and cloves) stirred in and cooked with the apples.

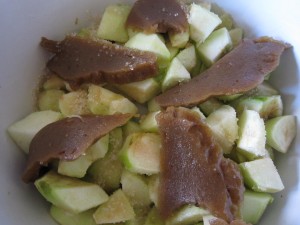
I layered some slices over the apple, knowing that when everything baked, the apple butter would melt over the apple pieces and that lovely spiced apple mix would be perfect in the crumble.

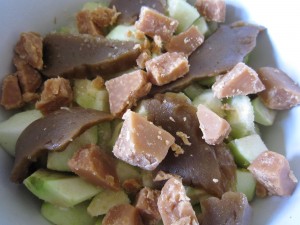
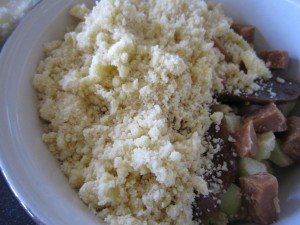
Next, the fudge pieces were scattered over the top.

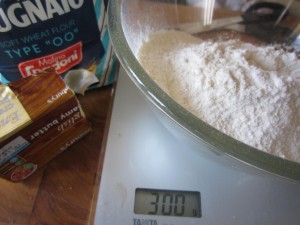
The crumble mix is simplicity itself – 300g of plain flour, 200g of sugar and 175g of butter.

Making the crumble topping is really easy – just rub the mix through your fingers until it resembles breadcrumbs. It doesn’t take long.

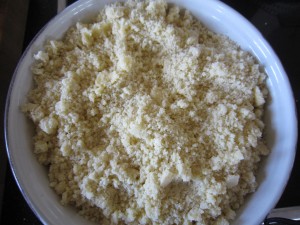
Then scatter the crumble mix over the prepared fruit and fudge.

Don’t pack it down, just shake the bowl from side to let the crumbs settle round the fruit, fudge and apple butter.

And then all you have to do is put it in the oven at 180 degrees C/350 degrees F for 40 minutes or so.

Oh, the smell of it as it cooked – there was the sweet buttery smell of the crumble itself and the sharpness of the apples and the spicy mix of cinnamon, nutmeg, cloves and ginger from the apple butter.

And what was it like?

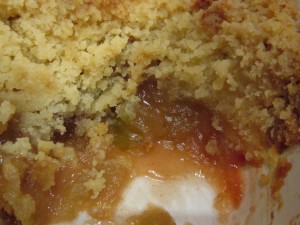
It was lovely. So lovely I forgot to take a picture of it as it came out of the oven. I just dug into it and served it up.

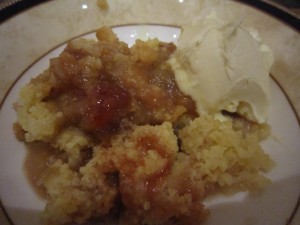
Served with a great dollop of extra thick double cream.

It was eaten and seconds were requested. Our South African friend said she had not wanted to go home without trying a hot English pudding, so that was good. I suppose our traditional hot puddings are famous, and rightly so.

It was a perfect pudding, it really was. Toffee Apple Crumble was excellent but adding Apple Butter as well? That made it truly delicious.

And there are no leftovers.

Apple Butter

This autumn (and I know it is still late summer really, but it is the 1st September and it was misty when I got up and it is just starting to feel autumnal) well, this autumn the apple crops are amazing. Every apple tree seems to be laden with fruit. Friends who drove up to see us, last weekend,  said the roads from Oxfordshire were being pelted with fruit as they passed. So many apples, and all of them so ripe they just fell from the trees with the faintest encouragement or vibration from passing traffic. I often wonder about the roadside apple trees… are they successful seedlings, all grown up from a thrown away apple core as people went past, or are they the remnants of a long ago cottage garden by the road? I think they are, perhaps, from cores as the trees are so tall and straight. Any old apple tree in a garden tends to be gnarled and battered. It’s nice to think of nature triumphing from a discarded core, isn’t it?

But there’s so many of them! And no one is doing anything with them. What a waste! Mind you, it’s thinking of things to do with this huge crop……

Today’s apples, I decided, were going to be made into apple butter.

I’d read about this for years but not really explored what it was. I had a half notion it was apples and butter (which sound rather nice, actually) but when I started searching, I discovered that it was just apples, spices and a little bit of sugar, boiled down and thickened during the long slow cooking to make a preserved apple spread. It spreads, apparently, like butter when it is done, which is how it got its name. Wikipedia explained a bit more, as did Charles, a friend in America, who told me that his father -in- law and the rest of his townsfolk gather to make apple butter in huge quantities in the town square. The smell is amazing, apparently, spreading out from the town square. Historically the idea came from Europe and was taken to America by immigrants and it is mainly in America that it is made now.

Well, it is going to be made in Nottingham today. I have fruit (plenty of fruit) and time to do it. All it takes is apples and spices. Something that we can have on toast, or cook with later in the year when all the apples have either fallen or rotted. Something healthy and tasty. A dairy free spread from free fruit? Sounds good, doesn’t it?

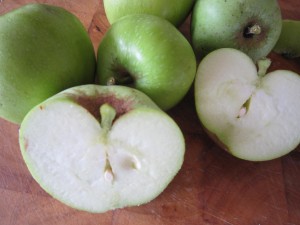
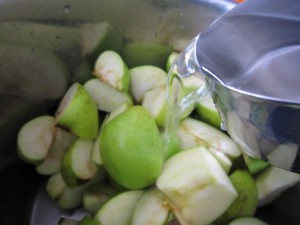
It is simplicity itself. All you have to do is quarter the apples, leaving the skin on and the core in – this will add pectin to the apples and help it set. Only cut out and damaged bits of apple and do remove any spiders or caterpillars that you may  have brought home with you.

There were about 3 lbs of apples in my large pan and I poured in a cup of water to help them cook down. In the long slow cooking that follows the water will evaporate. Some recipes says use a cup of cider vinegar as it adds a tang to the end product but I didn’t have any, so water it was.

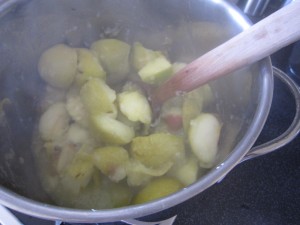
The apples started to cook very quickly – maybe a couple of minutes and you could see them soften. It is important to keep stirring so they don’t burn.

After about 15 minutes or so, the apples had reduced to a soft mush, like apple sauce.

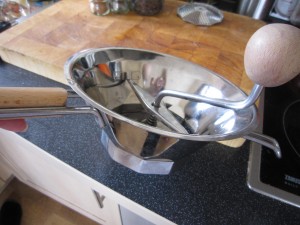
One of the things I was given from my aunt’s house was a Mouli food mill which is ideal for this next bit.

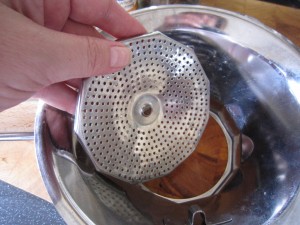
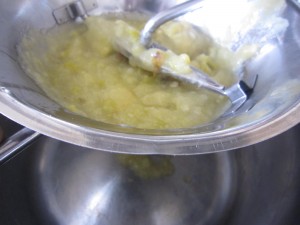
As you have cooked the skin, the core and the pips as well as the apple, you need to get the bits out and just have the smooth cooked apple left to transform into the apple butter. I used the finest plate and started to mill the apple puree.

If you haven’t got a  Mouli then you can do this next bit by pushing the fruit through a sieve. The Mouli is quick, though, so it could be a good thing to buy.

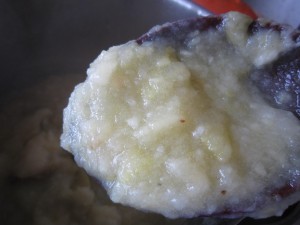
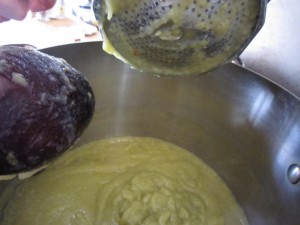
You can see how smooth the milled apple is and all the hard bits are left behind.

A beautiful, smooth apple puree.

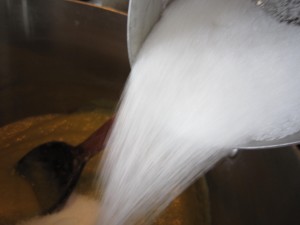
I tasted the apple and it was sweetly appleish but quite sharp so 1 cup of sugar was added and stirred in.

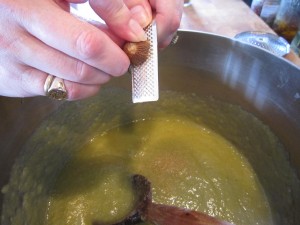
The next part was to add the spices…. most of the recipes I looked at suggested nutmeg so I added half a teaspoon or so into the mix (thanks, Bear for taking the photo)

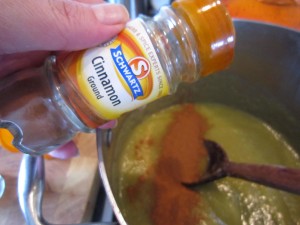
And all recipes said to add my favourite spice cinnamon – 1 whole teaspoon.

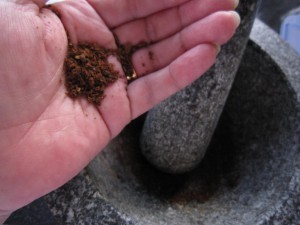
A pinch of ground cloves (yes, you can buy it ground but I couldn’t find my jar, so I ground up a couple or so of cloves with my trusty pestle and mortar and scooped up the finest bits)  and half a teaspoon of ground ginger were stirred in as well.

And then I started to stir. The heat was turned down to the bare minimum and I stirred.

Then I went for a nap and left the Bear to stir. So he stirred. All the descritptions of apple butter said that it had to be stirred constantly but we managed a stir every few minutes as the pan sat there on the lowest heat.

Anyway, it didn’t burn and we kept stirring. The apartment smelled gorgeous. Apples, cinnamon, cloves and nutmeg  all mixed together is a truly delicious aroma. Even if you don’t want to make it  to eat then you  should make it just for the smell.

The recipes suggested that constant stirring at a slightly higher temperature would have the apple butter ready in a couple of hours.
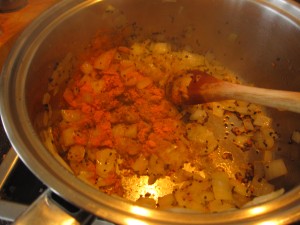
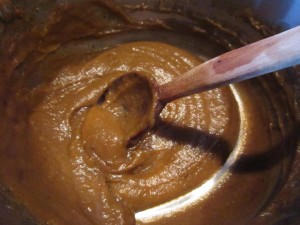
We did it at a very low temperature for four or so hours… stirring it round until it looked like this

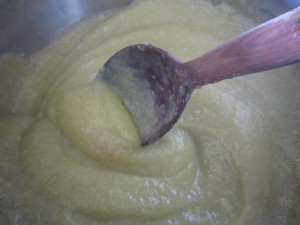
The sugars in the apple had caramelised and the puree had gone a lovely rich and golden brown. When I dragged the spoon through it, it was thick enough to leave a trail through the puree.

When I lifted a spoonfull of it up, it didn’t run off the spoon… so that meant, according to everything I had read, that it was ready.

It didn’t look to me like butter, but there you go, I’d got this far, I’d just have to keep going.

I’d sterilised jars by boiling water in them in the oven and I spooned in the apple butter

It looked brown and still not in the least bit buttery.

By now though, it was getting late so I let it cool and then put it in the fridge overnight.

What a transformation! It had set into a smooth and delicious spread…. yes, it was buttery in texture!

I’d done it!

It tastes delicious and on hot toast it is a perfect breakfast. It can keep in the fridge for three or four weeks (if it last that long) and for months in a properly sealed and sterilised jar.

What I am intrigued with are further recipes that I found – apple butter cakes, cookies or biscuits anyone?

Get out there, collect some apples and start making apple butter!

21 September – Since I posted this, a Canadian friend told me of a quicker way of making apple butter – you can find it on her page – Lorraine, another T.O.B. Cook

Dal. Delicious dal.

It’s obviously the weather for comfort food…the cold and damp and gloom affects everyone’s mood and general levels of happiness.  I am still working as a temp and that is not helping matters either. It’s good that I have work, but how I long for a real job with some sense of security because working week by week means I can’t plan anything. The uncertainty just nags away at me.
Ho hum.

I seem to have been working my way through my favourite comfort food recipes…recipes that can be relied upon to make me feel safe and happy. I was reading one of my friend’s blogs, Anne’s Kitchen, and her take on dal reminded me just how much I love it… and how long it had been since I served dal for supper.

One of my favourite things to eat (and, now, a favourite of The Bear’s, too) is dal. Beautifully soft and fragrant lentils, or split peas, chickpeas or beans, spiced with chillies and assorted spices and served with steamed basmati rice.

 There are hundreds of recipes for dal but this one is one I have developed over time and one that we love.

I travelled round the south of India (surely one of the most beautiful places on earth?) before I met him and ate dal all the time…

and what follows is  an amalgam of all the lovely dals I ate on trains, in cafes,  in railway stations….at  beachside huts

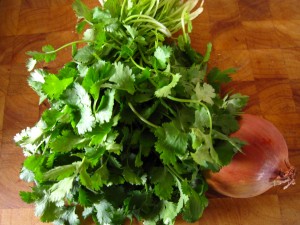
I saw some brilliantly fresh coriander in my local Asian supermarket. It was a sign, I felt, that I had to buy it and go home straightaway and start on dal.

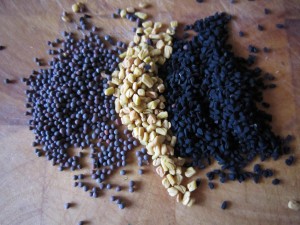
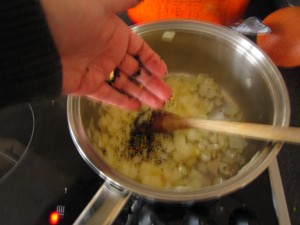
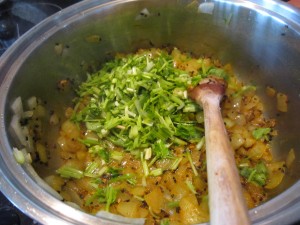
Before you do anything else, you need to get the spice mix right. I love the slight popping effect of the mustard seeds in the finished dish. I start by heating the frying pan with a splash of chilli oil and adding chopped onion to soften slightly before adding heaped teaspoons of kalonji (black onion seeds, or nigella), brown mustard seeds and fenugreek seeds.

They pop slightly as they heat and add a delicious fragrance and flavour to the finished dish.

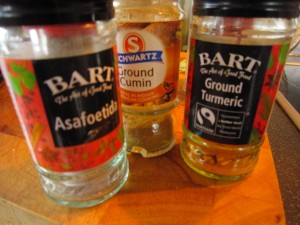
A teaspoonful each of tumeric and cumin powder add a deep rich smell and taste… and a pinch of asfoetida gives it a pungent, almost garlicky hit

Just put them in and stir them round mixing everything so the ground spices cover everything

I adore coriander and I have that lovely big bunch, so I like to chop the stems and add them at this stage too – layer upon layer of delicious herbs and spices transform a simple dish of lentils into something truly marvellous

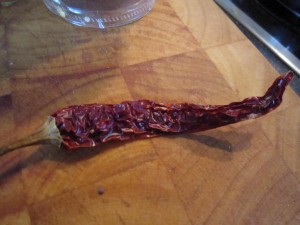
I do need to add heat, of course, and I have some fantastic dried chillies

That can bubble away in the dal as it cooks…..

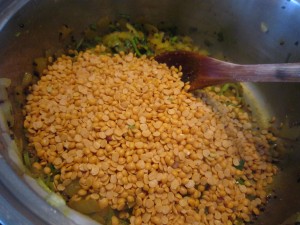
So, to the mix, add a cup full of yellow split peas

And a cup full of lentils.

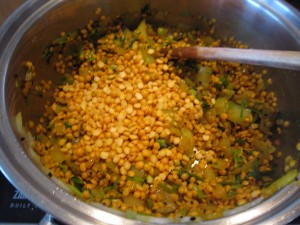
Two different sizes, you’ll notice, which adds a delicious variation in the finished dal…

Add two cups of water and stir it round….

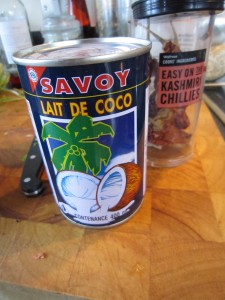
and add a tin of coconut milk

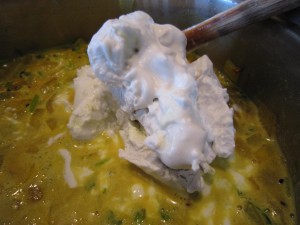
Look at that lovely rich cream…. stir it round…

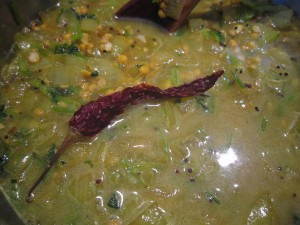
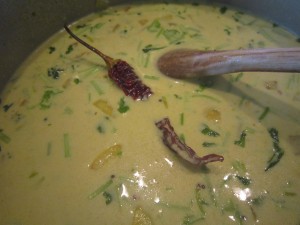
and just leave it so simmer away…..it will take about an hour.

While that is chugging away gently, I make the rice, the way I was shown by an Indian friend

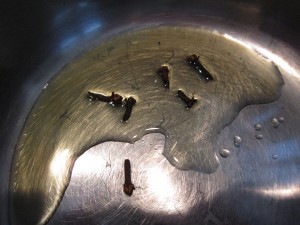
I heat some the indispensible chilli oil and throw in 6 cloves. Count them, don’t just thrown in a handful, because at the end, it is a good idea to know how many you are looking for. Cloves are marvellous but biting on one, unexpectedly, suddenly makes you think of the dentists, not of comfort and happiness.

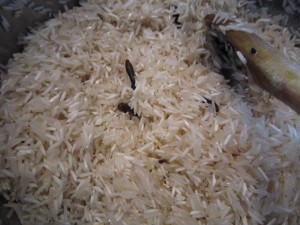
Throw in a cup full of rice and stir it round so it gets a coating of chilli oil and the slight scent of cloves, then add a scant cup and a half of water a decent pinch of salt  and bring it to the boil.

Turn down the heat and let it cook until the water is absorbed.

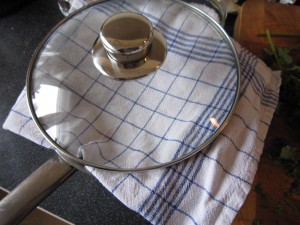
Now, all you do is take it off the heat and lay a clean teatowel over the top of the pan and put the lid back on

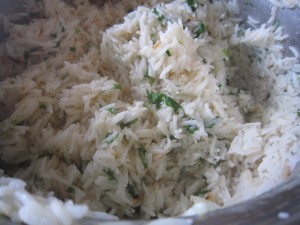
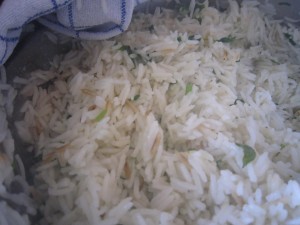
What this does is absorb any extra steam and moisture and your rice turns out beautifully fluffy, with each grain separate and perfect.

Perfect!

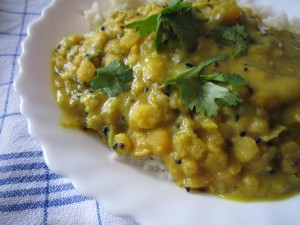
All you need now is to serve up the dal….with fresh coriander

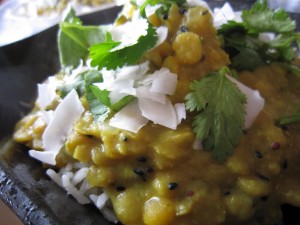
Look at those little mustard seeds… the split peas and the lentils…but to make it absolutely perfect and in homage to my love of the south of India, some shavings of raw coconut add the finishing touch

Utter, absolute luxury from the most basic of ingredients.  Utter and absolute comfort food, costing pennies.

What more could I want?  (Well, apart from a job!)

Spiced red cabbage

… glossily red and purpled, subtly spiced and aromatic red cabbage……I love it.noodle prawns, red cabbage, lamb, celeriac 021

It is perfect with fattier meats like pork or lamb as the sharpness of the red wine vinegar that is in there cuts through the richness. Apple sweetens it and the onion gives it savour.

Adding aromatic spices gives it a depth of flavour

noodle prawns, red cabbage, lamb, celeriac 023

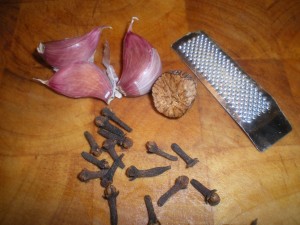
You’ll need nutmeg, cloves and garlic.

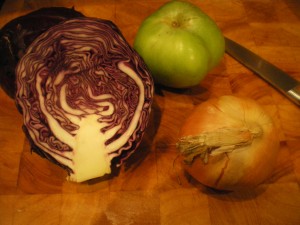
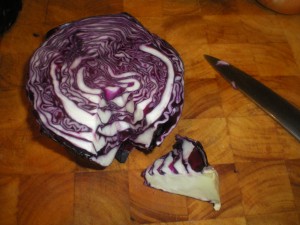
First of all, you need to start cutting the cabbage. Cut out the hard core with a sharp knife – it is hard and white and solid… which is not what you want in amongst your lovely bits of shredded red cabbage

noodle prawns, red cabbage, lamb, celeriac 024

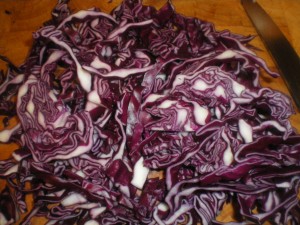
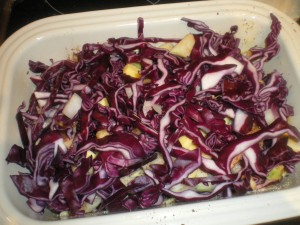
Then slice the rest into thin strips. You’ll also need to slice the onion.

noodle prawns, red cabbage, lamb, celeriac 025

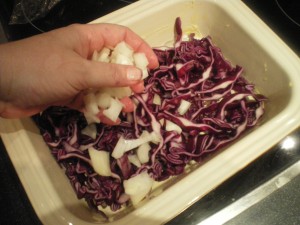
Rub a bit of butter round an oven proof dish and put half of the cabbage in and add the onion

noodle prawns, red cabbage, lamb, celeriac 026

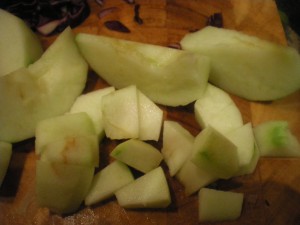
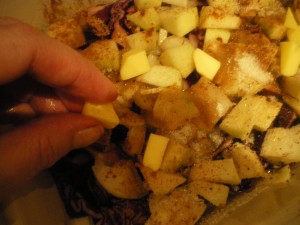
Next, peel and chop the apple

noodle prawns, red cabbage, lamb, celeriac 027

and scatter that on top of the cabbage and onion

noodle prawns, red cabbage, lamb, celeriac 028

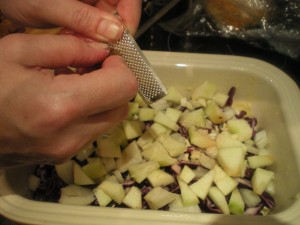
… and then grate a light covering of nutmeg over the top

noodle prawns, red cabbage, lamb, celeriac 029

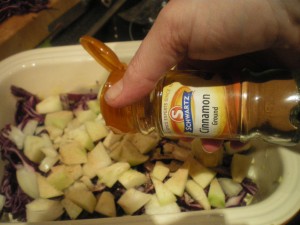
Now shake cinnamon over it. I love the smell of cinnamon – it’s perfect at this time of year.

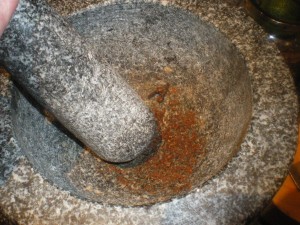
Cloves go wonderfully well with all of this. You can buy ground cloves but it is much better just to grind them yourself and anyway, why would you want to buy an extra bottle of something that will take up space in your cupboard? Put a few cloves into a pestle and grind it. A word of warning though, my brother adores this red cabbage and once rang me up so I could tell him what to do. Well, put on the spot as I was, I rattled off a list of ingredients and, as normal, wasn’t much good at remembering exact quantities. That’s why I show you by taking a picture….anyway, my brother was merrily sprinkling the cloves… sprinkling and sprinkling…….. made it all taste like a dentist’s mouthwash, he said. So, be careful. It will maybe amount to less than a teaspoonsful.

noodle prawns, red cabbage, lamb, celeriac 030

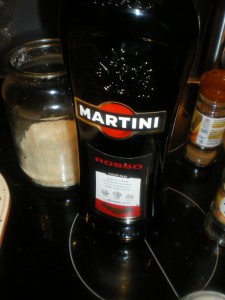
A light dusting is all you need.. you are building up  layers of  aromatic spices.  Sprinkle some sugar over the top and then.. the secret ingredient. Martini Rosso. Obviously not so secret now………

noodle prawns, red cabbage, lamb, celeriac 034

I first did it, not with Martini Rosso, but with Dubonnet… I thought the herby red spirit would blend well with the vegetables and the spices. I also had a bottle that I hadn’t drunk and I thought I could start to use it up. Once the Dubonnet had gone I moved on to Martini… and that, I think is even better. Pour some over


noodle prawns, red cabbage, lamb, celeriac 039

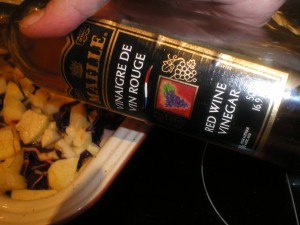
then pour some red wine vinegar in as well. This sharpens everything up and keeps the colour a deep purply red.

Put some little knobs of butter over the top and sprinkle more sugar

noodle prawns, red cabbage, lamb, celeriac 035

Then put the rest of the red cabbage over the top

noodle prawns, red cabbage, lamb, celeriac 036

Cover it with foil and put it in the middle of the oven at about 160 degrees C. This is going to take maybe two hours or so, so if you are going to cook something else, that’s fine. If the oven needs to be on higher, just move it down to the bottom of the oven and make sure the foil top is on so it doesn’t burn or all the moisture evaporate

noodle prawns, red cabbage, lamb, celeriac 058

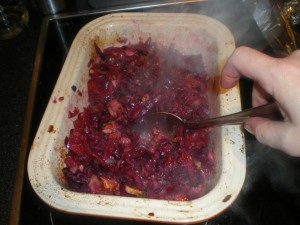
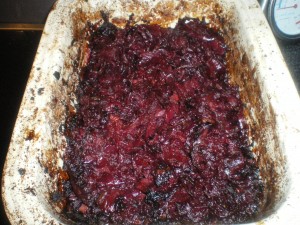
After about an hour or so, look at it… give it a stir. It looks pretty awful till you stir it and see the gorgeous deep colour underneathRack of lamb, finished celeriac and red cabbage 005

What I should have done, of course, was to take it out of the oven dish and make it look attractive. But I didn’t.


Tasted great though… you’ll just have to trust me that it looks better than that!