Red cooked shin of beef

The weather has definitely changed. The winds are getting stronger and I have started to wear a coat to travel to work.

It been raining a lot as well and when I look out of the window of my office at work I can see waves being whipped up on the lake.

Even the ducks, swans, geese and the heron are all in hiding.

You can see the trees are being bent over in the strong winds. The rain is splattering against the window and the skies are getting more grey.

What we need is something warm and sustaining. I want meat… I want tasty meat. I want something to fill me and make me smile.

So I decided upon shin of beef which is a British, inexpensive cut of meat from the front legs of cattle. Just over 500g costs  just over £3. That’s enough to easily feed four people. Shin needs long and slow cooking which transforms it from incredibly tough to  the most melt in the mouth meat ever, with a real depth of flavour.   If this cut isn’t familiar to you, look at the link  which shows you the difference between American and British cuts of beef.

When you look at shin of beef you can see the tendons and the fat running through it. This has to be cooked slowly and the meat becomes transformed into the most tender morsels imagineable. The gravy served with it reduces and becomes intensely rich and flavoursome. It is perfect in a beef stew with dumplings  and that, I have to say, is how I normally cook it.

Except this time I wanted something different. I wanted something with a bit of a zing to it…and I had a fancy for some kind of Chinese flavouring. I have always adored the taste of star anise flavoured sauces and I remembered that when I was a poor student and wanted a treat I would order fried rice with a drizzle of Chinese barbecue rib sauce on it. That would be it. Just rice with some sauce… I think the takeaway was used to poverty stricken students asking for the bare minimum. (Mind you, there was an Italian restaurant in town that once served a group of us a side dish of peas between us because that was all we could afford and one of our friends fancied someone working there…)

Anyway. Here I was, years later, with enough money to actually buy some meat and I was going to make the most of it. I didn’t have a classic Red Cooked Beef recipe but I could make a fair attempt at it. No doubt the purists will think this isn’t the way to do it but this works for us. The flavour at the end is amazing and that’s good all we are concerned with.

Slow cooked meat is the easiest thing in the world. All it needs is time. You really do very little to it.

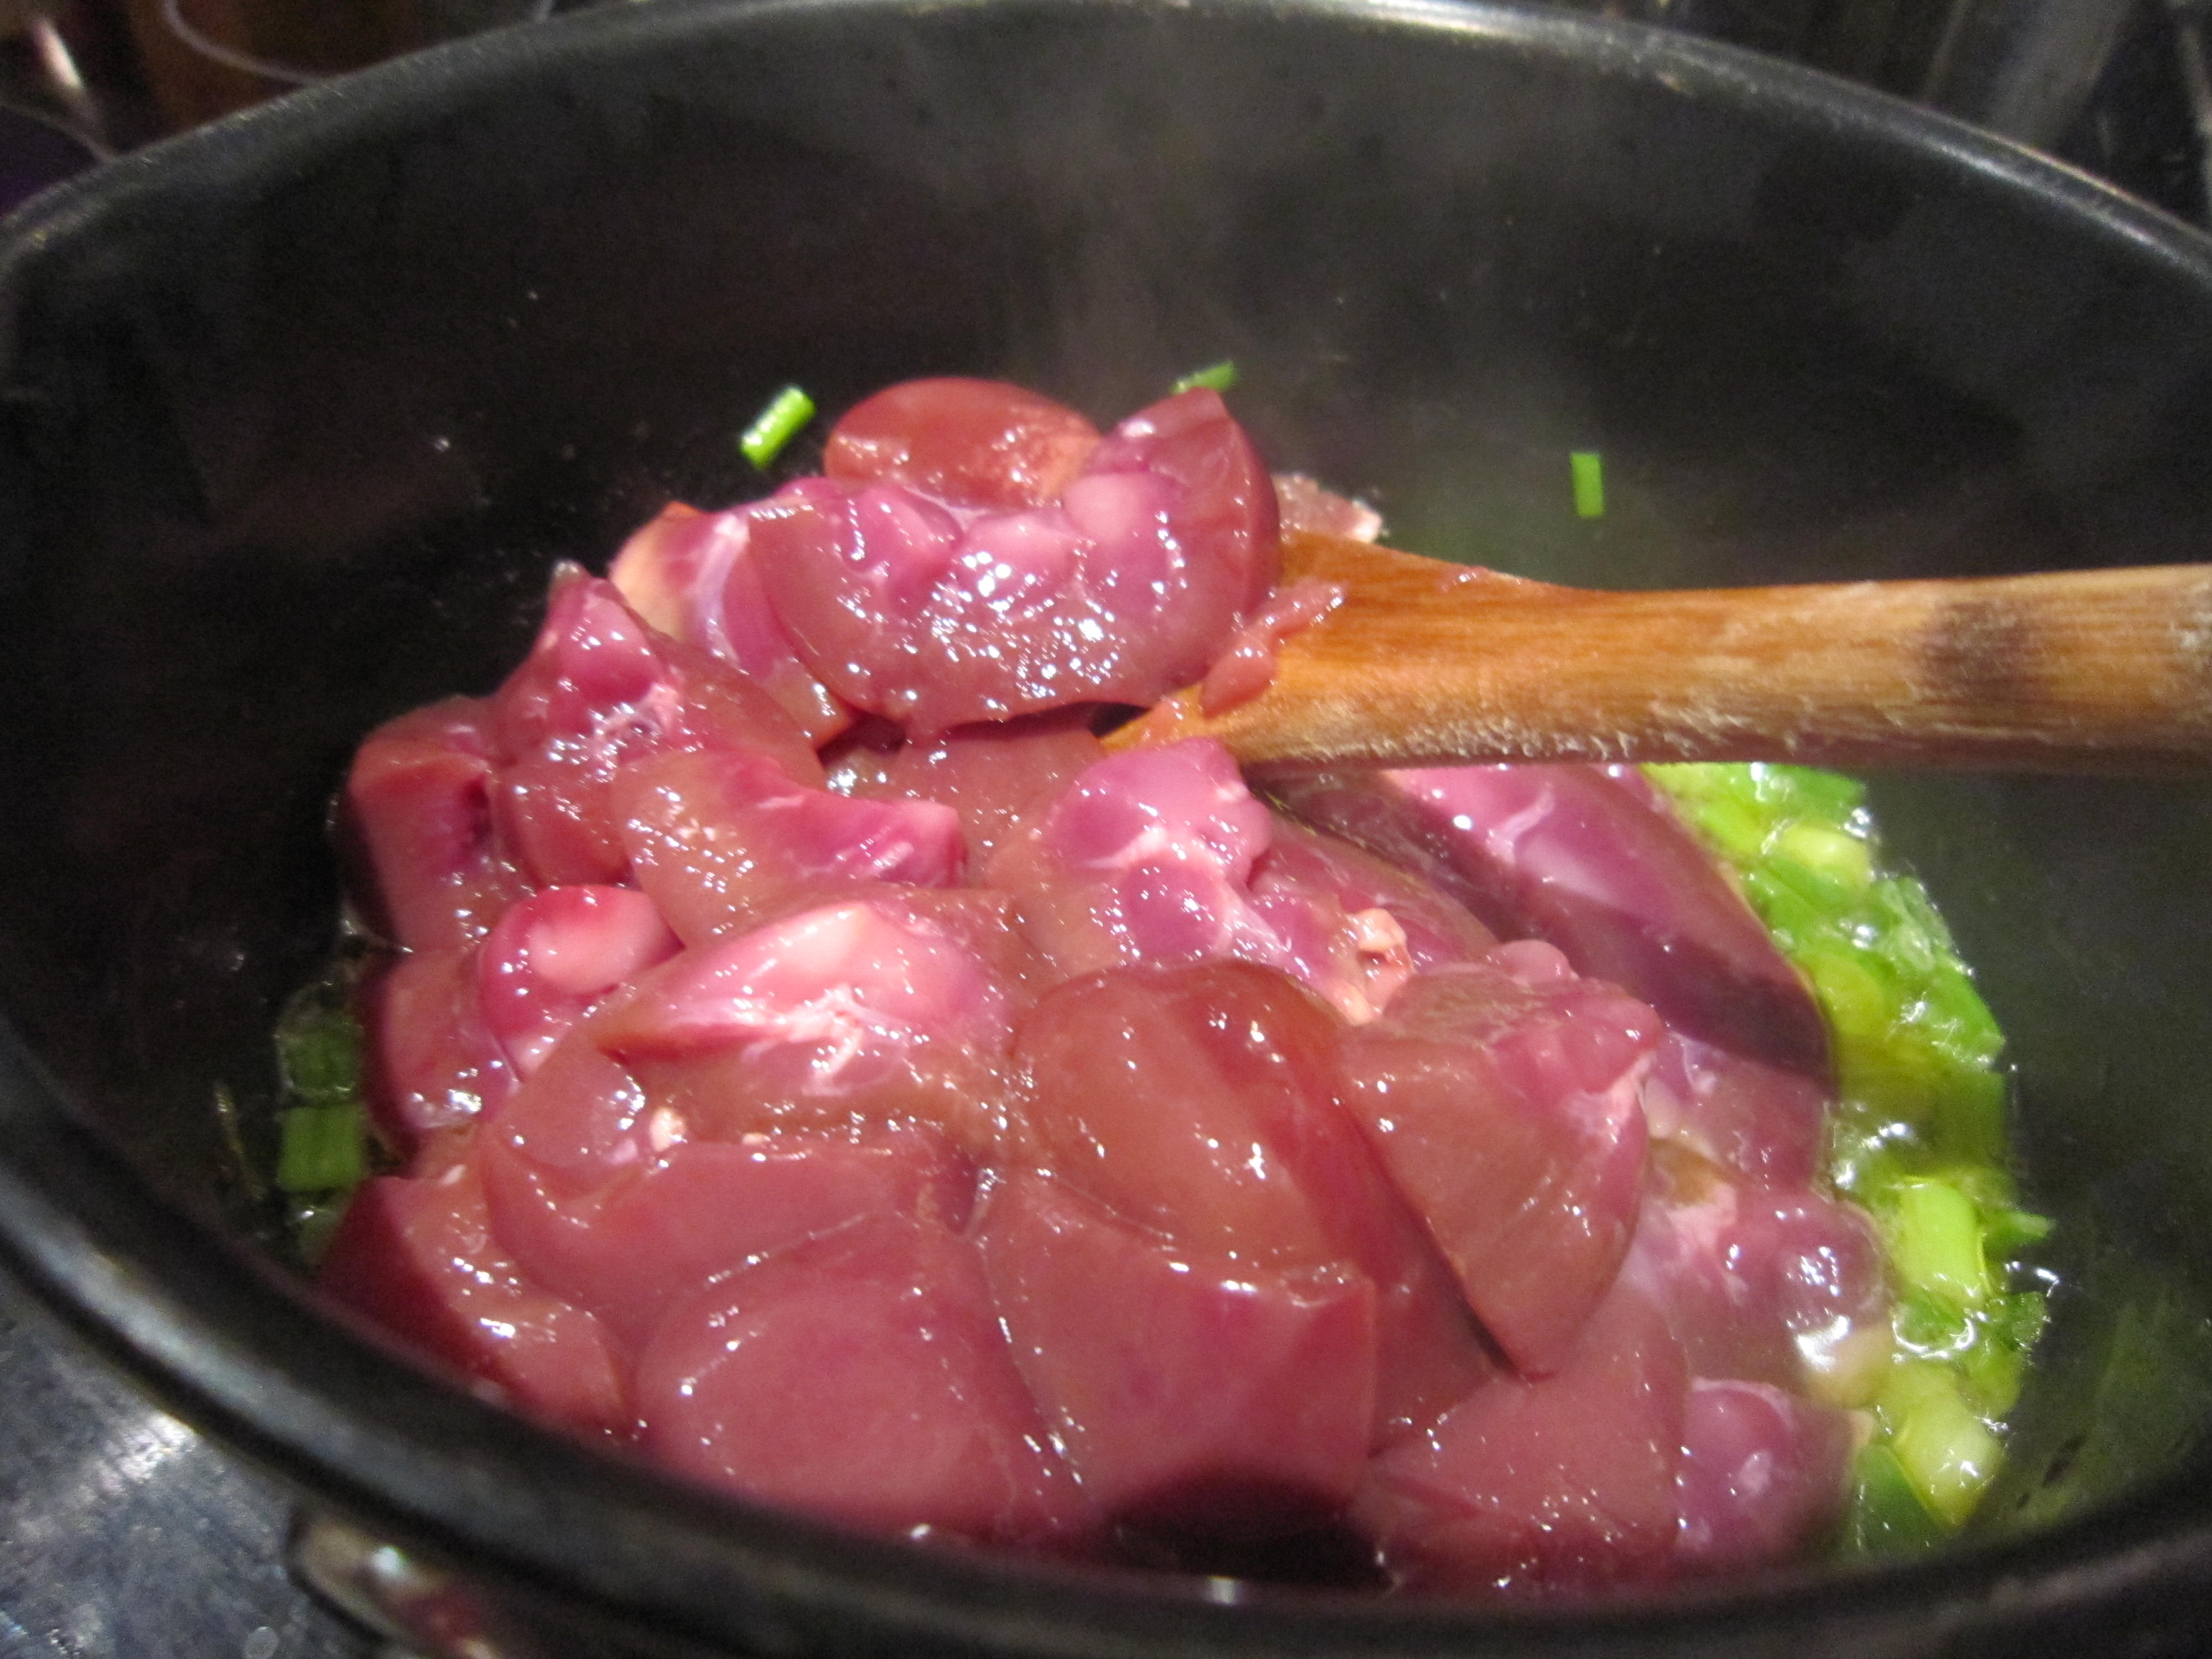
First of all, sear the outside of the beef as this gives it a good colour and a better taste.

Chop an onion into pieces. There’s no need to worry about making it neat – after a few hours in the slow cooker this will jsut disappear into a lovely rich sauce.

Put the onion in the bottom of the slow cooker (or casserole dish if you are using that) and lay the browned meat on top of it.

Add some oil to the pan juices (yes, I know that using sesame oil might seem extravagant, but once oil is opened you must use it as it will go off. You might as well use it in an appropriate dish rather than waste it. The delicious smell will disappear, I know, but you know the mantra, waste not, want not!) Use vegetable oil if you have it. What you are doing is getting the rich caramelised bits of meat from the pan.

Stir in a good teaspoon of minced ginger, the smae of garlic and half a teaspoon of  chilli – here I am using the tubes of freshly minced herbs and spices a) because I have them and b) my chillies have failed this year and my ginger is dried up and horrid. They are great to keep in the fridge, ready for an emergency. Add a good splash of soy sauce to add a salty, savoury element.

And star anise. Aren’t they beautiful?

Pour the oil and meat juice mix over the meat and onions and add the star anise.

Normally I’d add Chinese rice wine but we had none left… we did have sherry though and that is a good compromise. Half a cup of sherry adds an extra layer of aromatics to the dish.

A cup of water is added to bring the liquid content up to almost the top of the onion and meat. Don’t cover it, though as that will boil it and toughen the meat. You are aiming for a lovely gravy that will cosset the meat until it relaxes into tender submission.

And that’s it. Five minutes to prepare.

All you have to do now is to start the slow cooker, or put your casserole in the oven on a low heat and then just walk away for a few hours. Relax and enjoy the sense of anticipation.

Four hours later, the apartment smells of delicious, fragrant, spicy meat.

The meat is so tender it just falls apart when I lift it out with a spoon. The long, slow cooking has turned the tough meat into soft and delicious morsels.

Served in a bowl on top of some noodles with a few snipped chives over the top of it and we had the perfect supper. Delicious, tasty, spicily aromatic beef piled on top of soft and filling noodles… heaven in a bowl.

It made the grey day go away and we felt warm and happy.

What more could you ask for? A meal that tasted delicious and cost £1 per serving. That’s pretty good going.

Meatfree Monday – Seed and grain bread for egg mayonnaise sandwiches

The Bear was about to set off on his travels again and would be getting up at some ridiculous time in the morning so he could get to the airport. What that means is that he doesn’t really feel like eating too early in the morning and would rather have something to eat at a more normal time.

What THAT means is that he is loitering around an airport and picking at stuff. Now I’m sure that what is served at outlets or in the Business Lounge will meet with all Food Health guidelines… it just doesn’t meet with mine. Obviously, food produced on an industrial scale, for sale at some point in the future is going to be packed with preservatives or dodgy fats that we don’t want and would never have in freshly made food. He knows not to risk my wrath by buying a plastic wrapped muffin or going to a fast food outlet for a burger and he does try to get something looking vaguely healthy but the fact remains, he has to eat at some point while he’s travelling. He could try looking a sandwiches but, even there, there are problems.

A simple egg sandwich, for example, will be made with bread that has preservatives, the eggs will probably not be free range (as I’m sure they would be plastering that fact all over their packaging), they are likely to be using margarine instead of butter and goodness knows just when they boiled the eggs.

So I decided to make sure he could have something to eat that he could carry easily, would taste nice and be good for him.

His favourite sandwich is an egg mayonnaise one so I decided to do that.

First I needed to make good bread and as he is particularly fond of seeded or granary loaves, I decided that would be just the thing to bake.

I got a packet of Allinson’s Seed and Grain Bread Flour, which is white flour with wheat and barley flakes, kibbled rye, sunflower seeds, millet and linseed. Healthy, tasty, nutritious and perfect to make into a lovely sandwich.

There was a recipe on the back that looked good and I thought I would follow that as I had never used that flour blend before. It looked quick enough, too.

First thing was to preheat the oven to 230 degrees C/450 degrees F, whilst measuring out 650g/1lb 7 oz of the flour, 10 g/2 tsp of salt, 5g/1 tsp sugar and a 7g sachet of yeast.

That was mixed together first to get an even distribution of all the dry ingredients, then 15g/ ½ tsp of soft butter or 15 ml/1 tbsp of vegetable oil was rubbed through.

400ml/ 14 fl oz of warm water was added and mix to make a soft dough.

The recipe says to knead it for ten minutes on a floured surface – I did it in the mixer with a dough hook and added extra flour to get it to come together.

Well I did give it a knead myself…just to show willing and besides I like to feel the dough and by feeling you can judge when it is properly ready.

Look at how the dough looks now… smooth and bouncy. If you’ve ever patted a baby’s bottom.. well that’s what it should feel like!

It had to be put in a greased tin (they suggested two 1lb loaf tins but as I wanted it for sandwiches I put it in a long 2lb tin

and covered it with a tea towel for 30 minutes until it doubled in size.

Into the hot oven it went for half an hour or so

Perfect. When I knocked the bottom it sounded hollow which means it had cooked properly.

It looked and smelled delicious. We might have shared the end crust with some butter on…. just for checking purposes you understand.

The next thing was the filling. I always use free-range eggs and buy these from our local farm shop so I know exactly where they come from and just how fresh they are.

Boil them for four minutes then immediately tip away the boiling water and start filling the pan with cold water because otherwise you get that horrid black ring round the eggs and that terrible sulpherous smell.

I like the eggs to look like this – mainly cooked but with just a hint of soft yolk.

The eggs were  chopped then two slender spring onions are also chopped and added. I wish we still had some chives left but with Autumn rapidly approaching they are all gone now.

A tablespoon of Hellmann’s Mayonnaise and a pinch of salt go in next (Hellmann’s switched their production to free range eggs so that’s good, otherwise I would have had to make my own, which I have to say is really easy…. but this was easier!)

White pepper enhances the egg mayonnaise mix really well,  so a shake or two was added to taste.

And that was it for the afternoon. I was going to get up early the next morning and make the sandwiches. The egg mix went into a lidded box in the fridge and the bread was put to one side.

Next morning, at around 5.30 am, I got up to sort things out. The bread cut well and is ideal for sandwiches. It was a good even texture and the seeds and grains made it slightly dense, which is a good thing for a sandwich. You need the bread to hold together and not collapse, spilling your filling everywhere. Especially when the person about to eat it is in a business suit… This might have happened on another occasion.  not this time, though. That bread looked like a winner in the samdwich stakes.

It’s important to spread the bread with butter as this makes a waterproof layer and stops the filling seeping through. And butter is important because, well, it just is. I believe in butter and I do not believe that some weird kind of vegetable fat with emulsifiers added to it could possible make anyone believe it wasn’t butter.

Butter is cream shaken up until it turns to butter. A pinch of salt can be added but that’s all. No chemicals, no E numbers. Nothing but creamy milk and salt. Healthy, that is, I’m sure of it. Anyway, we don’t have any margarine or spread or whatever it is called. Butter it is and that’s an end to it.

Delicious. And I always make sure I spread to the edges. I hate it when you get a sandwich and there’s just a tiny dot of the filling in the middle.

Sliced in two so it’s easy to eat

And wrapped in a sandwich bag so he can throw it away afterwards.

So, the Bear left for some other country and I went back to bed, happy knowing that he would have something to eat without having to buy an overpriced, low quality sandwich.

Was it worth it? Yes, it was.

Making the bread took quarter of an hour mixing and kneading. The bag of flour cost less than £1 and there’s still a well over a quarter left. What I used made a 2lb loaf so there’s plenty left for sandwiches for me for work. I suppose the two slices I cut for him would work out at maybe 15 or 20p. The eggs cost £1.65 for a half dozen, but what I used on his sandwich was probably less than one egg so there’s another 28p. Maybe adding in 10p for the other ingredients and you have a perfect additive free sandwich for 58p or thereabouts. Even if you add in 20p for using the oven it is still incredibly cheap when you consider that in an airport the average cost of a sandwich is £2.80. And if you wanted decent bread and free range eggs? That would be another £1 or so added onto it.

For all of you who are wary of making bread (and you know who you are) this was a simple, quick and very tasty loaf. It saves an incredible amount of money for what is really very little work.

Go on – get baking!

Cheese and chorizo omelette…. Or, supper from scraps

It was half way through the working week and it felt like it should be the end of the week. I got in from work, too tired to go to the supermarket on the way back  and was desperately craving something tasty and filling to eat. Looking around the kitchen I found various bits… some ends of cheese, a couple of limp looking spring onions,  the last bit of a chorizo, the end of a pot of cream, two wafer thin slices of  Parma ham and, of course, eggs.

I love eggs. I really do. I could happily eat eggs every day.

Some times I do. I mean… they are packed full of protein and they have been shown to have no real effect on cholesterol. If you eat eggs for breakfast, the high protein levels make you feel full for longer, which is just the thing you need to stop you snacking mid morning. Eggs for supper stop you having cravings late at night.

So, it seemed just right to have an omelette. I had that lovely chorizo which neede using up

And  I had that cheese… so Cheese and Chorizo Omelette it was going to be.

There was  the last of the Emmental and Gruyere cheese that I had used in Omelette Arnold Bennett and some farmhouse Cheddar.  The sorry looking spring onions weren’t bad once I had trimmed them down and refreshed them in ice cold water.

I microplaned the cheese and sliced the spring onion.

Dry frying sliced chorizo releases the oil and cooks the outside to a sort of caramelised bronze. Once the slices were browned on both sides, I took them out and left them to cool.

A knob of butter softened the spring onions (I really can’t stand raw onion … it gives me a headache)

I briefly whisked the eggs with a fork and added the last of the cream. That’s what you can see in the egg mix. I didn’t bother to whisk it all in smoothly (it was very thick cream) but I knew that with cooking it would all melt in with the cheese.  That was all poured in over the softened spring onions.

My mother always calls them scallions and I don’t know why. I really should ask her.

Look how gorgeous it looks… I scattered over some sweet smoked paprika because I love the taste and that would be echoed by the chorizo. Don’t add it before the omelette has started to set because otherwise you get a diffuse pinky orange looking omelette. I still like to see the creamy golden yellow of the eggs.

Slices of chorizo would be too much but it is easier to cook them in slices. Once they were cool I cut them in half and scattered them over the still soft egg.

Then a layer of cheese and those two remaining slices of Parma ham, torn into pieces..

I stuck the pan under a hot grill for a minute and the cheese softened and melted over everything… the eggs puffed up a bit more and then…..

Then, it was supper made from scraps.

A truly delicious  omelette. The cheese and chorizo worked perfectly well together and I had not only used up stray items in the fridge but I had made supper in less than twenty minutes.

It really did taste gorgeous. I really must make sure I have more scraps in my fridge.

Kidneys and rice… offally good!

You might have noticed, if you have read anything here before, that I am very fond of cooking the cheaper and often forgotten cuts of meat because they can, if treated well, turn into the most delicious meals. The same with offal.

When I was a schoolgirl I was forced to eat dry, rubbery liver and bouncingly hard kidneys and I swore that when I grew up I would NEVER be made to eat them again… until I cooked them myself and realised that offal wasn’t awful at all.

Now, one of my favourite quick suppers (only when the Bear is away….. he’s still rather stubborn when it comes to kidneys, but I have no doubt with training he’ll get there) is kidneys in a cream sauce on basmati rice.

Kidneys are so cheap – I think that pile of beauties cost me less than a £1 – and all you need otherwise is some basmati rice (a cup full) a few spring onions, some butter, cream and a dash of something alcoholic and either some flour to thicken the cream sauce, or, like I did tonight, some thickening granules. Now, I would normally avoid produced goods and shortcuts like this, but they really are rather good. They USED to say they were gluten free, which made them a great option if I was doing something for my brother…now I think they have to say that the product is made in a factory that also produces products containing gluten. Anyway… that’s why I started using them and I still use them today. The granules are just stirred in to whatever you are cooking and they thicken… It’s an option, isn’t it?

So, let’s start.

You need to remove the centre core and the tubules from the middle of the kidney. It’s easy enough to do – just slice them in half and then snip out the white core and tubes with scissors.

Chop the spring onions into pieces and add them to a pan with a spoonful of butter and a dash of oil (this stops the butter burning too quickly)

I used my favourite chilli infused oil just to give the dish a hint of a bite.

Cooking takes just a few minutes – you’ll be able to tell because the kidneys go from fresh. bright red to a rich brown.

In the meantime, I put a cup of basmati rice in a pan, add a cup and just under a half cup  of water, a pinch of salt and set it away to boil. Basmati only takes a few minutes to cook and doing it this way means there’s no need to drain it. If you cover it with a teatowel and put the lid on after the water has been absorbed, then the excess moisture is absorbed and you are left with fluffy, dry rice.

When the kidneys have just cooked, I like to add a dash of something alcoholic to perk up the final dish. If you are cooking this for children then you don’t have to add it… though I have to say, any alcohol will be cooked off, so it shouldn’t affect them.  Tonight, I am using port.

Why port? Well, there’s a bottle open and also I think the sweetness will combine well with the musky tang of the kidneys. Sometimes I use brandy, or whisky. I’m tired tonight and i think I might fancy a touch of sweetness in there, so port it is.

Then, a sprinkle of thickening granules, stirred in

And, because I have some in the fridge and it needs finishing off, I add a spoonful or so of cream

And that’s it.

Just stir the cream round, taste for seasoning – maybe a pinch of salt or a grating of pepper and then pour it over your lovely, fluffy rice.

Supper in less than 20 minutes.

Comforting, rich and smooth. Gently cooked kidneys (no rubbery, bitter bounce here!) in a delicious, creamy sauce on fluffy rice.  Just what you need to brighten a lonely evening.

Superfood salad

Right then. Celebrations  are over and spring is on the way. 

I have a new job and a new bounce to my step. Everything is looking bright and cheerful and I am filled with optimism. Not only about having a real job but I am optimistic about starting a diet. Well, when I say starting… I seem to remember saying I was starting one some months ago but the horribly cold weather and gloom got in the way.

The brighter days and increasing warmth make me feel lively and less in need of solid, warming foods. Lovely though that Toffee Apple Crumble was, it seems my tastebuds are shouting out for brighter, fresher things too.

One of the things the Bear and I like to eat when we start to feel like this is Superfood Salad.  Lovely chopped salad with fresh, raw vegetables and quinoa with a lovely savoury, light dressing.

It makes a delicious meal by itself, or perhaps served  as a side salad alongside salmon or chicken. 

The basis for the salad is quinoa (and if the spelling confuses you, it is pronounced “keenwa” ) It was important to the Incans of South America (who called it the Mother of all Grains”) but nowadays, according to Wikipedia,

” In contemporary times, this crop has become highly appreciated for its nutritional value, as its protein content is very high (12%–18%), making it a healthy choice for vegetarians and vegans. Unlike wheat or rice (which are low in lysine), quinoa contains a balanced set of essential amino acids for humans, making it an unusually complete protein source.[4] It is a good source of dietary fiber and phosphorus and is high in magnesium and iron. Quinoa is gluten-free and considered easy to digest. Because of all these characteristics, quinoa is being considered a possible crop in NASA’s Controlled Ecological Life Support System for long-duration manned spaceflights.[4]

I don’t suppose you can say fairer than that, can you? And if you add a good selection of fresh, crisp and crunchy vegetables, well, you have Superfood salad.

So, first of all, get your quinoa.  About a half a cup full would make enough, when cooked, to make a decent sized salad for maybe four people. Or, if you are us, it makes enough for supper with two portions left to take to work for lunch the next day.

Give it a rinse and then put it in a pan to boil. It will take maybe ten minutes.

You will know when it is ready, because it goes from looking like little grains into grains with little sprouts appearing

See what I mean?

I often put a sprinkle of stock powder into the water to give the quinoa a bit of a hint of taste… you could try that.

Next, start on the vegetables.

The Bear won’t eat anything “stringy” (he thinks celery will strangle him) so I peel the outside with the potato peeler to get the worst of the strings off.

Once the celery has been transformed from a Bear-strangling-vegetable into a crisp and juicy stick of fresh greenness, I chop it into cubes.

And do the same with baby courgettes

And after scooping out the wet, seedy middle of a cucumber, I chop that into bits, too.

Get carrots, baby corn, spring onions, red pepper and baby plum tomatoes and do exactly the same to them.

A ripe avocado makes a good addition as well.

Now it really is a case of just putting it together – I put a handful or so of sunflower and pumpkin seeds in a bowl, then having rinsed in cold water and drained the cooked quinoa

I add that to the bowl and stir it round

Then add the chopped vegetables, stirring them into the quinoa and seeds

A good handful of chopped nuts  gives the salad an extra crunchy dimension

I make a light dressing with some walnut oil, some balsamic vinegar and some lemon juice and pour that over the salad.

And that’s it!

Look at it, isn’t it pretty? Fresh and crispy and delicious?

By itself it is gorgeous but I want to add a little extra to make it the perfect spring meal….

I have a lovely crisp pear and some organic feta cheese that, if I cut up, will go perfectly.

All that needs is the juice of half a lemon pouring over it to stop the pear turning brown and you have a sharp, sweet and salty extra to add to the salad.

So…. all you have to do is get some quinoa, a selection of vegetables that you like and with the aid of a sharp knife you can make yourself a really tasty salad that will not only brighten up your day by the sheer colourful crunchiness of it but it will also do you the world of good.

Spring is here – let’s eat something light and bright and good for us!