Some time back, I was at work and I had a fancy for something sweet. That’s odd, for me as I generally tend to prefer savoury things.
All I could find was some Turkish Delight that a Turkish colleague had brought back from a visit home. Normally I don’t like Turkish Delight because it is too sweet and over scented for me but this was delicious – it was stuffed with pistachios and the contrast between the soft delight and the crunchy pistachio was unbelievable. It really did make me a convert. Our friend, Ender, explained there is a world of difference between the mass produced cheap stuff we get over here and the high quality Turkish Delight produced in Turkey. People make it at home, he said, and that’s even better. All sorts of flavours are made, all sorts of additions to the delight.
It made me think about what I could do…..
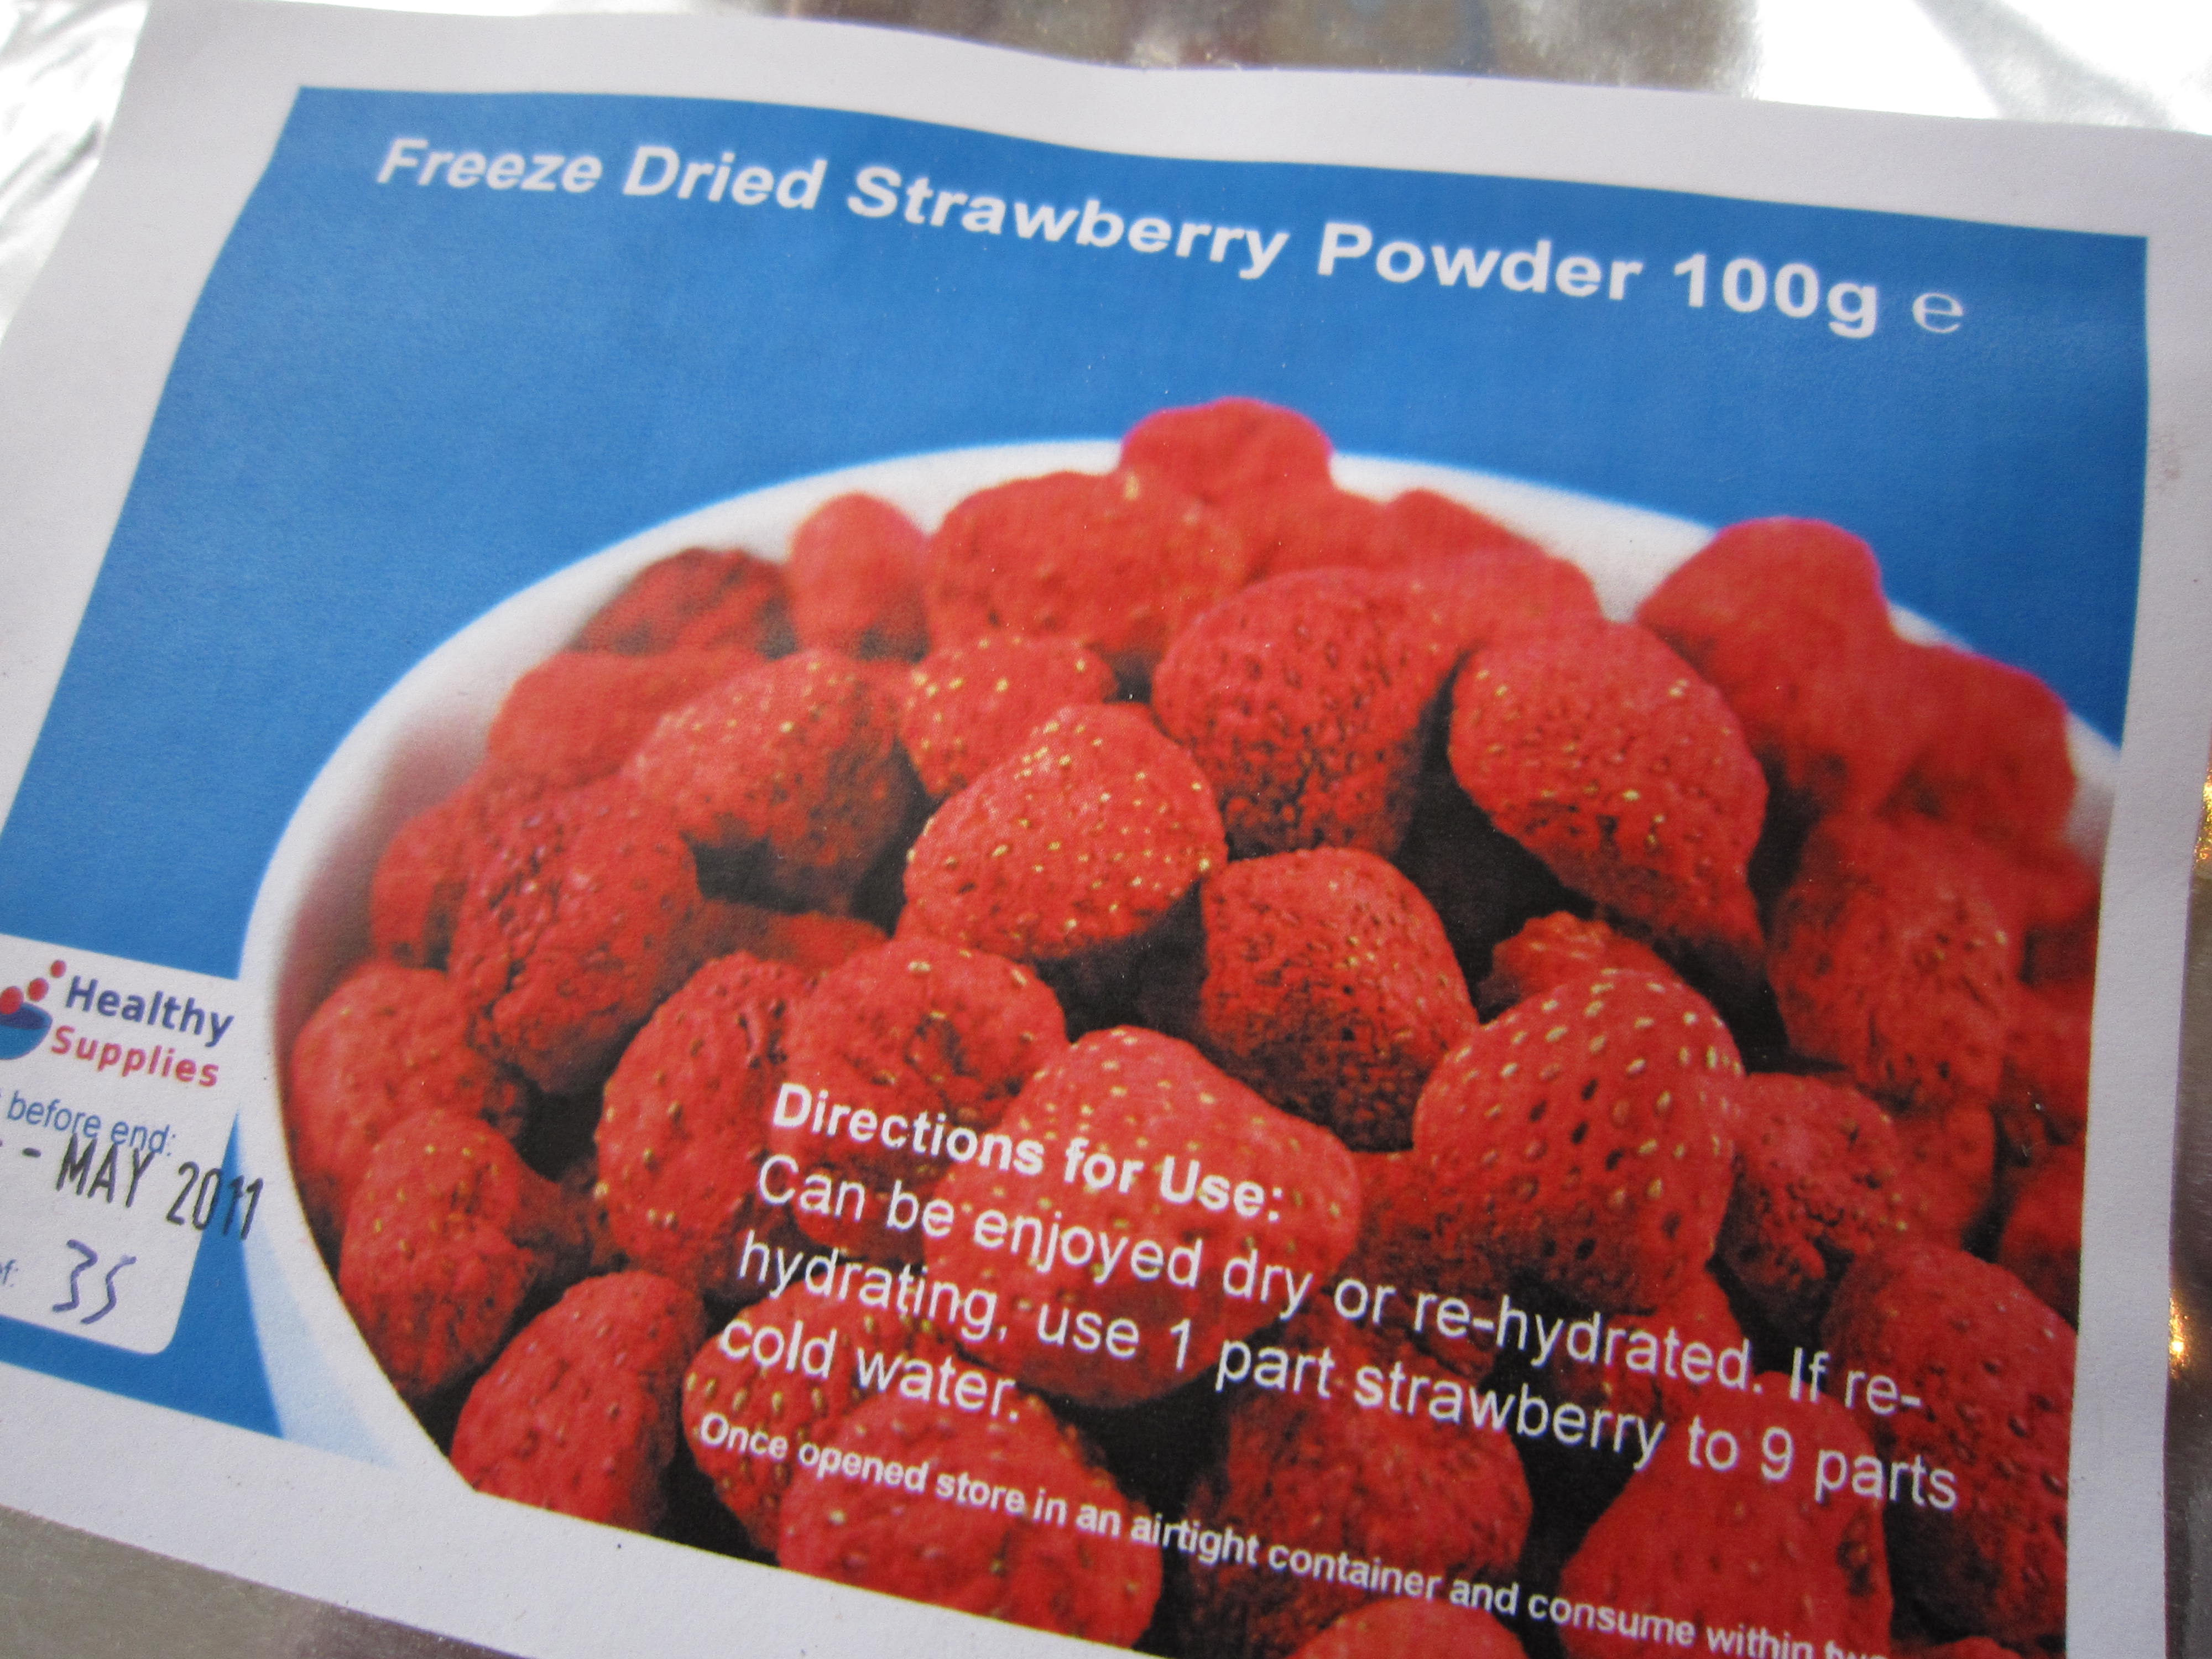
I remember the excitement I felt when I first read about freeze dried food. It was what the astronauts ate, apparently, and it seemed so exciting. I was a child at this point, mind you, so it’s understandable. Fancy being able to eat something like that….. and then I found you could actually buy freeze dried fruit. I spotted freeze dried strawberries. I had to buy some. And when I saw the freeze dried strawberry powder as well, my mind really started ticking over.
Maybe I could make Turkish delight and use the strawberries instead of pistachios? Perhaps use the strawberry powder in cakes as a swirl? Or in meringues to make them all pretty and pink? Macaroons…whipped cream…oh the ideas were just pouring out. But I didn’t do anything because I was too busy dealing with the huge apple harvest. I made cakes and apple butter and apple mash and apple crumble until, at last, even I was fed up of apples.
A month or so later, as I sat down at home one night, I started to read Good Food magazine and spotted a recipe for bramble stuffed marshmallows. Well, I thought, why not make marshmallows instead of Turkish delight and put the freeze dried strawberries in there?
It seemed meant to be. I was on trend!
I would have to do something with the strawberries because I had opened the packet….

It seemed pretty easy.
First of all, some cornflour and icing sugar needed to be mixed together as this would be the dusting that the mallow is poured upon. If you don’t do that it will stick. Now, although I wanted something sweet, I didn’t want too sweet. If I used the strawberry powder that would have the same sort of effect and add a touch of sharpness, stopping everything becoming too sickly.

I made a 100g/ 4 oz mix of cornflour and freeze dried strawberry powder, using slightly more strawberry powder. This was going to be the dusting that stops the mallow sticking together.

In order to get the bouncy texture of the mallow you need gelatine.

9 sheets were put in a pyrex jug with 150 ml of hot water. It softens and starts to dissolve quickly but it will probably need a mix with a fork to get a good, even distribution

I lined a baking tray with baking parchment and scattered a good layer of the strawberry and cornflour mix over it

One tablespoon of liquid glucose was added to 1 lb/450g of granulated sugar

200 ml of cold water was added and the pan was put over a medium heat to start the sugar dissolving.

Now, I have a sugar thermometerand I placed that in the pan too. Once the sugar was dissolved I turned the heat up to start to get the sugar solution boiling. I had to get it to 125 degrees.
if you haven’t got a thermometer, don’t worry, just time it, for a start. To get to the right temperature takes about 10 to 15 minutes of boiling. You can check how well it is doing after 10 or more minutes by dropping a little bit into cold water. If it sets into a soft ball you know you are at the right temperature.

The bubbles start to look different – thicker and perhaps more glossy.
While it is getting to that stage, start whisking the egg whites untill they become stiff and white. Once you have them at that stage there’s no harm in leaving them in the bowl, ready for the next bit.

And there you have it – I timed it – it was just over 13 minutes to get to this stage.

Now, carefully, in two stages, pour half the sugar syrup into the dissolved gelatine. Give it a little stir and then add the rest of the sugar solution.

While the whisk is going, start pouring in the gelatine sugar mix into the already whisked egg whites.

Add a teaspoon of vanilla extract as the whisk goes on

And carry on whisking for ten minutes or so – you will see the mix become shiny and somewhat stiff.

Pour half of the mix onto the strawberry dusted baking parchment

Then put freeze dried strawberries all over the mallow

And start pouring the rest of the mallow over the strawberries

And then leave to set.
This will take a couple of hours at least. (I put mine in the fridge later on as I had been doing the washing and there was a lot of moisture in the air. A fridge is a very dry environment so that helped everything set. Bear that in mind if the weather is funny and humid)

The rest of the strawberry powder mix was poured onto another sheet of baking parchment

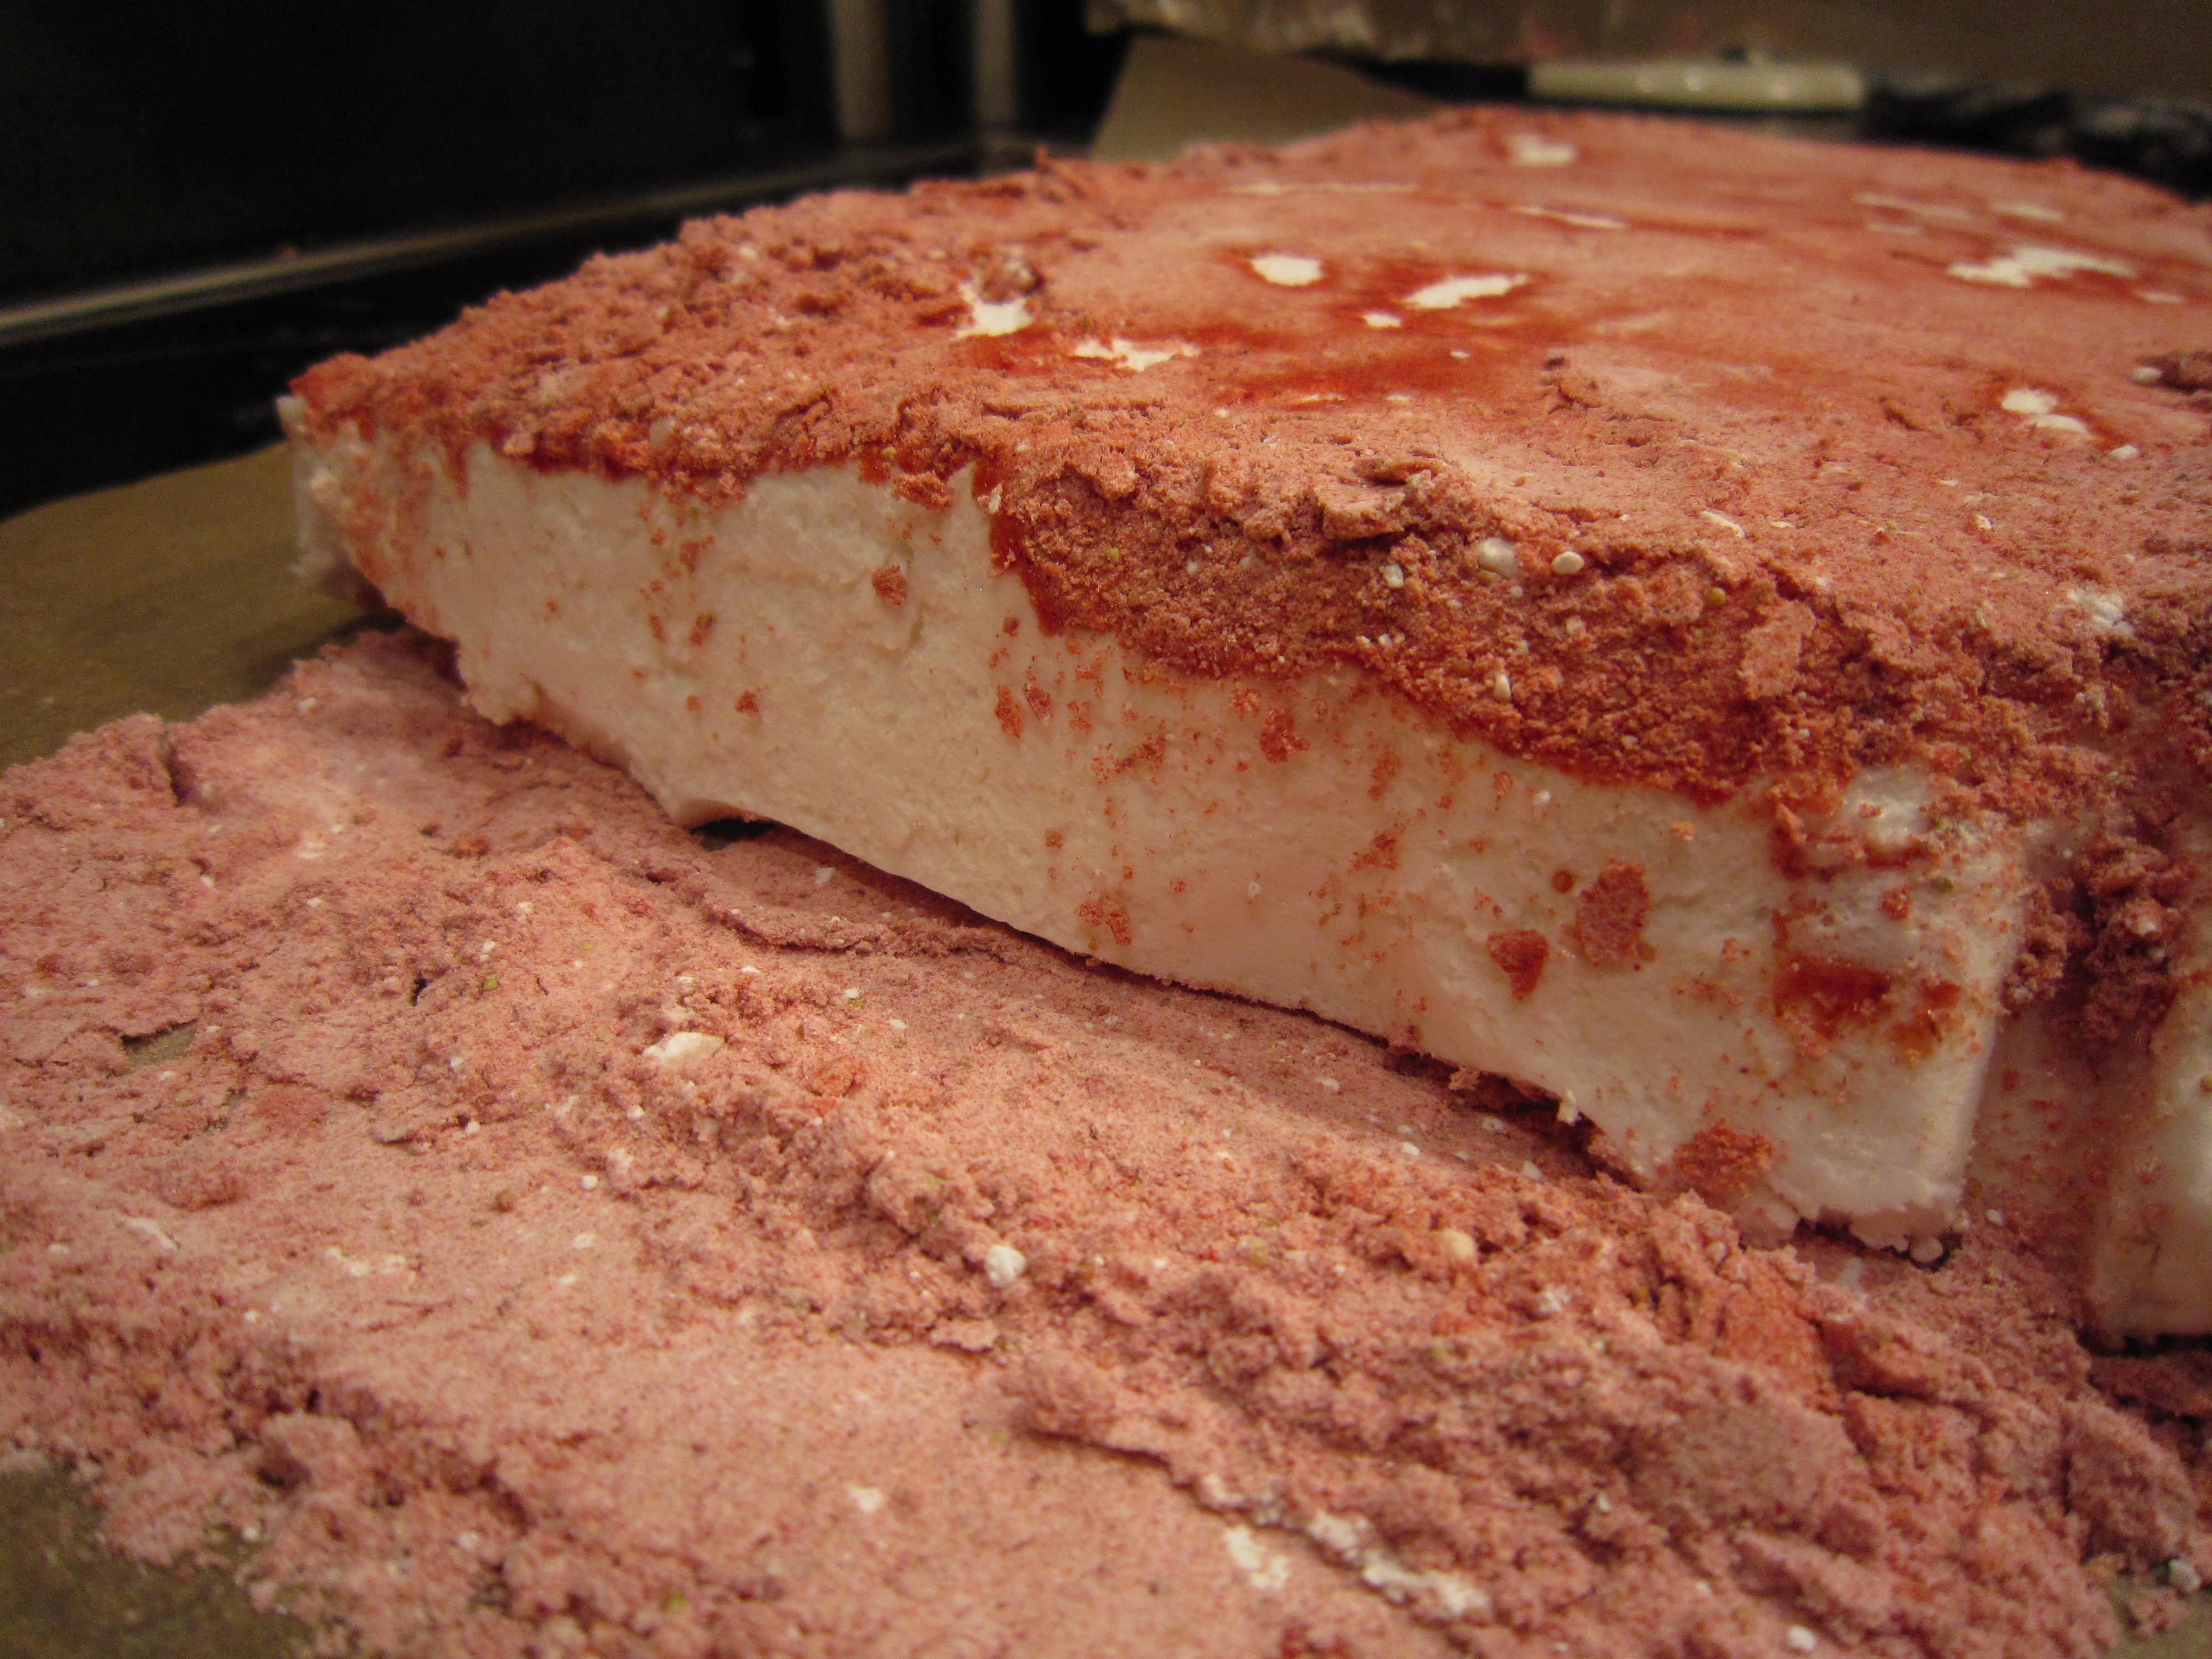
…and the cooled and set mallow was upended onto the powder

The bottom layer of paper was now on the top and was easy to pull away (the Bear did that bit as I needed to take pictures and it is a bit sticky….)

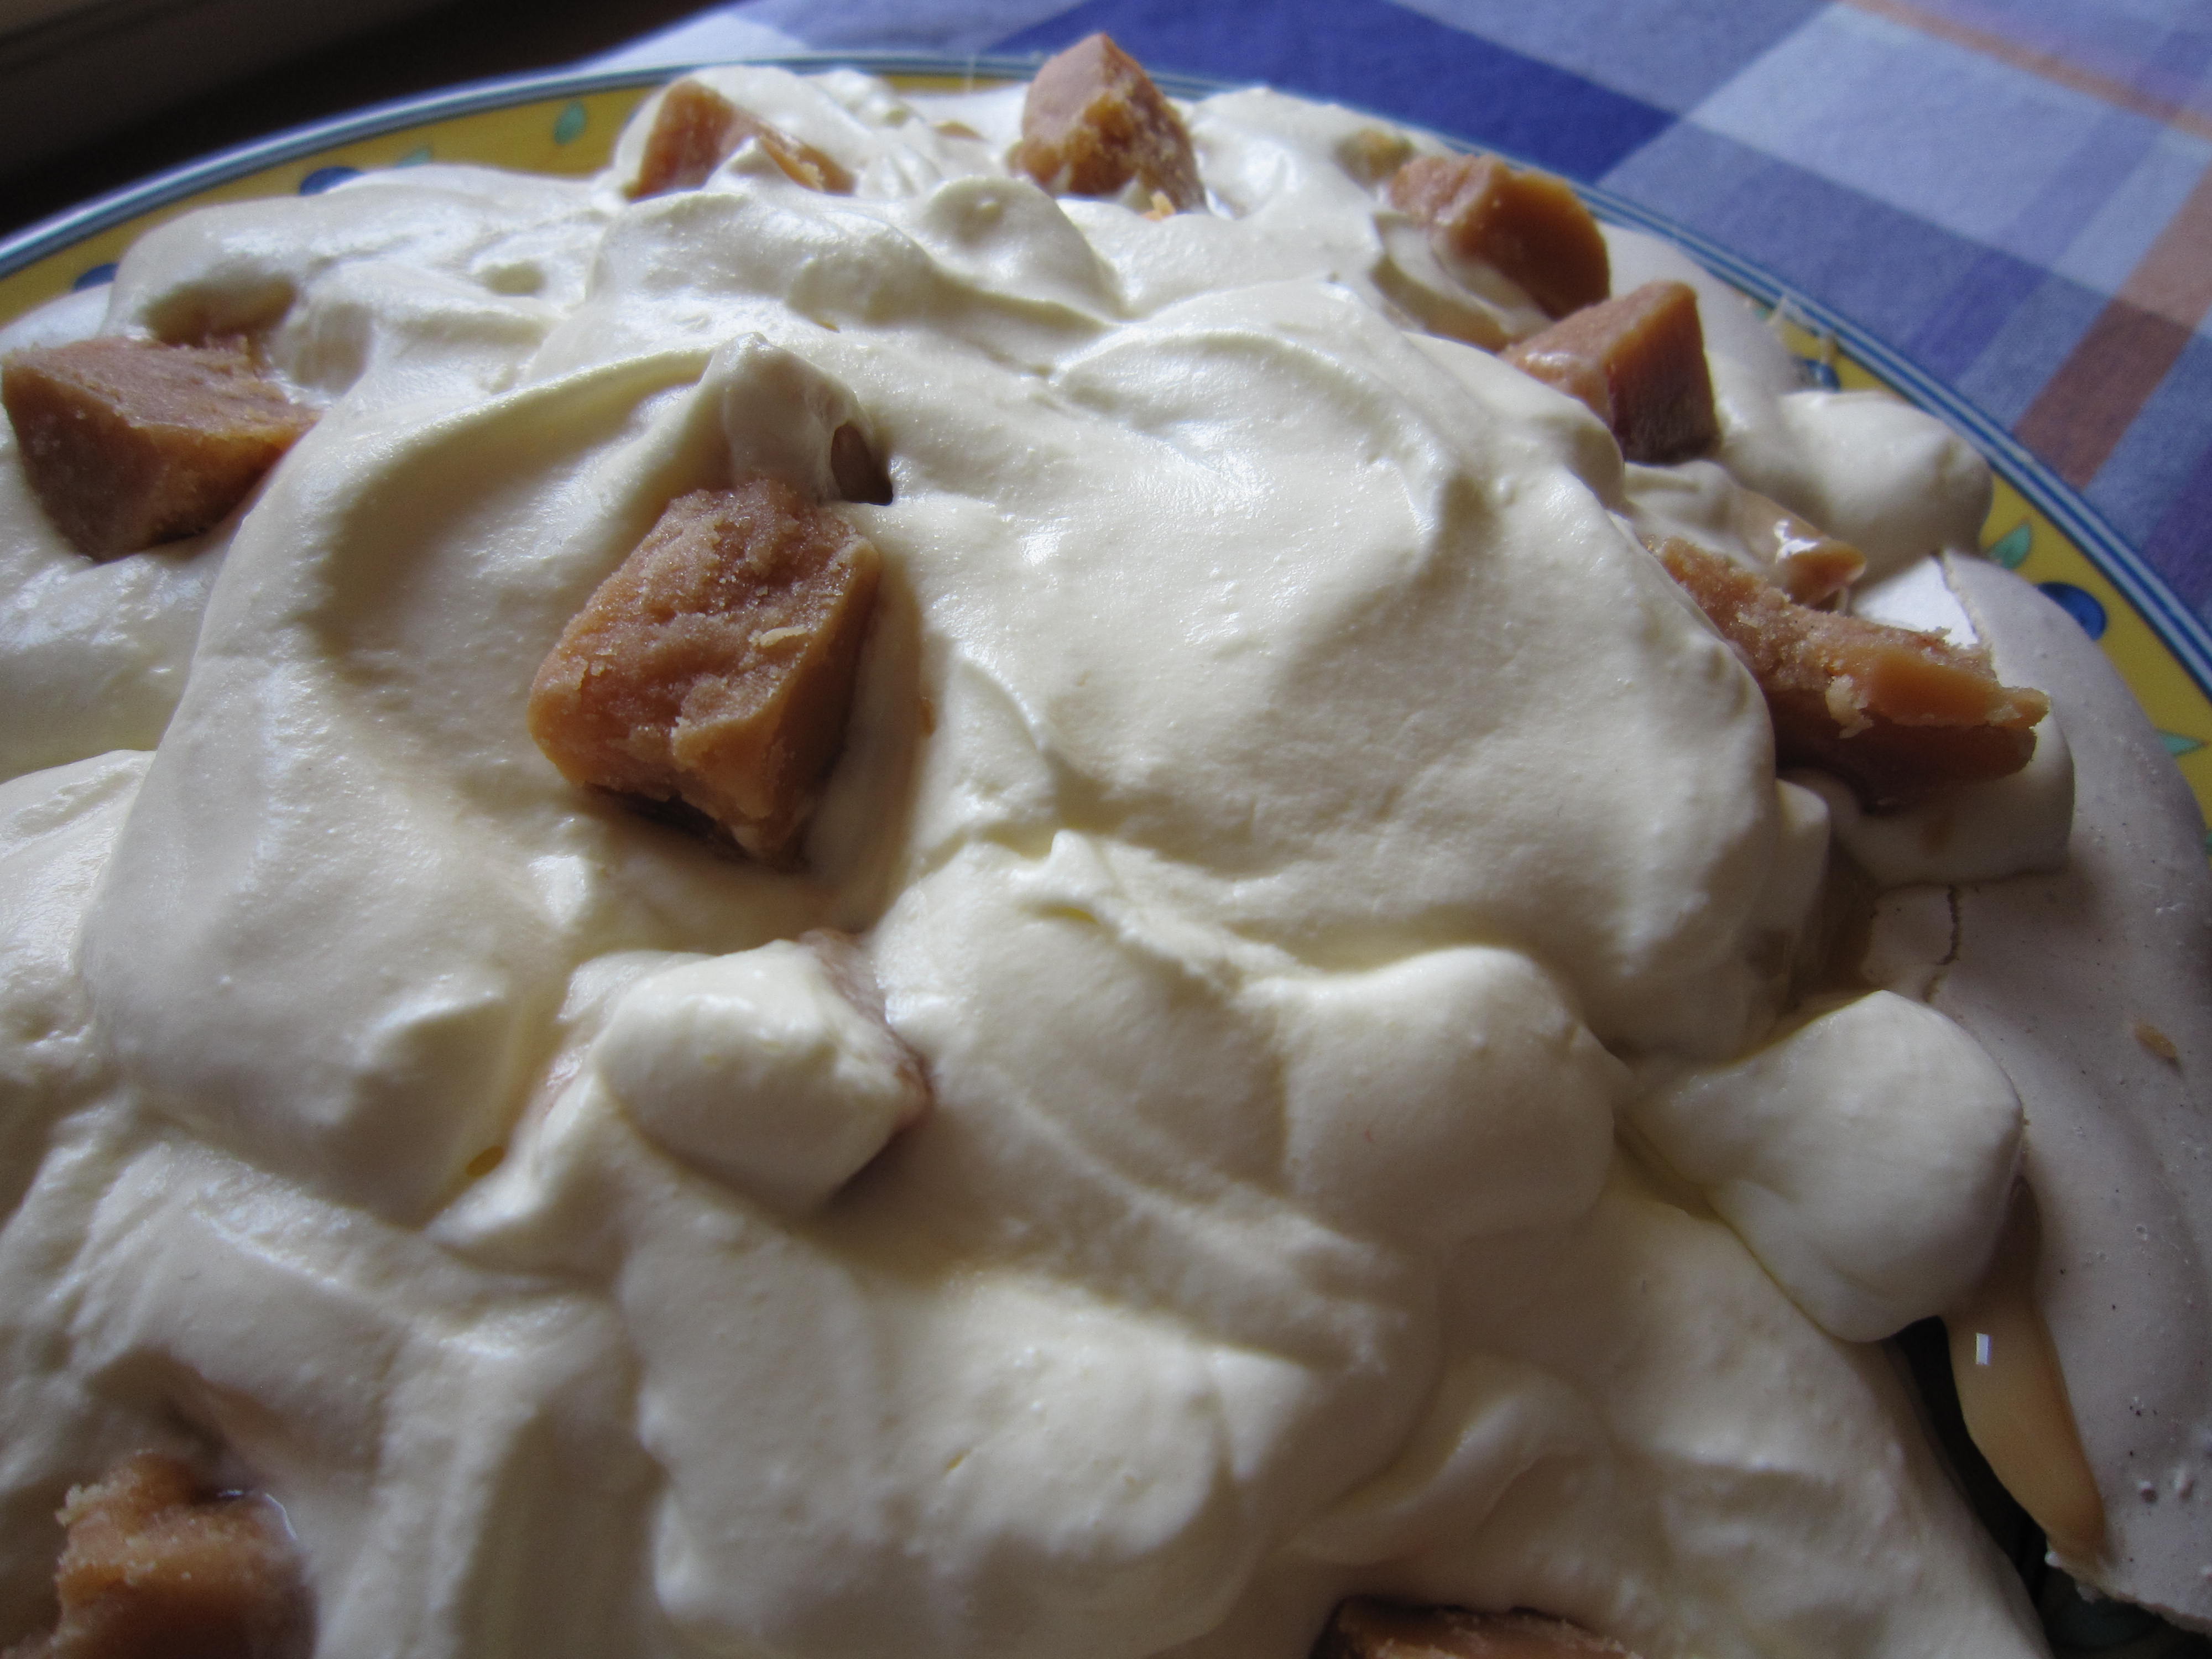
There it was.. white and bouncy mallow with a pink dusting and an occasional strawberry poking through

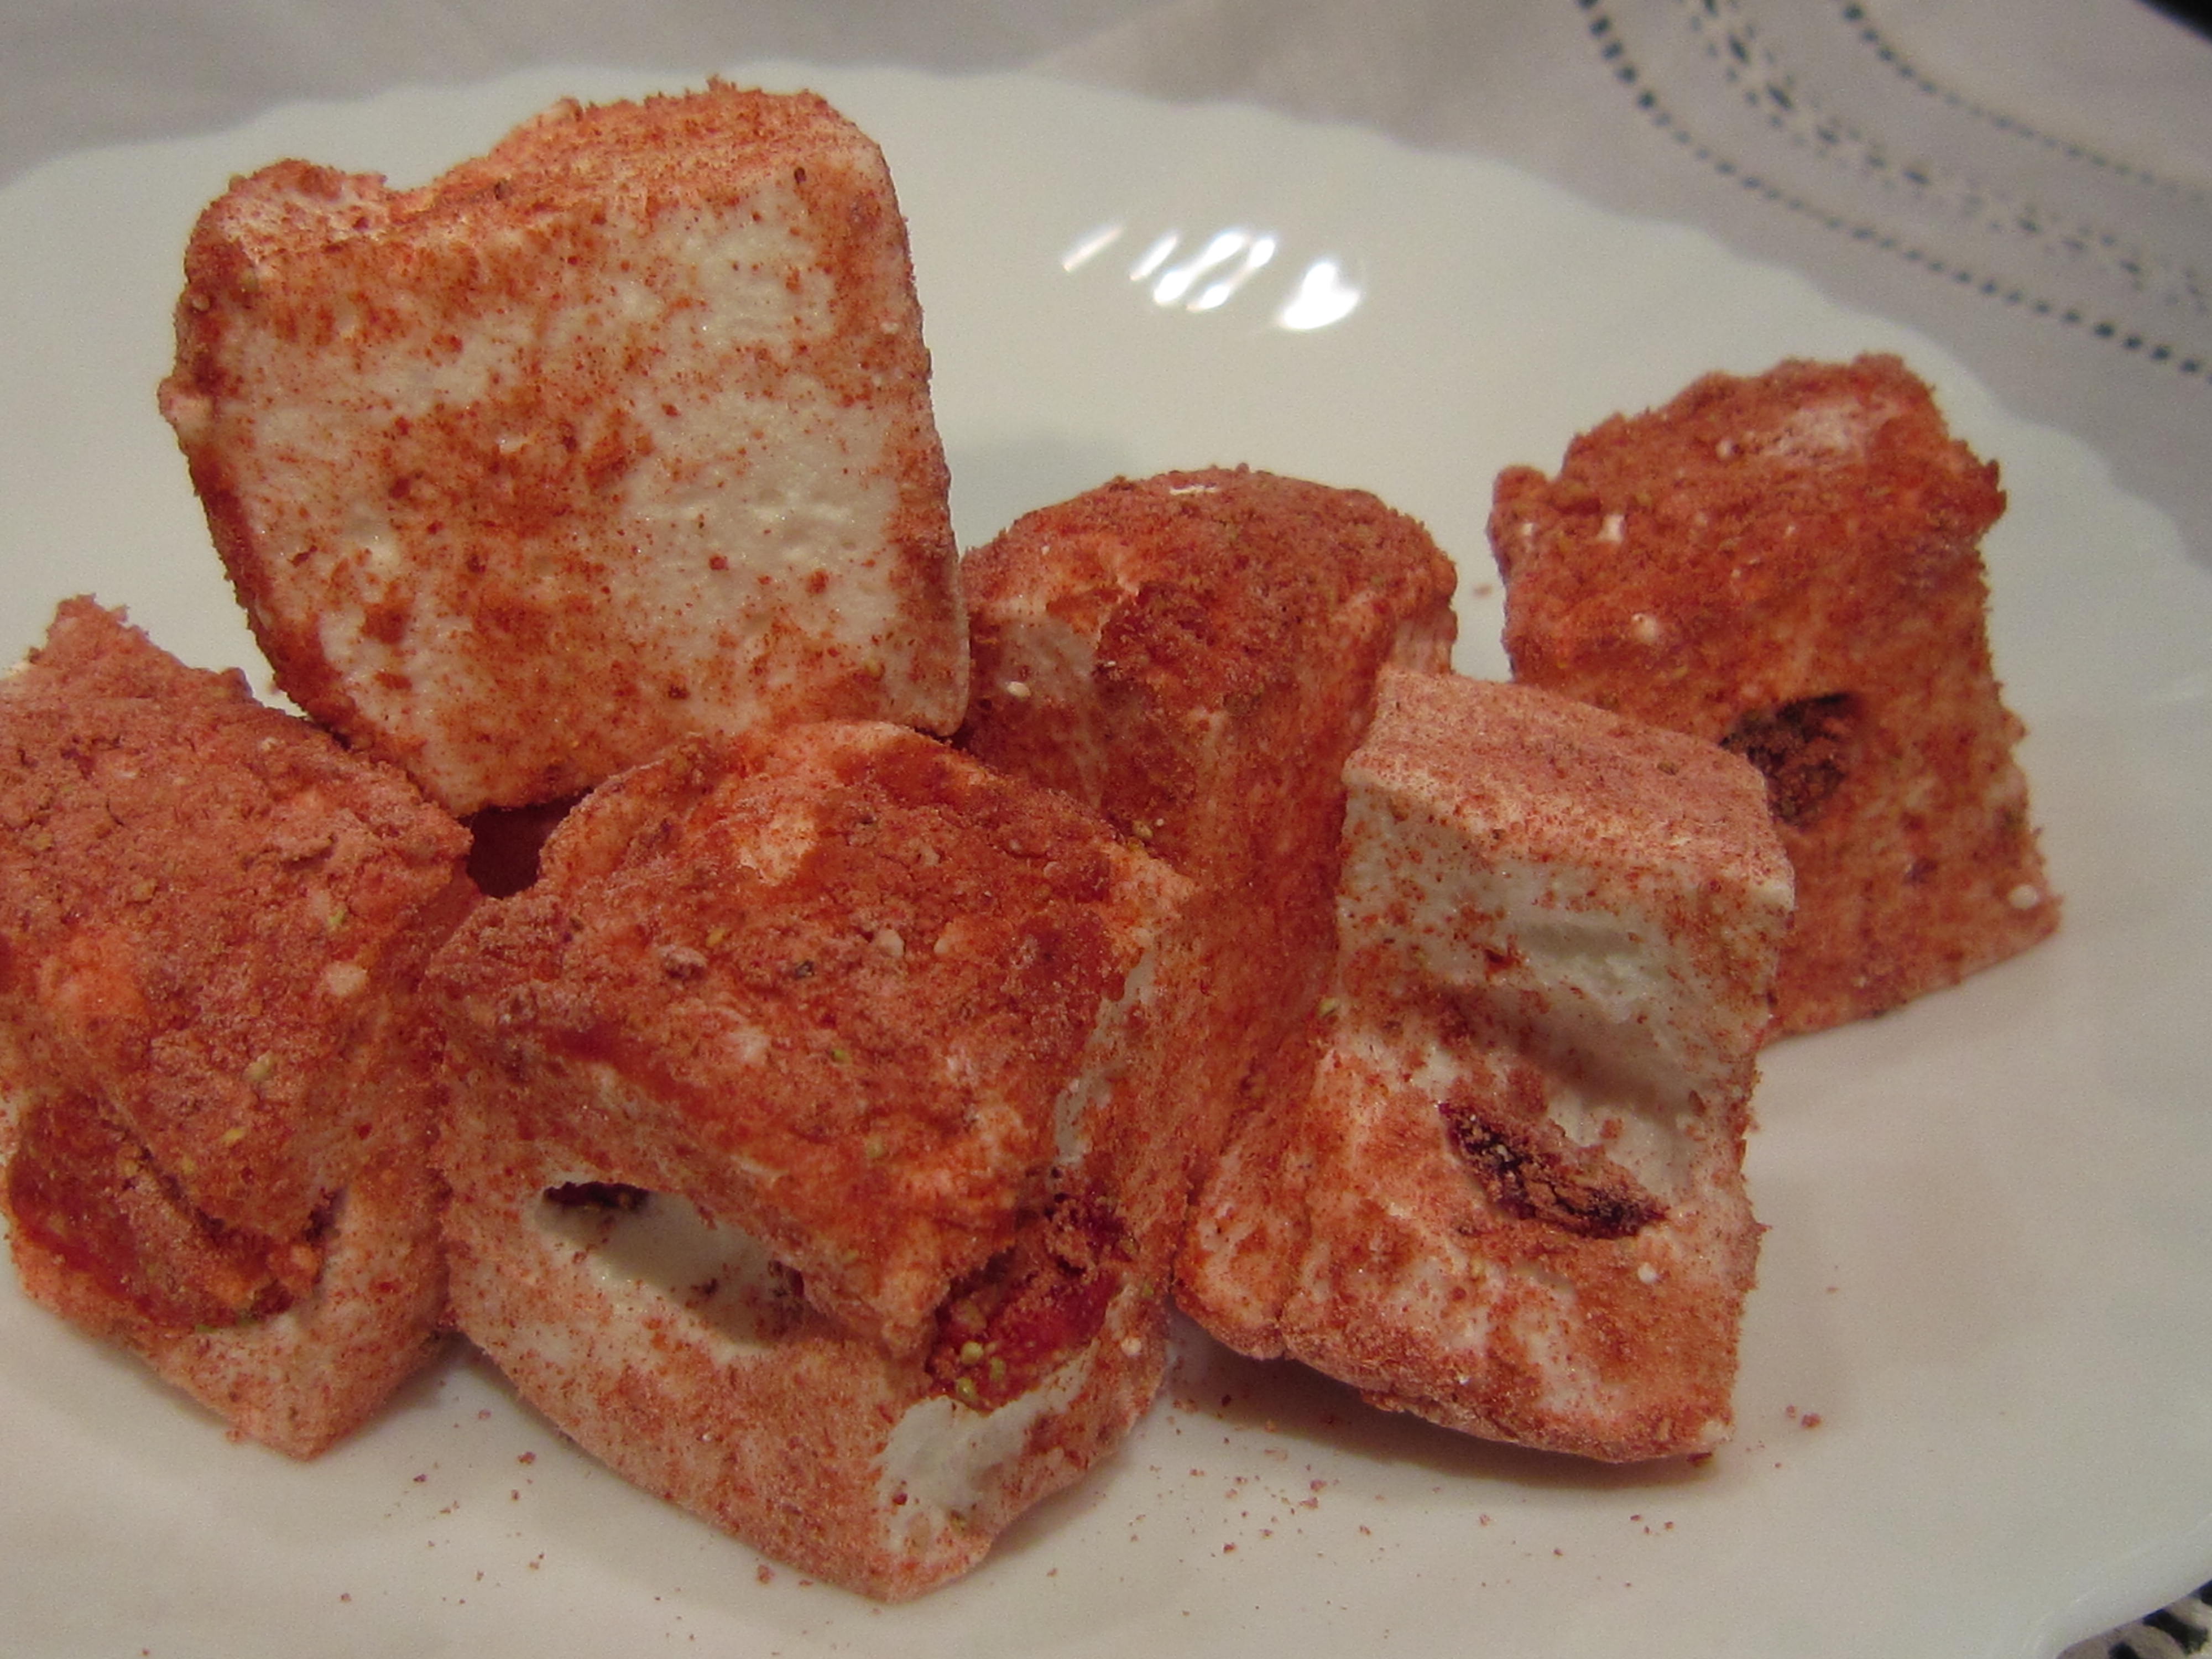
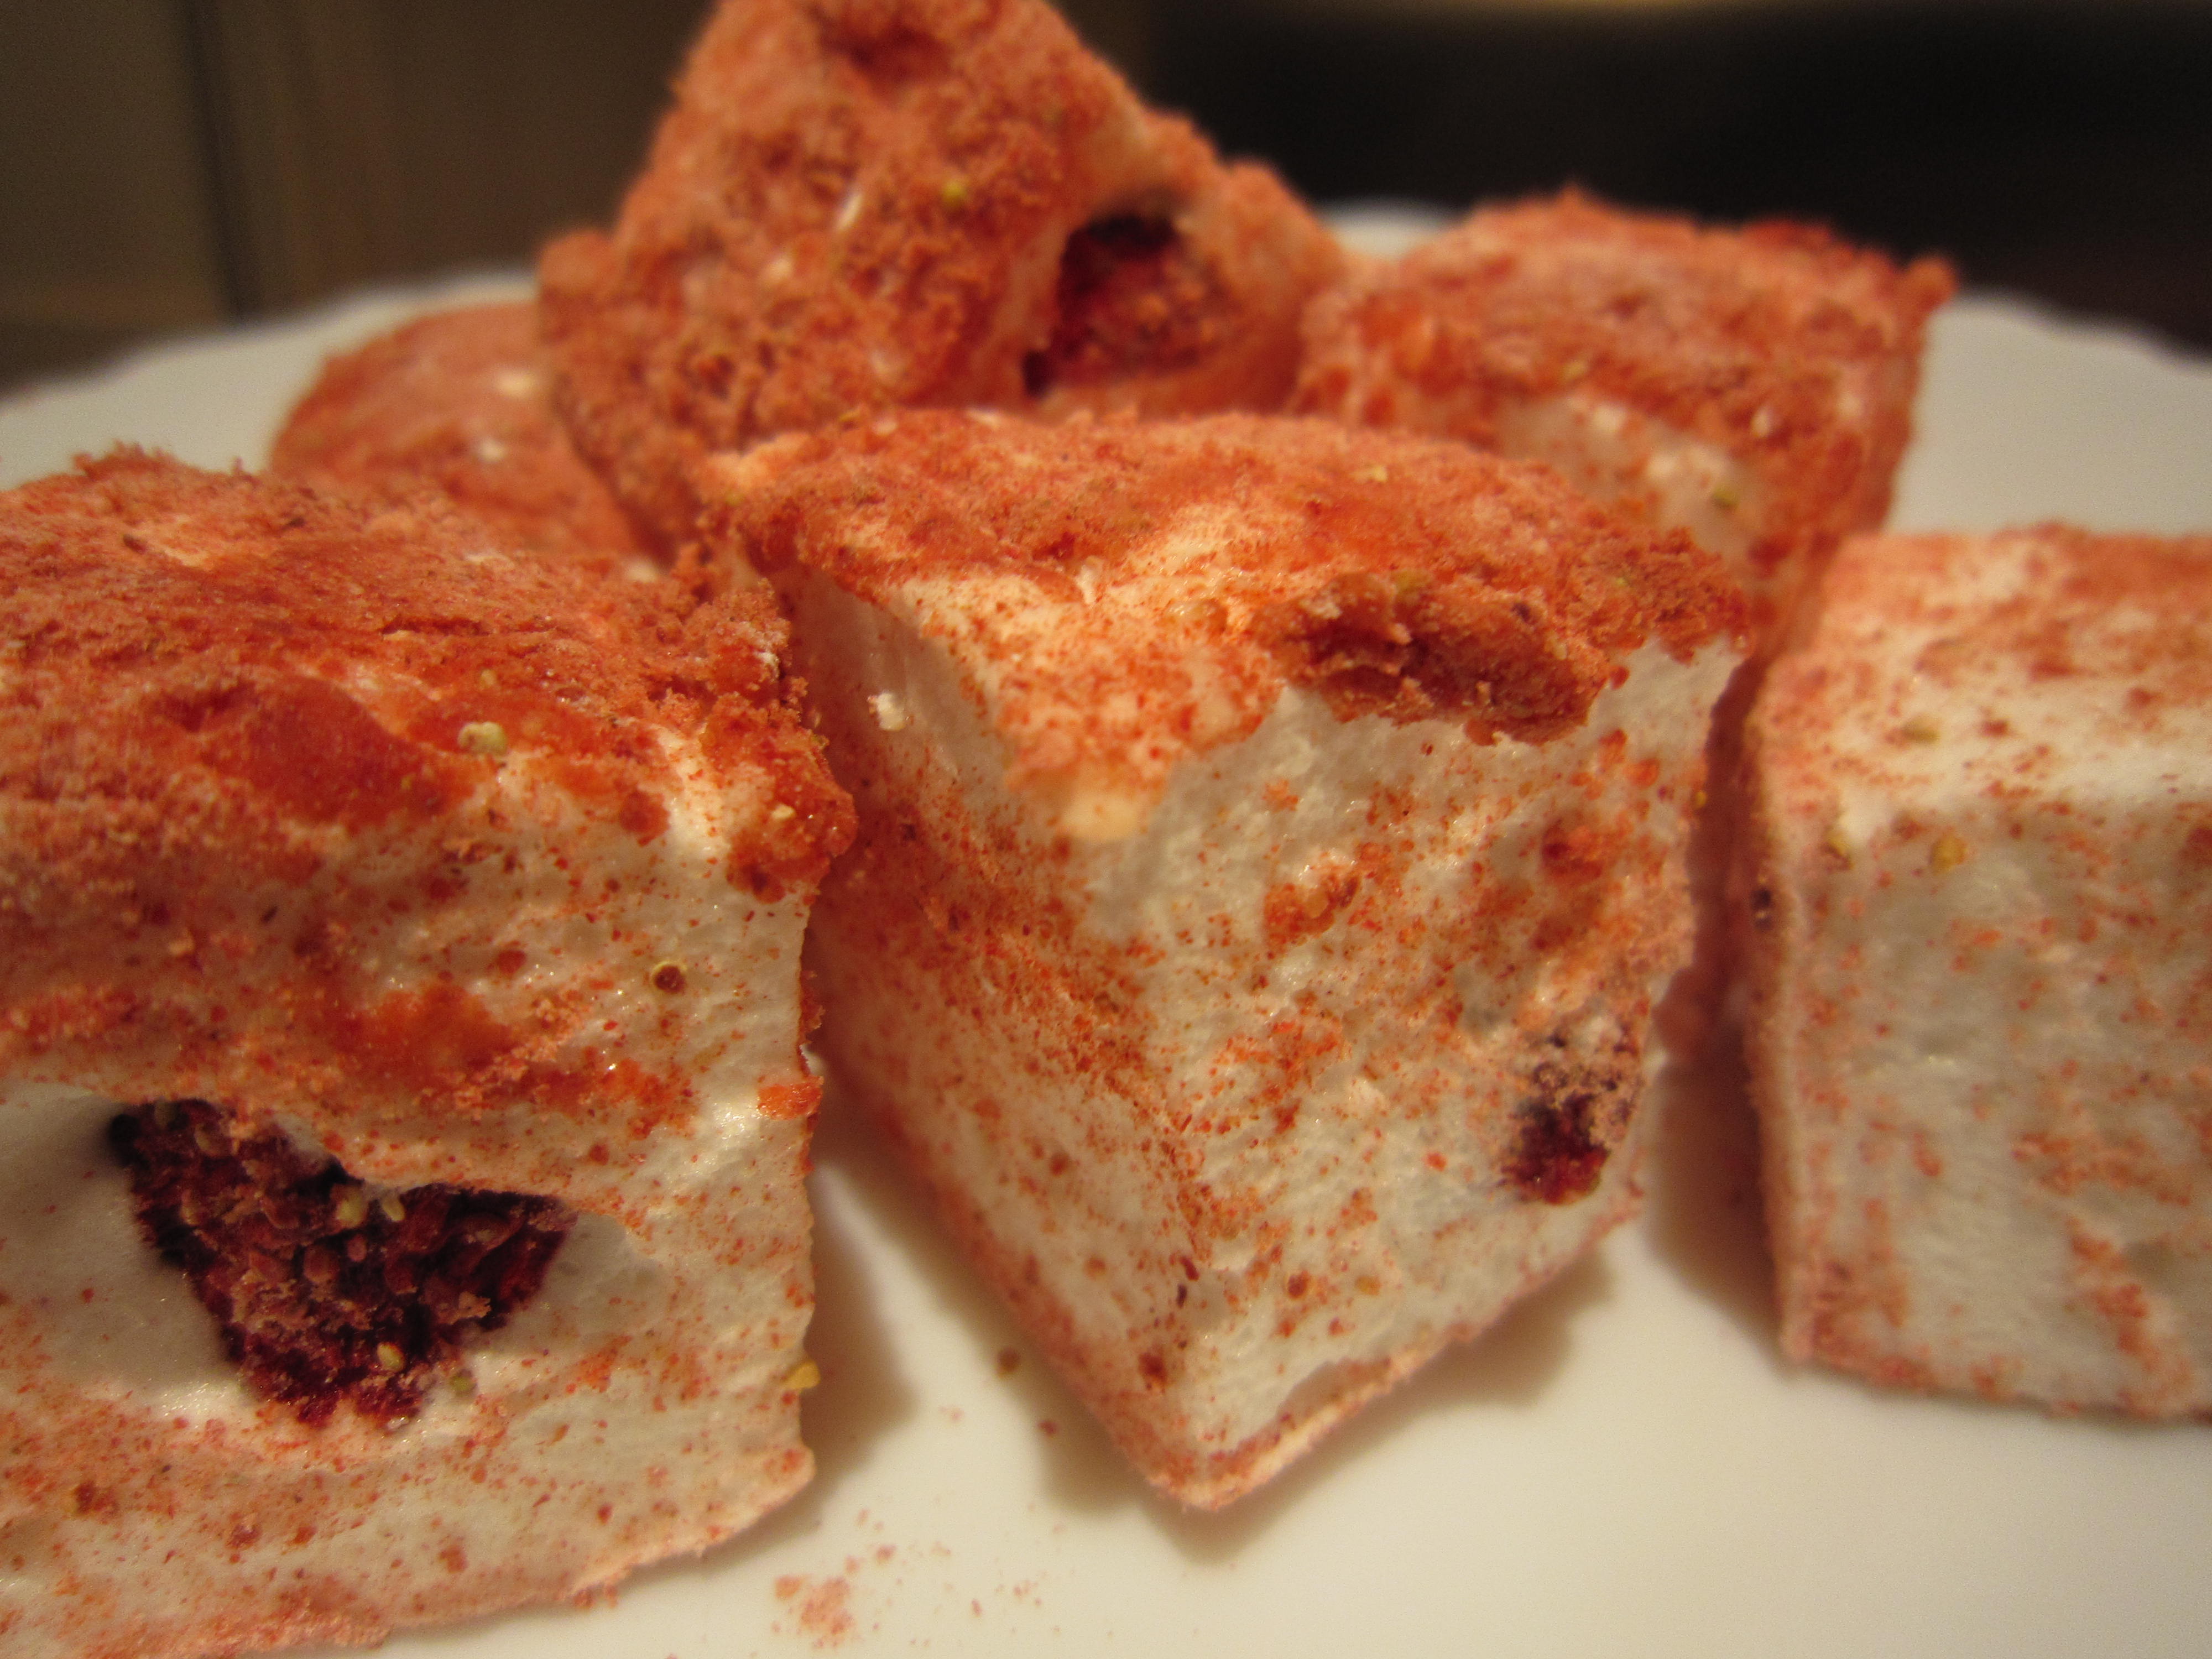
We cut it all into squares – there were over 60 pieces!

They were fabulous. The sharpness of the strawberry powder stopped them being too sweet and the surprising soft crunch of the freeze dried strawberry in the middle really enhanced the softness of the mallow.
The Bear and I ate a piece. Then another piece or two ….and we realised that, delicious though they were, we would have to stop.
I put the marshmallows in an airtight box, lined with baking parchment and decided to take the rest to work. After all, it had been thanks to Ender’s generosity with his Turkish Delight that started this whole experiment off.
They were eaten! And people who normally find marshmallows too sweet had some… and then had some more!
The only downside? Ender, who inspired the whole thing, wasn’t in the office that day!
Should you make this? Yes, I think you should. I know it involves boiling sugar but that’s fine. Just time things if you don’t have a thermometer and it really is rather easy.
And to make it easier for you – here’s the recipe.
Strawberry Surprise Marshmallows
30g cornflour; 70g freeze dried strawberry powder; 9 sheets of gelatine; 450 g /1lb granulated sugar; 1 tablespoon of liquid glucose; 2 large egg whites; 1 teaspoon vanilla extract; freeze dried strawberries.
* Mix the strawberry powder with the cornflour
* Dissolve the gelatine sheets in a pyrex jug with 150ml of hot water. You will need to stir it round
* Line a tin (I used my normal baking tray for flapjacks) with baking parchment and put down a layer with the pretty pink strawberry and cornflour mix. The gooey mallow mix will go on this so make sure the paper is covered
*Put the granulated sugar and the liquid glucose in a heavy bottomed pan and add 200 ml of water. Stir over a medium heat untiol the sugar has dissolved completely and boil until a sugar thermometer reads 125 degrees. This takes between ten and fifteen minutes. With no thermomemter, drop a little of the sugar mix into a glass of cold water after twelve minutes – if it sets as a soft ball then it is ready.
*While the sugar is boiling, start whisking the egg whites until they are stiff
*When the sugar is at the right stage pour it carefully into the pyrex jug that has the dissolved gelatine.
*Keep on whisking the egg and add the gelatine and sugar syrup in a steady stream.
* Add the vanilla essence.
* Keep whisking until the mix is shiny and stiff.
*Pour half into the lined tray
* Add the freeze dried strawberries then pour the rest of the mallow mix over and leave it to cool for at least a couple of hours
* Put more baking parchment on the bench and scatter the rest of the cornflour/strawberry powder mix over and then turn the set marshmallow onto that. Take off the top layer of paper.
* Using a sharp knife, cut into squares.


