Parmesan custards

Not only do I love cooking and eating, I love reading recipes and articles about cooking and eating. I’m a great snipper and copier out of recipes that I think will be worth doing, or that interest me. I’m always on the lookout for recipes that can be made in advance – we lived in an apartment in Nottingham where the upper floor was an open space for the kitchen, dining and living area and here, in Malaysia, we have much the same layout. That’s lovely when everything is tidy and ready to go but if you have guests sitting around with drinks it’s not so great for them to see you juggling pans and plates, cursing mildly and getting hot and bothered.

I like to have things ready to bring out – for one thing, it gives me time to brush my hair and wipe flour, sweat and splashes off my shiny, red face.

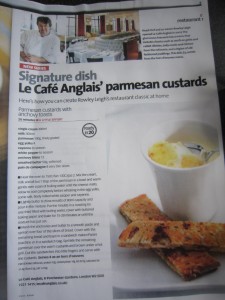
In my folder of Things I Really Must Make, I found this article, from Olive Magazine, dated June 2008,  but searching the site now, there’s no recipe listed. You’ll just have to follow what I write out.

Rowley Leigh, of Le Cafe Anglais has, amongst the many wonderful dishes he makes, a classic starter, Parmesan Custards – creamy, cheesey, savoury set custard served with thin fingers of toast, spread with a thin smear of anchovies, perfect as a simple, yet stunning, make ahead starter.

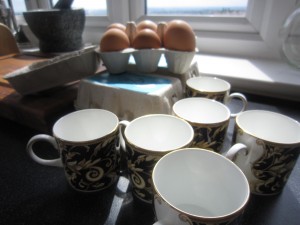
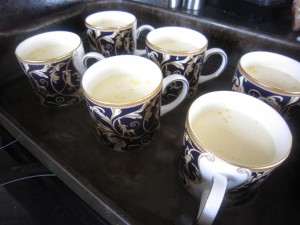
I have a set of espresso cups that are just about the right size and as they are part of my Wedgwood Cornucopia dinner service, they were going to look perfect at the table. We  were having good friends round to dinner and I wanted to make sure everything was as lovely as possible. There’s no point in keeping things ‘for best ‘- my motto is, if you’ve got it, use it! If you haven’t got espresso cups, little ramekins or china moulds (they need to hold around 80 ml) will do just as well.

I needed 4 egg yolks; 300ml of single cream; 300ml of milk; 12 anchovy fillets; 100g of finely grated parmesan for the custard and another 150g for some parmesan crisps I was going to make as an extra; 50g of softened butter; 8 slices of good bread ( I used thinly sliced No Knead Bread) plus cayenne and white pepper to season everything with. The recipe said this would make 8 small pots but the six espresso cups took slightly more than the recommended 80 ml so everything evened out. Besides, there were going to be six of us eating.

This really is quick and easy – so easy, that the first thing you do is get the oven turned on to 150°C/300ºF/gas mark 2.

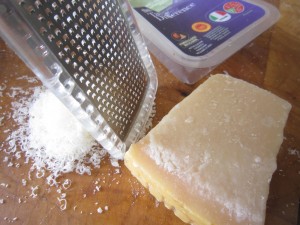
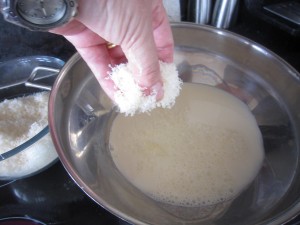
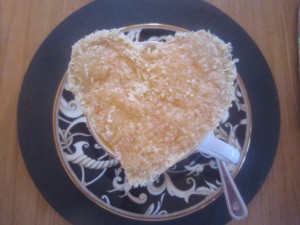
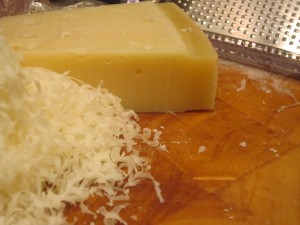
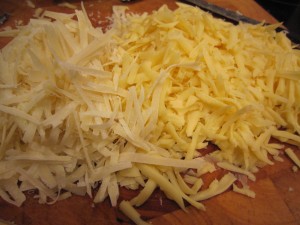
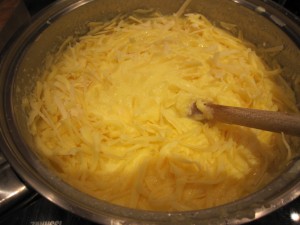
Then, grate the parmesan finely so it makes a lovely, light and airy mound

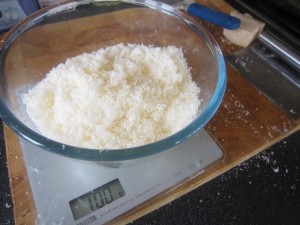
Remember that this is for the custard…. I need the rest of the parmesan for crisps, later.

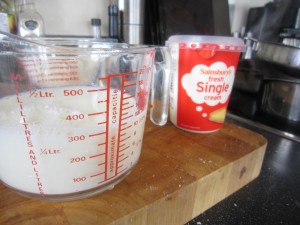
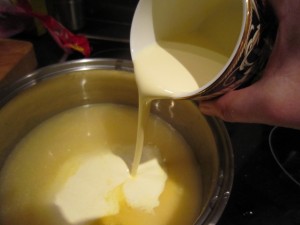
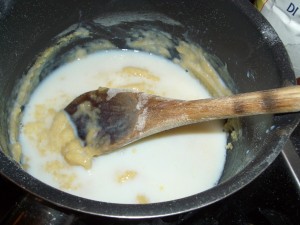
Mix 300ml each of the milk and the cream together

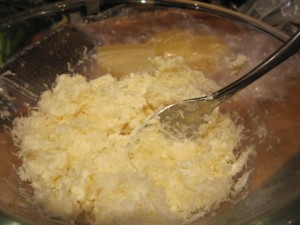
….then add in all but a tablespoon of the parmesan, if you are using ramekins.  You save this because you can sprinkle this last bit on top and then grill your pots to make a crisp topping.  I was going to make parmesan crisps instead because I didn’t want to put my lovely Wedgwood under the grill.

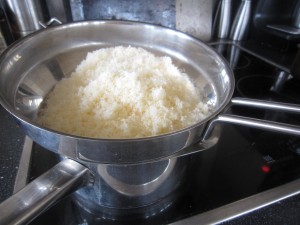
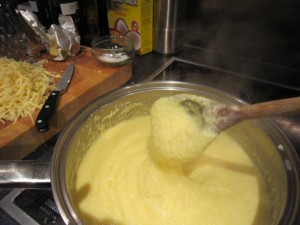
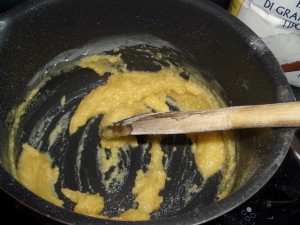
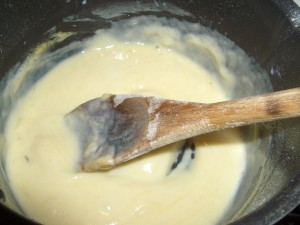
…and heat gently in a bowl or a bain marie, over a pan of boiling water until the parmesan melts.

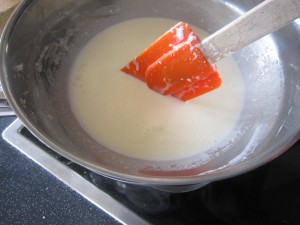
Allow this to cool completely

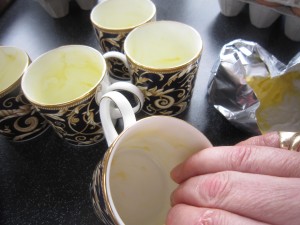
While the mix is cooling, butter your cups or little bowls.

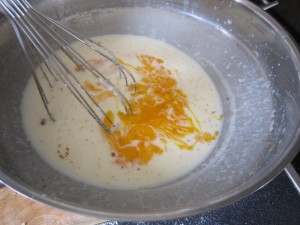
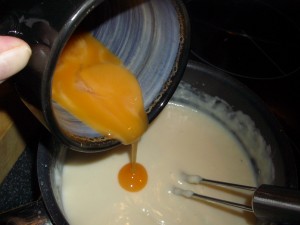
Once your mix is cool,  whisk in the four egg yolks, a pinch of cayenne, the same of finely ground white pepper and maybe a pinch of salt. You must let it coolproperly because otherwise you will end up with cheesey scrambled egg.

Put the cups in a roasting tin, then fill them with equal amounts of the custard mix, then put the tin on the oven racck before you add boiling water. You need enough to come maybe one third of the way up the cups. Doing it this way prevents the mix slopping about and you pouring boiling water over your feet. Always a plus point in my book.

Cover the  top of this with some buttered baking parchment or a silicone sheet and then let everything bake for about 15-20 minutes, when they will be just set.

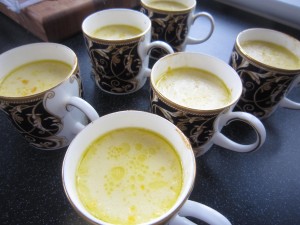
They emerge, looking gorgeous. I put them to one side while I made the toasts and the crisps……

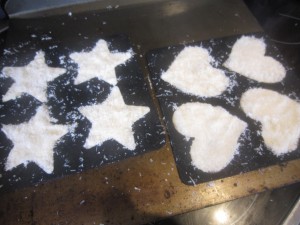
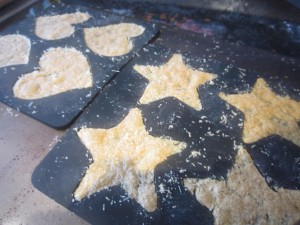
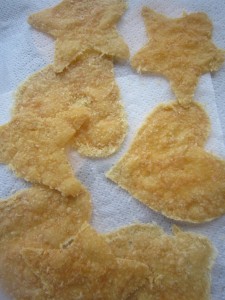
My sister gave me some Curtis Stone silicone wafer baker molds as a Christmas present and I really wanted to try them out  –  you simply pack them with the rest of the finely grated parmesan and put in a low oven, on a baking tray

.. until they turn a soft, golden brown. Leave them to cool and you can get started on the anchovy toasts.

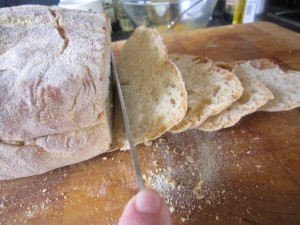
Thinly slice some good bread – each person will need a slice – and cut the crusts off to make lovely, neat, evenly sized rectangles

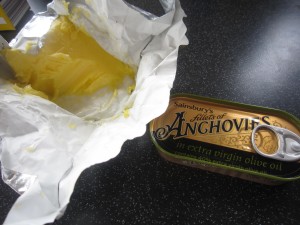
Then take your softened butter and the anchovies (drain them – you don’t want the oil)

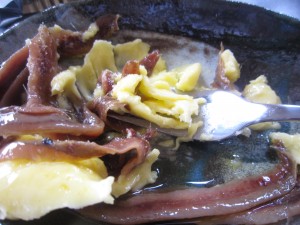
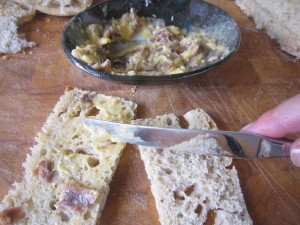
….and mash them into a smooth paste

Lightly spread half of the slices of  bread – and I do mean lightly. You don’t want to overpower everything with too much anchovy.


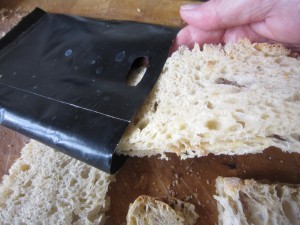
Lay a slice of unbuttered bread over the spread ones to make dainty sandwiches. The easiest way to toast them is in a toasted sandwich bag and then pop them in the toaster for a short time. You don’t want to make them too toasty and crisp – you have to slice them into fingers after that…


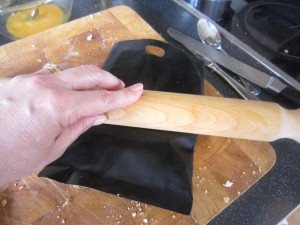
A good way to get very thin toasts is to roll them, still in the bag, with a rolling pin to get them nice and smooth, then toast them. When they are done they can easily be cut into fine fingers.


By now, the parmesan crisps are cool and can be gently lifted from the molds. How fantastic is that?

And then… well, then you are nearly ready.


Wipe down the kitchen and set the table….


When you are ready to serve, if you are using ramekins or china molds, sprinkle the last of the parmesan on top of the custards and brown gently under a hot grill. I had my parmesan crisps to place on top, instead.

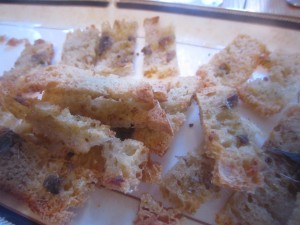
The fingers of anchovy toast were piled onto a plate

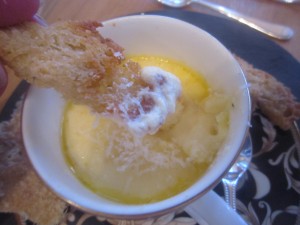
The starter was served…..

The crispness of the toast fingers contrasted deliciously with the soft, savoury custard.

The parmesan wafers added a gorgeous crisp bite.

Successful? Yes.

Tasty? Very much so.

Easy to do? Yes, so much so that this, with its comforting creaminess and rich, savoury flavour, would be a great dish to do when you needed some lovely comfort food.

In fact, the more I think about this, the more I want to make it again. It will remind me of a wonderfully happy night in Nottingham and I can introduce it to my new friends here in Malaysia.  What a good reason to invite people round to supper!


Ravioli with a soft egg

I love weekends….I love the fact that although I may still wake up at 6 am, I don’t have to start rushing about, getting ready for work.

I love the fact that the Bear goes to make my coffee because I always do it during the week… I love being able to relax in bed, with the pillows plumped up behind me, reading the news online and checking up with any gossip on Facebook. Even though I can happily spend a couple of hours doing all that and it feels like I have had a complete morning off, when I get up there’s still most of the day stretching ahead of me.

I’d been thinking of what other treats I could have that day….what I could cook that would make me happy.

Before the Bear and I got married, I’d bought a pasta machine and, in the first optimistic rush of enthusiasm, we decided to make ravioli. Perhaps we should have started with something easier than that if we’d never used a machine before, because what we turned out was an utter disaster. We hadn’t got the seasoning right, we hadn’t sealed the ravioli, we weren’t quite confident with the machine…oh it was a sad and soggy meal that we sat down to.

It quite put me off until I decided to start again and make something simple. Like tagliatelli or papardelle, simple strips of pasta. And you know what? It really was simple. It turned out really well and the two of us have had great times – one feeding the pasta and the other winding the handle. It is, actually, simple enough to do by yourself but we do like to work together.

It’s simple enough that when I was playing Cookery Lotto (where those of you who are reading the blog at the time choose a random cookery book and then a random page and I have to cook the recipe) and pappardelle was chosen as the random recipe, I decided to make it with the help of a nearly two year old and a ten year old and, you know what? It was fantastic… they loved making it and felt such a sense of achievement when they produced beautiful tagliatelli to take home to their brothers. Now, if I can get two little girls, (one of whom was very little indeed) to set to and produce pasta I think that shows how easy it can be.

I decided that this would be a day where I made pasta and when I asked the Bear what he fancied, he reminded me of something we had seen on a cooking programme on TV (and no, we can’t remember which one it was) where the ravioli filling was a mix of ricotta and herbs and an egg yolk. When you cut into the ravioli the egg yolk was still soft and delicious….

There were several plus points to having a go at this: firstly the ravioli were going to be large as they had to contain an egg yolk, which meant they would be easier to deal with; secondly, we had lots of wonderfully fresh eggs from the Farm Shop and thirdly, it pandered to my intense yearning to be messing about in the kitchen trying something new.

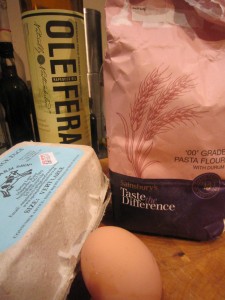
Making pasta is a cinch – all you need is decent ’00’ flour (and most supermarkets sell it nowadays), good oil (I had chosen Oleifera, a delicious cold-pressed rapeseed oil) and fresh eggs.

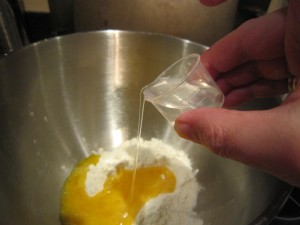
Weigh out 140g of flour and put it in a mixing bowl with a  lightly whisked egg, add three teaspoons of good oil (I was using my new organic rapeseed oil) and 15 ml of water.

You know how I was ill all over Christmas? I survived on bottles of cough and cold cure and they all came with a handy little measuring cup…. which, as it turns out, are perfect for keeping for baking adventures and measuring out, accurately, small amounts of liquids. Waste not, want not.

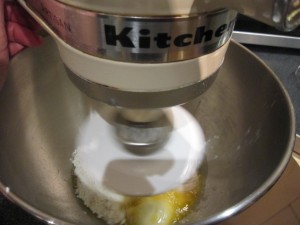
All you do then is mix it together. Obviously, if I was trying to recreate a true home made pasta in the style of an Italian housewife, I would have rolled up my sleeves and set to, mixing and kneading the dough. As I wanted all of the fun and less of the hard work, I let the mixer deal with it while I had a cup of coffee.

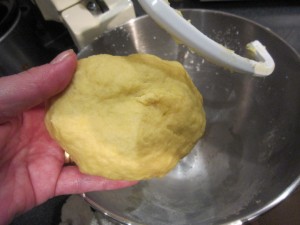
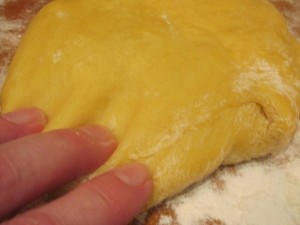
See how it comes together, looking golden from the egg yolk? When you feel it, it is almost hard and tough.

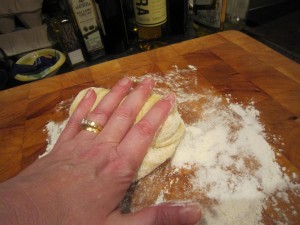
Dust a board with flour and start to knead it. You then need to let it rest and relax, so cover  it lightly in cling film and leave it to relax. It doesn’t take long, maybe ten minutes or so, but if you want to leave it for longer, you can.

While the pasta is relaxing, you may as well get on with the filling. If we are going to use an egg yolk then I needed something to nestle the yolk into and usually soft cheese, flavoured with herbs or even truffles is used. Strangely, my cupboards seem bare of truffles so I had to make do with a mixture of Parmesan cheese, ricotta and whatever else I could find in the fridge.

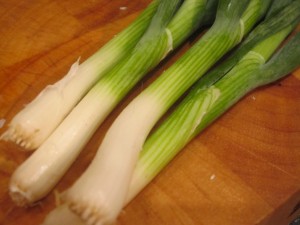
And what was in the fridge were some spring onions.

I put a tub of ricotta into a bowl and grated a good chunk of parmesan into it. (As I didn’t have a recipe to work from I thought I’d make a bowl of filling and whatever wasn’t used I would make into a cheese savoury sandwich)

The amount of parmesan added was enough to make the ricotta and parmesan mix taste good to me…. you do what you fancy.

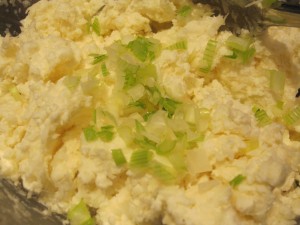
Then I added some of the finely chopped spring onion. Now it really did taste good.

Once I’d done the cheese mix and wiped down the benches, I looked at the pasta dough. Whereas before it had seemed tough and unyeilding, now it was soft and giving. Perfect.

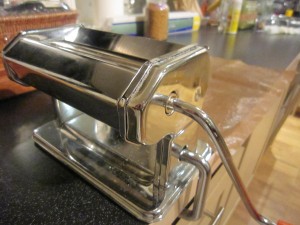
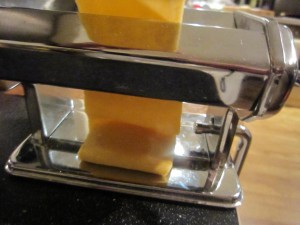
The pasta machine needs to be clamped onto the bench before you can start whizzing the dough through.

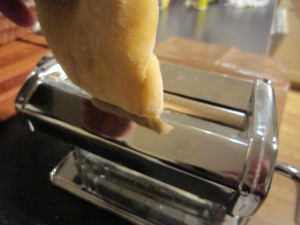
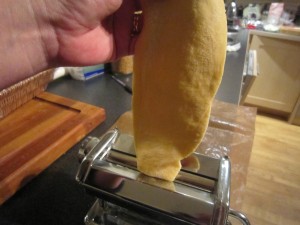
I rolled out the dough lightly and set the machine to the widest setting and then started feeding through the dough.

With each go through, I reduced the setting, making each rolled piece thinner and thinner.

After the first couple of goes you’ll need to cut the dough in half because it becomes too long to handle.

Remember to dust it with flour to stop it sticking and by the time you reach the lowest setting, you will have beautifully thin and smooth pasta.

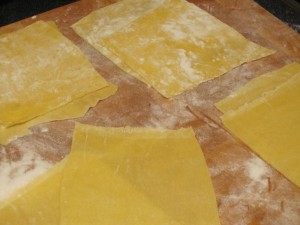
And that’s it… well that’s it for how you make the pasta. For the ravioli you will need squares of pasta because you are going to put the filling and the egg on them, so dust your board and cut… it doesn’t matter if it isn’t perfectly neat as you will be serving two to a plate and they look wonderfully handmade. If you were serving more, you’d need them to be smaller and neater, I think.

I cut eight squares of pasta for the two of us.

Remember you will need an equal number of pasta squares – one for the top and one for the bottom. One set of four was slightly larger than the other set because that was going to be the top layer and it would have to stretch over the cheeses and egg.

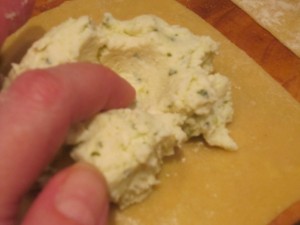
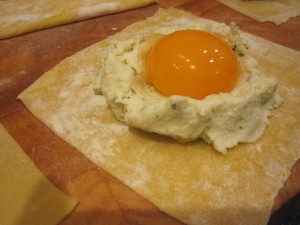
On the bottom, smaller piece put a spoonful of the ricotta, parmesan and spring onion mix and, using your finger, make a hollow in the cheese.

This is going to be the nest the egg yolk sits in.

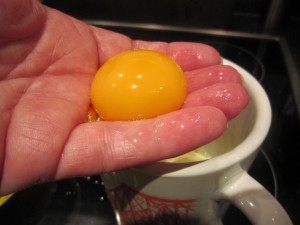
It’s a lot easier to separate the egg yolk by cracking it onto your fingers and letting the white of the egg drain away. When you do it by tipping the egg from half shell to half shell there’s a greater danger of breaking the yolk. 

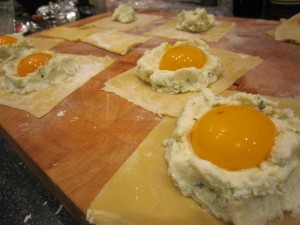
See how it sits snugly in its little cheesey nest?

And as quickly as anything the other squares were filled.

I realised that not only had I got some cheese left over but I also had plenty of pasta, so thought I would make us a simple cheese ravioli with the left overs. So much for a sandwich filling, eh?

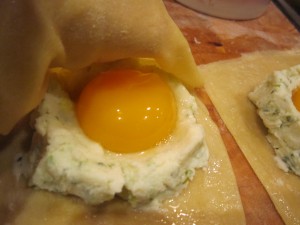
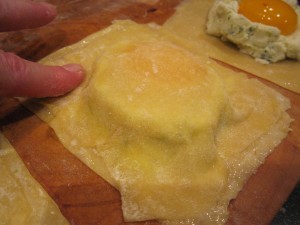
The ravioli had to be covered now, so having whisked up some of the egg white, I pasted it round the edges of the bottom layer and covered the filling with the top square which, if you remember was cut slightly larger all round. The egg white will act as a glue and stick the two pieces of pasta together.

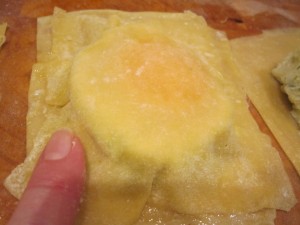
Carefully press down the edges of the pasta so they stick firmly. Make sure there are no air bubbles as that will burst the ravioli when they are in the pan.

You can see what gorgeously generously sized ravioli they are going to be.

I trimmed them neatly and they were ready for the pasta pot.

The water needs to be boiling and you’ll need a slotted spoon to get them in and out of the water.

And… and it worked!
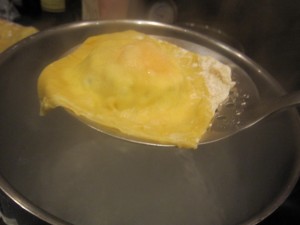
Two, maybe three minutes in the pan and the ravioli floated on the top of the water. The first one didn’t burst and neither did any of the remaining ones.

I drained them on the slotted spoon and got ready to serve them….

I’d got some leaves to make a salad and made a tangy balsamic vinegar dressing which I sprinkled over the leaves and the ravioli.

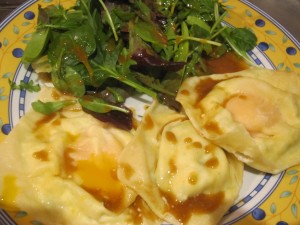
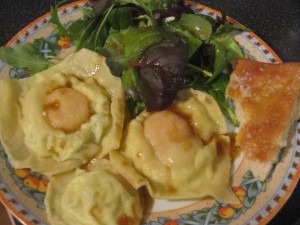
Two soft egg ravioli and a little cheese filled ravioli…..

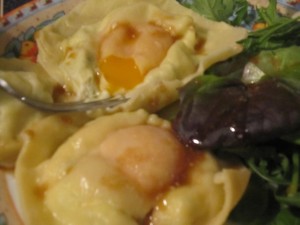
The soft egg ravioli looked like yellowy fried eggs.

But were the yolks soft?

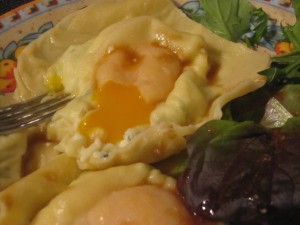
They were.

It was delicious.

The pasta was soft and tender, the cheese filling was tasty and fresh and the yolk…. oh, that yolk was delicious, running out and covering everything like a golden tasty sauce….

That was, the Bear and I concluded, a ravioli triumph.

I’m going to do it again – it would make a marvellous starter for a meal with friends because you could get everything ready and then leave them in the fridge for a while and then cook them at the last minute. Imagine the surprise when you serve that to people because it does look as if it would have been more bother to make than it really was.

Simple, delicious and spectacular – can you really ask for anything more?

Meatfree Monday – Baked Butternut Squash Gnocchi

The weather had changed. It was blustery and rainy (and can you believe that this morning the weather forecast included the possibility of hail? Hail?? In August?) I wanted something that would make us feel happy. We needed comfort food… but not too comforting. It was still warm so I needed something that didn’t generate too much heat. Something that I could have with salad. I wanted to have it on Meat free Monday so it needed to be vegetarian. And then, I thought of something I had first made a couple of years ago.
Baked butternut squash gnocchi… it was a comfort food, so that was good… it is great served with salad, so that, too, is good and best of all, it is only 280 calories per serving. And no meat… so perfect for Meat free Monday.
I could have delicious comfort food and still stay on a diet!
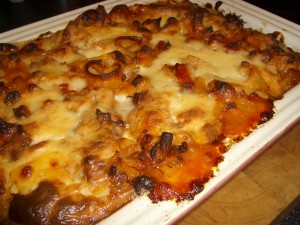
When I see recipes that provide, per serving, less than 400 calories, I save them in a folder called 400 and Under so that I can make a delicious supper that leaves room for manoeuvre with side dishes or even a glass of wine.
This recipe first featured in “delicious.” in September 2008, by the equally delicious Jean-Christophe Novelli. Just as well that I copied it out and saved it because I can’t find it online now. Anyway, doing it like that means I can print it out and take it with me when I shop for the ingredients and then work with it at the kitchen bench.
Also, it means I can then insert it, in its entirety, at the end of this post, something that some of you have been asking for.
Anyway, I did this on my return home from work… supper was delayed slightly as I had to roast the squash first, but not by much. This can be done easily as a weekday meal but if you were feeling efficient, the best way would be to roast the squash the day before while you were cooking something else.
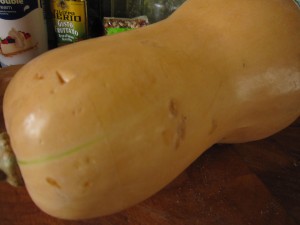
No worries though… it was no problem to peel and dice a butternut squash
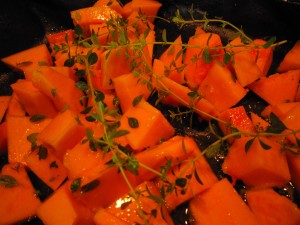
I put it onto a silicone sheet and drizzled it with oil, garlic puree and sprigs of thyme. Jean-Christophe says to take the leaves off the sprigs of thyme but that is so fiddly because the stems are soft… if you pull off as many as possible, that’s good and any that are left on the sprigs… well, don’t worry about it. Once everything roasts in the oven, the leaves fall off and the stems are hard and bare – you just remove them from the dish at the end! (See, Jean-Christophe is a chef and he does it properly. Me? I am someone who cooks when she gets in, tired from work. I find shortcuts. I have to.)
The covered roasting pan went into the oven at 180 degrees C/160 degrees if it is a fan assisted oven… and for those of you who use Fahrenheit, that is 356 degrees. 45 minutes was enough to soften the gorgeous squash.
I picked off the stems of thyme and then whizzed the squash to a smooth puree.
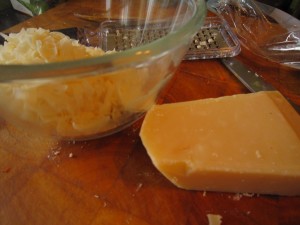
While the squash was roasting, I grated 40 g or thereabouts of Parmesan cheese
And added it to 9og of polenta (that’s grits to those of you in America!) , stirring it round to make an even mix before I added the (still hot) butternut squash puree and 65g of  butter.
The heat started to melt the butter…you could tell this was going to be delicious.
In another bowl I mixed three lovely eggs with 125ml of double cream and then added that to the polenta/squash mix.
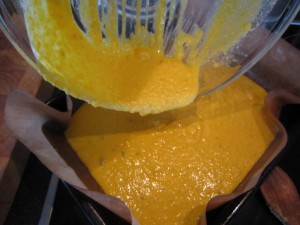
I lined a baking tin with a silicone sheet and poured in the mix….
Back into the oven, covered with tin foil to stop it burning,  for thirty minutes
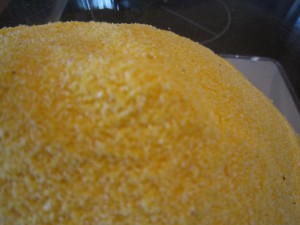
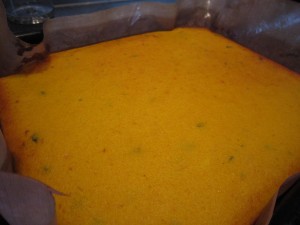
When it emerged, all golden and flecked with thyme leaves. It feels firmish, if you press it… firmish but not solid. This is the joy of this gnocchi…it uses no flour so it is suitable for those on who are coeliac or who are on gluten free diets (I shall make this for my dear friend Angela if she ever returns from America)  and it has no potato in in it so it is light and fresh.
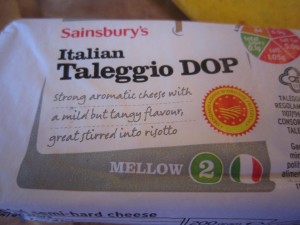
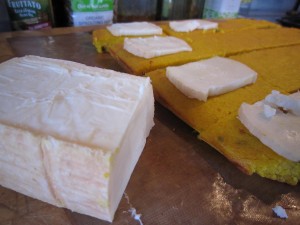
Let it cool enough so you can handle it – while you are waiting, cut slices of Tallegio cheese (and if you can’t find this, get some other cheese that would melt well)
I didn’t bother with a cookie cutter, as suggested, I just cut the gnocchi into squares and laid slices of Tallegio on top.
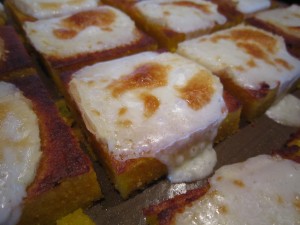
And then put it under the grill to melt the cheese…
Then serve with a light green salad…
Perfect.
The texture of the gnocchi is light and delicious – you can tell it is polenta rather than potato or flour. The taste of the cheeses blended together is rich and satisfying and even better, you can eat it cold. Perfect to put in a packed lunch and take it to work. Immensely satisfying and just right for a blustery day…
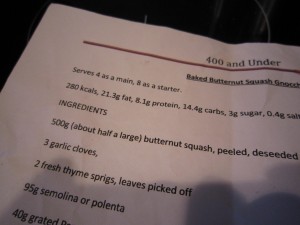
And now – here’s the recipe, exactly as it was in delicious.
Baked Butternut Squash Gnocchi
Serves 4 as a main course, 8 as a starter
280 calories, 21.3g fat, 8.1g protein, 14.4 carbs, 3g sugar, 0.4g salt
INGREDIENTS
500g – about half of a large butternut squash – peeled, deseeded and cubed
3 garlic cloves
2 sprigs of fresh thyme, leaves picked off
95g  semolina or polenta
40g grated Parmesan or Gran padano
65g butter, softened
3 medium free range eggs
125ml double cream
Tallegio or other melting cheese to serve.
Preheat oven to 180C/fan 160C. Place squash, garlic and thyme in a roasting tin, cover with foil and roast for 45 minutes. Leave the oven on.
Transfer to a food processor and whizz until smooth. Spoon into a bowl and add semolina/polenta, Parmesan and butter. Whisk eggs and cream together and add to the mix. Season.
Spread in an 18cmx24cm roasting tin, lined with baking parchment or silicone sheet and cover with foil. Bake for 30 minutes.
Cool slightly in the tin then cut into rounds using a cookie cutter – or squares if you don’t have a cutter. Preheat the grill to high, while you put the gnocchi on the grill, covered with slices of Taleggio. When melted, serve with a green salad.

Jean-Christophe Novelli, French Horn. Published in “delicious. magazine” September 2008

Try it… it’s another Meat free Monday success!
(Oh, and in case you are wondering why I haven’t got spaces between paragraphs and decent formatting – well, so am I!
WordPress seems to be refusing to do what I want and no matter how many times I change everything – it just goes back to cramming everything together. If anyone has any idea on how to fix it, let me know!)

Cheesy Polenta

At the end of a long and tiring week, when it gets to Friday night, I really don’t have the energy to go gallivanting around town. I must be getting old, I suppose, or maybe it is that I really like my home… my sofas, the peace and quiet, the comfort…

I want to come home, sit down and pour a glass of wine, safe in the knowledge my alarm is NOT going to go off at 5.50 am.

And of course, any glass of wine that I pour will be much better than some extraordinarily priced glass bought in a bar, so the pleasure of that  is heightened as I sit there, relaxing. Of course, it is better when the Bear is at home because then we can sit together and talk about the week… but it is pretty darn good when it is just me!

I don’t just sit and drink wine though, I need to eat, too. I need something nice and easy… I need something that will restore me after a full week’s work …. the best option?  Something savoury and delicious… it could, occasionally, be a takeaway from our local Chinese, but tonight I fancy something  carb laden and heavy on the cheese.

Cheesy polenta, in fact!

I’ve been thinking of perfecting more gluten-free dishes – my brother is badly affected (though not coeliac) and one of my dearest friends was diagnosed relatively late in life (in her thirties!) as coeliac. As I adore both of them there’s every chance that they will come and stay, so I need to be up to the mark should they arrive. The fact that A, my friend, recently moved to the USA, means she is less likely to turn up on the doorstep  but you never know.

So, tonight is not just about sheer self-indulgence – it is about making sure I can make something for my darling brother and my dear friend. The fact that sheer indulgence and a full tummy are the results… well, that is just a bonus!

First, look through the fridge for any cheese that you have – I have some parmesan that could do with being used, some cheddar that needs some surgery (just cut off the mouldy bits, that’s fine) and a lovely bit of Italian Tallegio (all soft and rich and creamy)

Get  your polenta out, and a large pan.

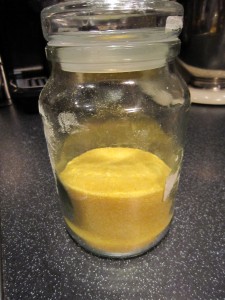
I always have polenta in the house because apart from using it in a polenta recipe (obviously) it is also brilliant for using to dust the outside of the fabulous No-Knead Bread 

When you make polenta to eat, you will need one measure of polenta and four measures of liquid.

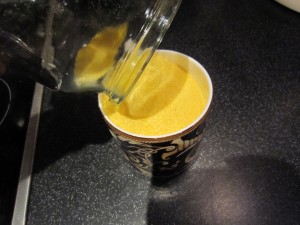
I’m just using a mug here – that’s going to make one big, gorgeous portion of polenta for me tonight… some for breakfast (don’t grimace like that, it doesn’t suit you!)  and enough to make a huge polenta flan. All of that will be revealed in posts to come. If you just want to make enough cheesy polenta for, say, four people, you will only need half a mug. (And, therefore, 2 mugs of liquid.)

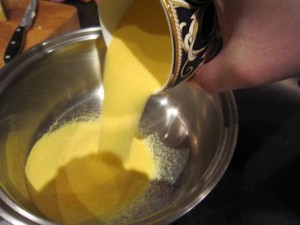
Pour it into a large pan (this will need a large pan) and then add 4 cups of liquid… I am using half milk, half water. You can use plain water… but I am going all out for luscious comfort tonight.

Stir it round so it mixes smoothly and start heating it.

Polenta is rather lovely to make… I  stand there, quite calmly, stirring. It is almost a meditative experience.

Do be careful though – it is so thick that when it gets up to the boil it has a nasty habit of spitting violently at you, if you aren’t stirring it.

Grate your odds and ends of cheese. I dare say an Italian person might have ideas about what sort of cheese, but I am being very economical and using up all the bits and bobs in the fridge. There’s that cheddar I told you about and some parmesan…. you are looking for a huge mound of cheesy goodness.

By now, the polenta will have thickened beautifully and be glugging away – when you lift the spoon and drag it, it will leave trails behind it.

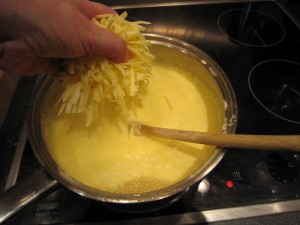
Now add handfuls of cheese

Stir it in… all of it

.. and watch it melt into the polenta.. becoming part of the polenta….

And, as I believe I may as well be hung for a sheep as a lamb, I drop in a chunk of butter and watch that melt into swirls…

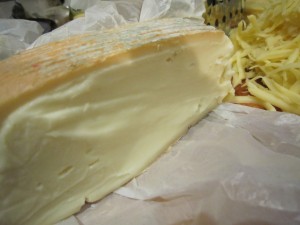
Remember I said I had some Tallegio? It’s a beautifully soft cheese with a rind

I don’t want to stir that in but I do want it in there… so what I do is cut a slice

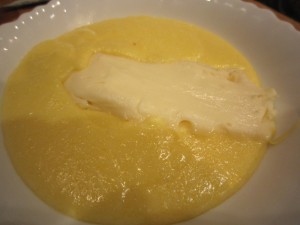
and after putting some hot and steaming polenta into a bowl… lay the slice on top and then cover it with more polenta.

Imagine that – a beautiful, creamy, extra cheesy surprise, melting secretly in your bowl….

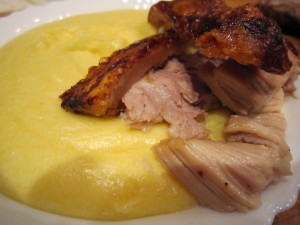
Now, polenta by itself is a delicious supper, but I happen to have some roast pork with crackling left over… so a slice of that on the top will be perfect. Those that don’t eat meat will still be ecstatic at a bowl of polenta

Well!

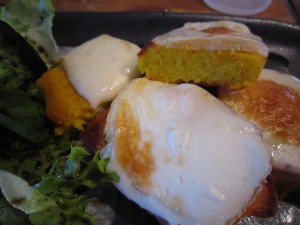
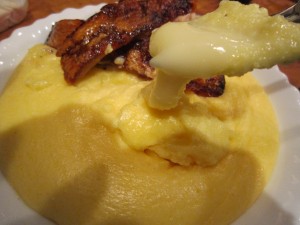
And that Tallegio? Look how it has melted perfectly.

All you have to do now is return to the sofa, bowl in hand, and tuck in.

Friday nights, eh? Who needs to be rocketing about town, spending lots of money when you can be at home eating polenta?

Lasagne loveliness

You know sometimes when you feel like no matter what, you deserve a treat? Yes, I have been good on my diet and yes, I have lost weight… and yes, I would have carried on with it. In fact, I have every intention of going back on the diet. But not tonight.

The constant snow and darkness, now followed by the miserable rain; the cold and disruption to everything is getting everyone down. Added to that, the nasty fall where I banged my head…

Oh and my camera has broken. I have to use my BlackBerry, or the Bear’s camera. And I had just (as in the day-before-just) bought a new battery, and two chargers (one for the car) for my camera. Insult piled upon injury!

Well, do you really think that some steamed vegetables, say, or maybe some celery would make me feel better?

Or would this…….?

A steaming dish of lasagne… or as the lovely Saucy Smith , from lobstersandwich calls it, Faux-sagna. Read her description and recipe and then you will see why I just had to do it….

Hot, steaming pasta with delicious ragu, bound together with a cheesy bechamel sauce?

Easy to eat…. so very easy to eat while curled up on a sofa…. perhaps with some garlic bread?

Surely, after the week I have had… and the bump on the head that I got, it would be not only right, but, in fact, eminently sensible to have lasagne? I’d been reading how Saucy made her her free-form lasagne and it seemed so right.

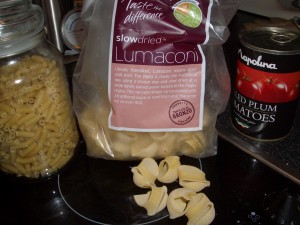
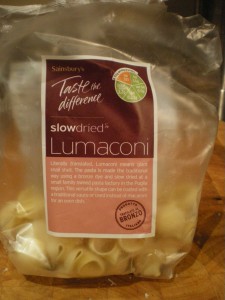
The essence of this recipe is that you don’t use pasta sheets and build it up.. you use what you have and you make it quickly. Saucy used penne but I didn’t have any. I had half a bag of lumaconi and a jar full of macaroni. I could work with that. I’d have to… I just needed  to put the two sorts together to get enough.

I had some beef mince in the freezer, some tinned tomatoes, some Parmesan cheese. I had half a pint of milk. I had two eggs. I had everything I needed!

First of all, saute some onion until it is soft and fragrant, then

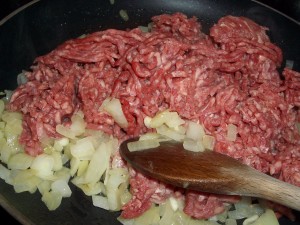
…add the mince and brown that off.

Take the pan off the heat.

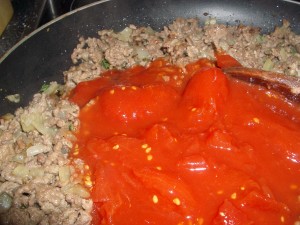
Add the chopped plum tomatoes and stir it all round

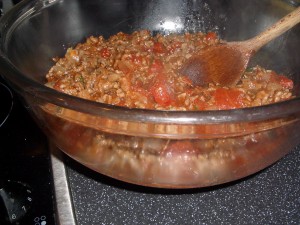
And put it all in a big bowl and mix it round.

While that was going on, I had cooked the pasta… I had to do it separately as I was using two different sizes. Big bits first, then while they are draining, do the littler bits of macaroni.

That only takes a few minutes, just drain each pan full and let it dry off.

While that’s drying, make the cheesy bechamel sauce.

To make a good base bechamel, you need equal quantities of butter and flour.

 I like to use Italian ’00’ flour, which is extra fine. (I make pasta from it when I have the time, but today is not the day for that)  If you haven’t got the Italian flour don’t worry, just use plain flour.

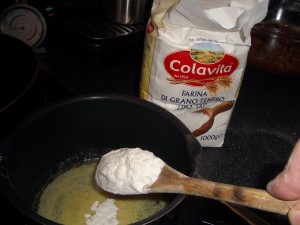
I melted 30g of butter and then stirred in 30g of flour.

This really is the work of moments… a gentle stir round to bring it together, let it cook for a couple of minutes or so then start to add milk.

Lumpy? Yes, of course, but it just needs you to stir it quickly, consistently and well until it becomes a smooth and silky sauce

Keep going and add the milk slowly. I used the half pint. I wanted it to be thick and creamy. A sprinkle of salt and a grating of pepper freshens it up.

Once it is smooth, add handfuls of finely grated parmesan – I used maybe 80g because that was what I had (and I did need some for something else…)

The thing is, you must taste it. Does it suit you? Do you like the taste? You’re the one that is eating it.

Take it off the heat and add a couple of egg yolks (the whites can be used maybe tomorrow in scrambled eggs or an omelette. Tomorrow is another day, another meal)

Stir it in, making the sauce rich and delicious.

The rest of the grated parmesan?

Just to prove how quickly this can be done, I had started making some foccacia when I was getting the other ingredients together. Possibly the easiest bread to make in a hurry.

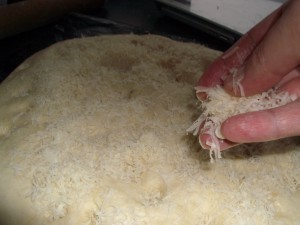
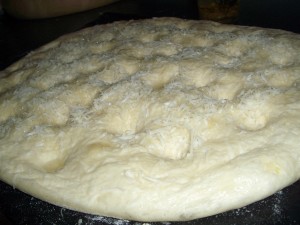
I tweaked it by adding chopped garlic to the dough so it was kneaded through the dough (at Christmas I made it with snippets of bacon on the top and garlic puree in it ) and then,  when it was beautifully plumped up, I scattered the fluffily fine grated parmesan over it.

That can bake when the lasagne goes in to the oven.

That’s not a great photograph but that is using my phone… trust me, it is beautifully bouncy and when I prodded it with my fingers they just sank in, the dimples just ready and waiting for a drizzle of oil.)

Back to the lasagne…

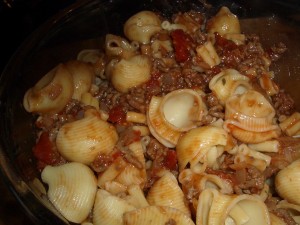
That mixture of pasta will have dried off by now so add it to the bowl with the meat and tomato mix

(Actually I am liking the look of this with the two different sizes)

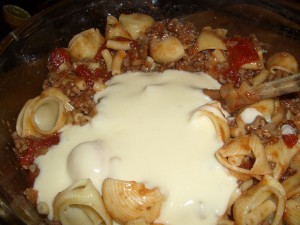
Then, pour three quarters of the cheesy bechamel into the bowl and stir it through.

Don’t use all of it… I said, three quarters. The rest has to be blobbed on the top, so you must leave some

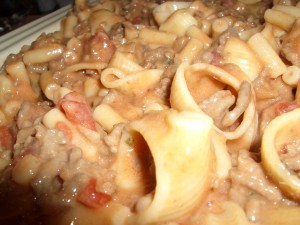
See how it makes a creamy, tomatoey mix?

How it seeps and fills the pasta?

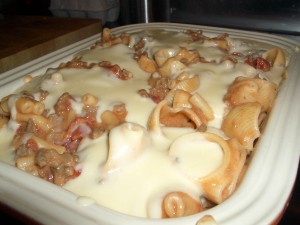
Butter a good sized baking dish and pour the mix in

Then blob what is left of the bechamel over it. Don’t cover it… this is a random splodging of sauce!

Oven on…175 degrees

Free-form lasagne in on one shelf, foccacia on another

Quickly wipe down the benches, open some wine and prepare for bliss

The bread will take about 15 minutes and the lasagne maybe 30. That’s good because it means the foccacia has time to cool slightly before you start eating it.

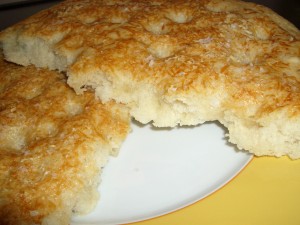
Break the bread so you can both get at it

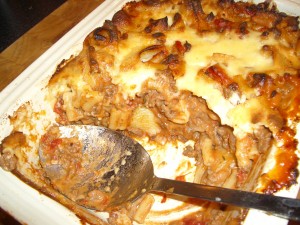
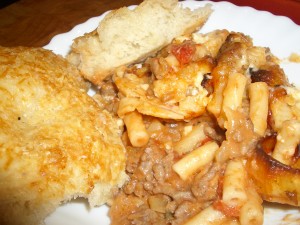
Get the lasagne out and scoop out a big bowlful

(Do you like the sound, as I do, of a spoon pulling up a portion… that first spoonful comes out with a sort of sucking popping noise.. maybe a sticky squelch… you know what I mean? It just tells you this is going to be good)

That’s not a great photo but I have to say, there’s only so long I was going to stand around, pointing my phone at it, while I breathed in the smell of lasagne.

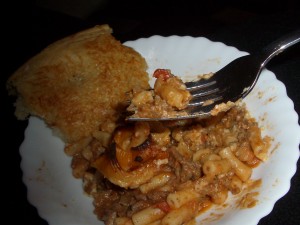
There were delicious little morsels of macaroni and big shell like lumaconi, filled with a glorious mix of meat and tomato and cheesy bechamel.

Lovely garlicly, cheesey foccacia alongside it.

Now THAT made me feel better.

Bacon and apple risotto with black pudding

This afternoon the Bear and I went out to help clear the road into our estate


The gritters don’t come up the hill to us because they are too busy trying to keep the main roads clear.  There’s no grit or salt left that we can scatter ourselves and what was ordered has been taken by Birmingham City Council as their need is greater than ours. Apparently.

Oh, and we don’t live in Birmingham.

Nothing for it then, than to rally to the cause and help.

If we don’t do it, we won’t get in or out…. not bad if it is before we set off to work, but not so great if we happen to be at work when more snow comes down.

We went out and helped clear the road and some paths so cars could get up the hill without sliding backwards which is always a good thing if you are driving up hill.

After a couple of hours we got back in and felt we deserved something really good for supper and I had my eyes on some black pudding.

When I met the Bear he said did not like black pudding…. when what he really meant was that he had not had black pudding cooked in a way that he liked.  Now? After three years of marriage? He really is becoming omnivorous.

I have plans for most of the black pudding for tomorrow, but there will be enough left for something I have been thinking about… we love risotto and I have a fancy for black pudding  risotto. I kept thinking about what would work well with it and realised that bacon and apple would be just the ticket.  One thing to remember is that cooking apples wouldn’t be any good in this as I didn’t want the apple to dissolve into a mush, so I chose a bright, sweetly sharp Pink Lady. It was beginning to look like a pink theme was developing so I got some red onions out as well.

Let’s get everything ready –

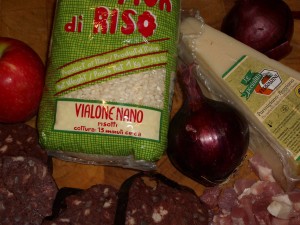
 – to feed four people well, you will need maybe 250g of risotto rice. I am using Fior di Riso, a vialone nano risotto rice which tends to be used more in the north of Italy. Other rices to look out for are carnoroli or arborio – just as long as you do get risotto rice.

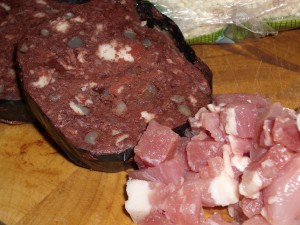
2 red onions, 2 big slices of black pudding and 25o g of bacon bits , or lardons , some stock, some butter, a Pink Lady apple and some Parmesan cheese to shave over at the end.

To start with… get two pans out – in one you are going to have stock bubbling away ( you can make your own or use cubes or granules – just make sure they are good quality. I often use Knorr stock granules)

and in the other, melt a knob of butter…. while that is melting, quickly peel and chop the red onion and then add that to the pan with a pinch of salt

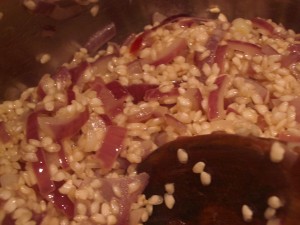
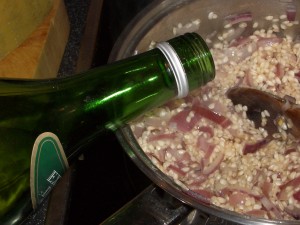
After softening the onion, add the rice and stir it round in the buttery juices. This forces flavour into the rice grains – or so I was told…. and then add half a glass of vermouth. You will hear a fantastic sizzle and a really aromatic smell will whoosh out of the pan.

All the alcohol evaporates and you are just left with an enigmatic hint … it’s quite safe, even for children to eat. If you haven’t got vermouth then a dry white wine or maybe some sherry would be good. Just stir it round until the liquid is absorbed by those greedy rice grains.

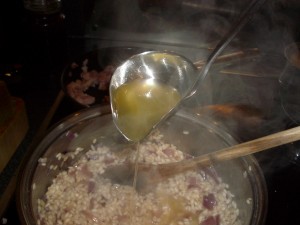
Once the vermouth, or wine, or whatever has been absorbed, add a ladleful of hot stock and stir it gently round so that can also be absorbed.

Oh and this IS important – I was taught to make risotto by a real Italian cook and it was stressed that when you stir the risotto, you stir in ONE direction only. This isn’t some mad superstition, there is a valid reason for doing it – if you just keep going in the same direction, the rice grains swirl around in the beautifully flavoured stock, absorbing as they whirl. If you go bashing them back and forth with a wooden spoon, they start to break and starch comes out into the stock, making it gloopy. The aim is just to get each rice grain swelling separately.

I love making risotto because I particularly love just standing there, quietly, ladelling in stock, stirring gently and relaxing. It doesn’t take long, you know – maybe twelve minutes or so, just until the rice has absorbed enough of the stock to be plump and delicious with just a hint of a bite to it. 

Trust me – doing it this way makes the risotto really good.

While this is all going on,

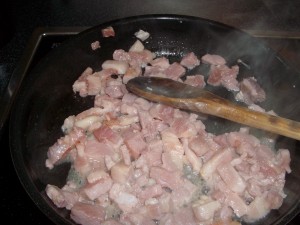
put the lardons of bacon into a frying pan and cook gently – you need to get the pieces tender before you add them to the risotto. Once they are ready, add them and any of the juices to the rice, stirring gently as you go.

Start to cook the black pudding now – keep the heat gentle and cook both sides so it changes into  rich and shiny, slightly crusted slices of spicy black pudding.

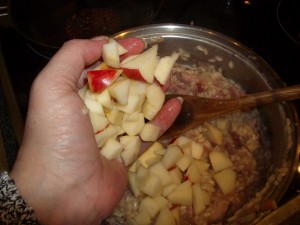
Roughly peel and cube the Pink Lady apple and then add that in – you aren’t wanting to cook it through, but it does want to be in there for a few minutes, so all the flavours can blend

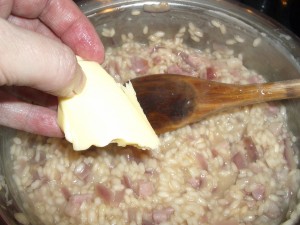
The final thing to do is to add a knob of butter to the risotto… this enriches the stock, giving it a lovely rounded flavour…. stir it round gently…

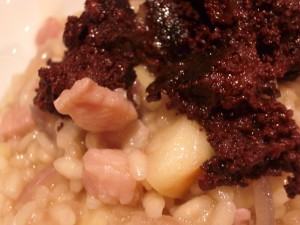
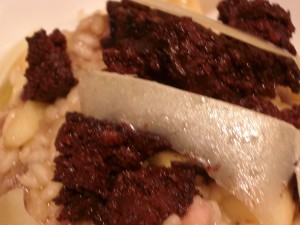
Then, put your risotto into your bowls and  break up the black pudding over the top….

A few shavings of Parmesan over the top finish it off

The result? Really good.

Each spoonful  has the perfect combination of  bacon bits giving a lovely savouriness and a gorgeous chewiness amongst the savoury rice… the little nuggets of Pink Lady apple gives a sweet and juicy almost-crunch, while the black pudding provides a deep and earthy richness, bringing it all together.

It didn’t take long at all and it certainly doesn’t involve costly ingredients but it added up to a truly delicious and warming supper – perfect for a freezing night, after an afternoon’s labour shovelling snow.

The Bear steps in

Today has not been a good day for me – my arm is hurting and I have just idled around, wanting sympathy. Thinking of what to cook for supper was beyond me so The Bear (who got home at midnight, last night) took matters into his own hands and rummaged through the cupboards for something to make.

I haven’t been shopping for ages so the cupboards and fridge are empty……. except for basics….

Bear steps in 005

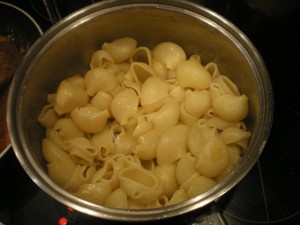
He grabbed some pasta – a lovely large, snail shaped pasta shell that catches the sauce you serve with it – and then started to look for something to make sauce with.

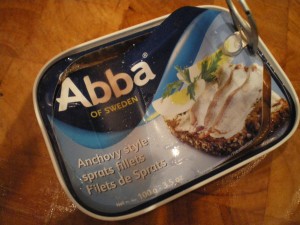
In the fridge he found the last few baby pomodorino tomatoes and some parmesan cheese. There were chillies growing on the balcony, some garlic in the vegetable box and… on the shelf at the back of the fridge

Bear steps in 002

Of course, the tin wasn’t opened then.

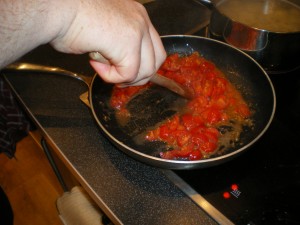
That was it. He started boiling the pasta and while that was going, he roughly chopped the tomatoes and garlic, with half a chilli (to give it a bite) and sauteed them in some chilli flavoured oil. Then (this is the hidden masterstroke) he put in half the tin of anchovies and stirred them all together

Bear steps in 001


By now the pasta was ready so he drained that, adding a couple of spoonfuls of the pasta water to the tomato sauce to loosen it all up a bit

Bear steps in 003


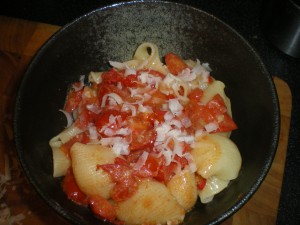
A quick stir round, then into the bowls with the pasta, and then top it with the sauce and a grating of parmesan

Bear steps in 004

And there you are. A perfect supper. The anchovies dissolve away and give the sauce a gorgeous depth of flavour and the chillies give it a bite. All from scraps and bits and made in minutes.

Delicious. Everyone should have a Bear who can serve up dinner in minutes from the bare scrapings of the larder.