Parmesan custards

Not only do I love cooking and eating, I love reading recipes and articles about cooking and eating. I’m a great snipper and copier out of recipes that I think will be worth doing, or that interest me. I’m always on the lookout for recipes that can be made in advance – we lived in an apartment in Nottingham where the upper floor was an open space for the kitchen, dining and living area and here, in Malaysia, we have much the same layout. That’s lovely when everything is tidy and ready to go but if you have guests sitting around with drinks it’s not so great for them to see you juggling pans and plates, cursing mildly and getting hot and bothered.

I like to have things ready to bring out – for one thing, it gives me time to brush my hair and wipe flour, sweat and splashes off my shiny, red face.

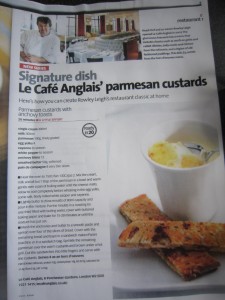
In my folder of Things I Really Must Make, I found this article, from Olive Magazine, dated June 2008,  but searching the site now, there’s no recipe listed. You’ll just have to follow what I write out.

Rowley Leigh, of Le Cafe Anglais has, amongst the many wonderful dishes he makes, a classic starter, Parmesan Custards – creamy, cheesey, savoury set custard served with thin fingers of toast, spread with a thin smear of anchovies, perfect as a simple, yet stunning, make ahead starter.

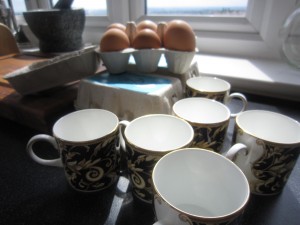
I have a set of espresso cups that are just about the right size and as they are part of my Wedgwood Cornucopia dinner service, they were going to look perfect at the table. We  were having good friends round to dinner and I wanted to make sure everything was as lovely as possible. There’s no point in keeping things ‘for best ‘- my motto is, if you’ve got it, use it! If you haven’t got espresso cups, little ramekins or china moulds (they need to hold around 80 ml) will do just as well.

I needed 4 egg yolks; 300ml of single cream; 300ml of milk; 12 anchovy fillets; 100g of finely grated parmesan for the custard and another 150g for some parmesan crisps I was going to make as an extra; 50g of softened butter; 8 slices of good bread ( I used thinly sliced No Knead Bread) plus cayenne and white pepper to season everything with. The recipe said this would make 8 small pots but the six espresso cups took slightly more than the recommended 80 ml so everything evened out. Besides, there were going to be six of us eating.

This really is quick and easy – so easy, that the first thing you do is get the oven turned on to 150°C/300ºF/gas mark 2.

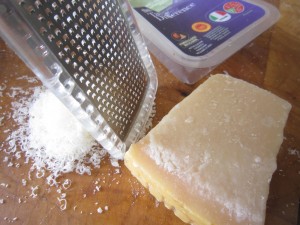
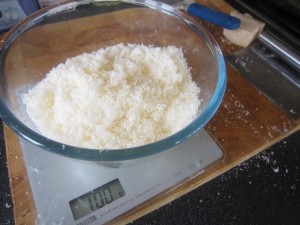
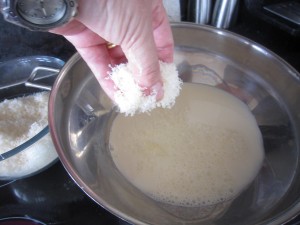
Then, grate the parmesan finely so it makes a lovely, light and airy mound

Remember that this is for the custard…. I need the rest of the parmesan for crisps, later.

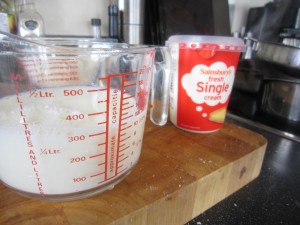
Mix 300ml each of the milk and the cream together

….then add in all but a tablespoon of the parmesan, if you are using ramekins.  You save this because you can sprinkle this last bit on top and then grill your pots to make a crisp topping.  I was going to make parmesan crisps instead because I didn’t want to put my lovely Wedgwood under the grill.

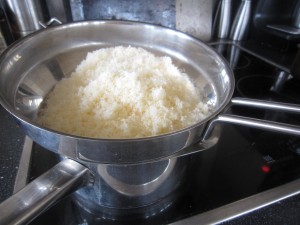
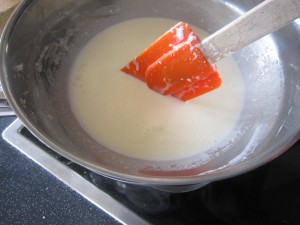
…and heat gently in a bowl or a bain marie, over a pan of boiling water until the parmesan melts.

Allow this to cool completely

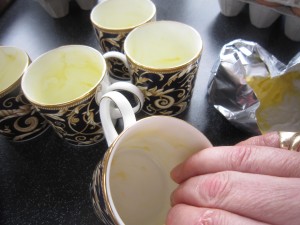
While the mix is cooling, butter your cups or little bowls.

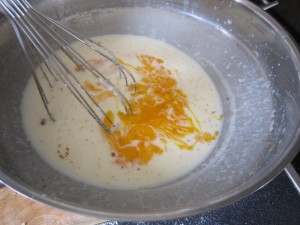
Once your mix is cool,  whisk in the four egg yolks, a pinch of cayenne, the same of finely ground white pepper and maybe a pinch of salt. You must let it coolproperly because otherwise you will end up with cheesey scrambled egg.

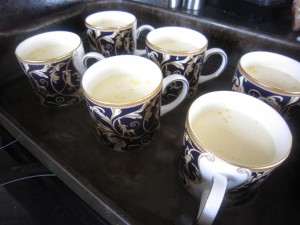
Put the cups in a roasting tin, then fill them with equal amounts of the custard mix, then put the tin on the oven racck before you add boiling water. You need enough to come maybe one third of the way up the cups. Doing it this way prevents the mix slopping about and you pouring boiling water over your feet. Always a plus point in my book.

Cover the  top of this with some buttered baking parchment or a silicone sheet and then let everything bake for about 15-20 minutes, when they will be just set.

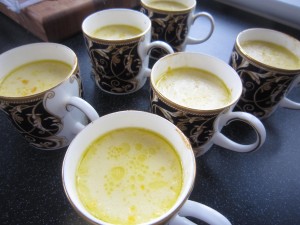
They emerge, looking gorgeous. I put them to one side while I made the toasts and the crisps……

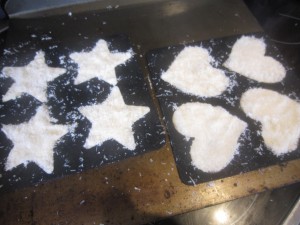
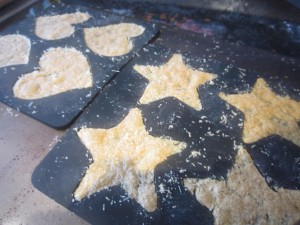
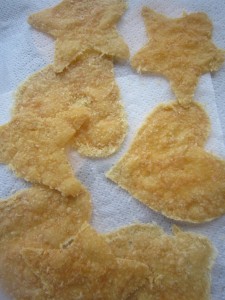
My sister gave me some Curtis Stone silicone wafer baker molds as a Christmas present and I really wanted to try them out  –  you simply pack them with the rest of the finely grated parmesan and put in a low oven, on a baking tray

.. until they turn a soft, golden brown. Leave them to cool and you can get started on the anchovy toasts.

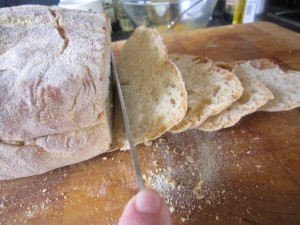
Thinly slice some good bread – each person will need a slice – and cut the crusts off to make lovely, neat, evenly sized rectangles

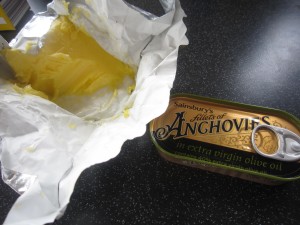
Then take your softened butter and the anchovies (drain them – you don’t want the oil)

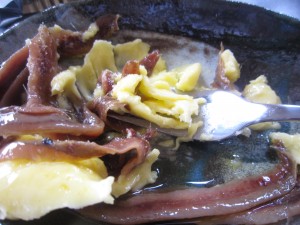
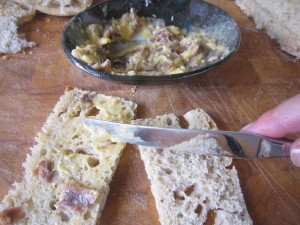
….and mash them into a smooth paste

Lightly spread half of the slices of  bread – and I do mean lightly. You don’t want to overpower everything with too much anchovy.


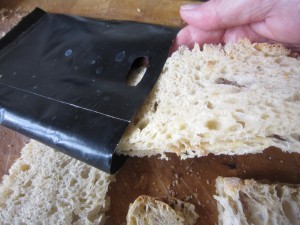
Lay a slice of unbuttered bread over the spread ones to make dainty sandwiches. The easiest way to toast them is in a toasted sandwich bag and then pop them in the toaster for a short time. You don’t want to make them too toasty and crisp – you have to slice them into fingers after that…


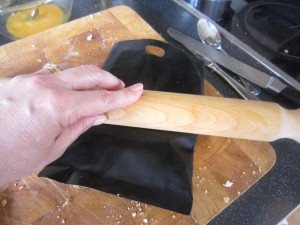
A good way to get very thin toasts is to roll them, still in the bag, with a rolling pin to get them nice and smooth, then toast them. When they are done they can easily be cut into fine fingers.


By now, the parmesan crisps are cool and can be gently lifted from the molds. How fantastic is that?

And then… well, then you are nearly ready.


Wipe down the kitchen and set the table….


When you are ready to serve, if you are using ramekins or china molds, sprinkle the last of the parmesan on top of the custards and brown gently under a hot grill. I had my parmesan crisps to place on top, instead.

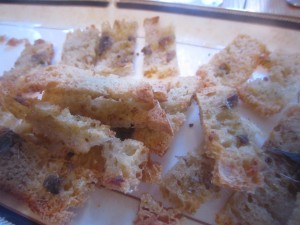
The fingers of anchovy toast were piled onto a plate

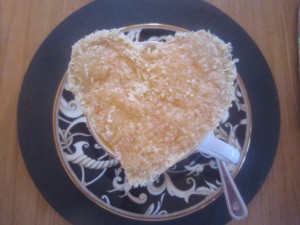
The starter was served…..

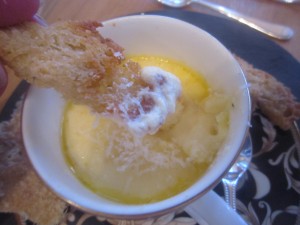
The crispness of the toast fingers contrasted deliciously with the soft, savoury custard.

The parmesan wafers added a gorgeous crisp bite.

Successful? Yes.

Tasty? Very much so.

Easy to do? Yes, so much so that this, with its comforting creaminess and rich, savoury flavour, would be a great dish to do when you needed some lovely comfort food.

In fact, the more I think about this, the more I want to make it again. It will remind me of a wonderfully happy night in Nottingham and I can introduce it to my new friends here in Malaysia.  What a good reason to invite people round to supper!


A new T.O.B cook – Lorraine!
One of the really, really great things that come from blogging is the fact that you make friends with people you wouldn’t have have met if it hadn’t been for the blog. When those friends start cooking things they have seen on the blog it makes me really happy.

Those who did cook sent me pictures to show me what they had done and I was so pleased I posted the pictures here – anything to encourage people to cook. Now what we do is make that into a page for the person who’s cooking… they become a T.O.B. Cook. Look in the drop down category box for T.O.B Cooks and you’ll see what the others have done so far.

And here’s the latest T.O.B. Cook –  it’s your turn to meet Lorraine! 

Actually, I may well have met Lorraine in reality at some point… she is the best friend of the Bear’s cousin. Thing is,  they both happen to live in Quebec so  we would have had to gone over there, but, you know, we may well have met up.

As it happened, I “met” Lorraine because she read the blog and we became friends on Facebook. Lorraine started to read the blog and we started to talk about cooking. Then we became real friends.

The first thing Lorraine cooked was the Lemon Drizzle Cake that my aunt taught me. She managed to work out what I meant when I talked about caster sugar (in Canada they call it super-fine)  and took it with her when she visited the Bear’s cousin.

We message each other a lot now and one day when we were talking  about the huge amounts of basil we had and what we could do with it, I mentioned  that I had made Sweet Basil Biscuits but that I was intrigued been reading  what Katie from Cozy, delicious did with her basil. She made Basil and Watermelon Martinis – Lorraine needed no further encouragement. 

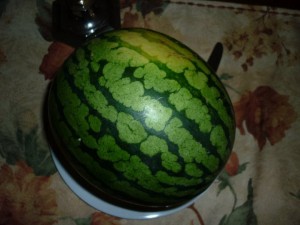
Lorraine used the sweet yellow watermelon they can get in Quebec

And made the most delicious Basil  and  Sweet Yellow Watermelon Martinis for herself and Sonny, her husband. Cheers!

(And because I couldn’t get lovely watermelons, I made Basil vodka with tomato essence cocktails)

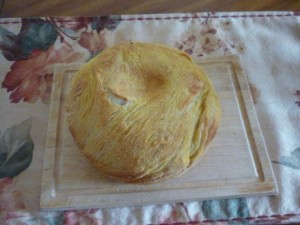
Lorraine’s next challenge was No Knead Bread as she’s never done much yeast cookery. She said she’s never had any success with it…

Well, that looks like a success to me!

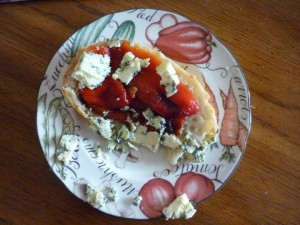
Lorraine made lovely Roasted Red Peppers 

And with the No Knead Bread and some lovely Stilton, made the perfect lunch!

I’m so glad Lorraine started joining in and even more glad she has become my friend.

Lorraine will, no doubt, tell you more about her cooking and will have more pictures to post in the future but until then, look at at what she’s done so far and welcome her as the latest T.O.B. Cook!

And this is what she says…

What can I say, just love the blog. After many years of cooking for just two of us, it became a routine, chops one day, always pasta on Friday, steak on Saturday, etc. If entertaining, I would plan for weeks and weeks but some things were always bought like Bread. Had never had any success and gave up. I began reading the blog religously and realized I was not alone so I gave bread a try once again. First time – did not quite work out but from Wendall’s help and encouragement I did it and continue to do so on a weekly basis. Have even managed to have a local shop import some Allinsons flour so I can try the other breads.

Am looking forward to trying many more of the receipes, especially Dahl and chicken receipes and will try to remember to take pictures to ecourage others. It is never too late to try new things. Thanks Wendy and The Bear – keep blogging.

Lorraine’s Update – 21 September, 2010 – EASY APPLE BUTTER!

This morning when I opened my computer I found a message from Lorraine. She had made the apple butter and what’s interesting is that she had a far easier way of doing it than the method I used! As a Canadian, Lorraine has more experience than me with apple butter so perhaps we should go with her on this.

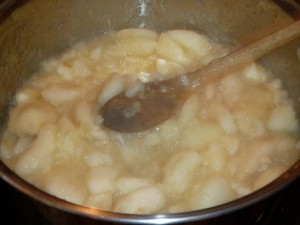
Lorraine peeled, sliced and cored her apples (whereas I just quarter them and cook them, skin, pips and all)

She says “I ended up with 14 cups of apples before the stirring and added, cinnamon, ground gloves and 5 1/5 cups sugar. That’s it. My receipe did say I could use 2 cups of sweet apple cider to replace two cups of the sugar but I did not have cider.”

Simple, eh?

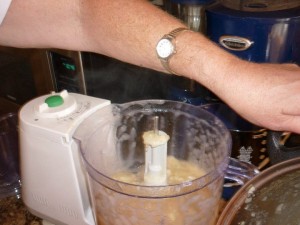
She blended them in a food processor

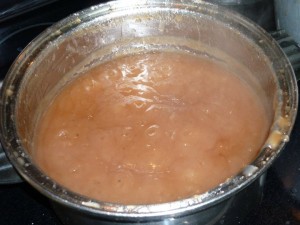
Returned to the pan and cooked again for about 2 hours until the natural apple sugars caramelised and went brown

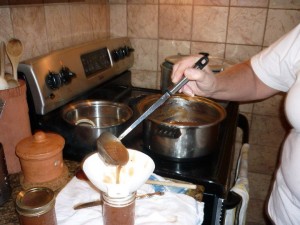
Filled her jars

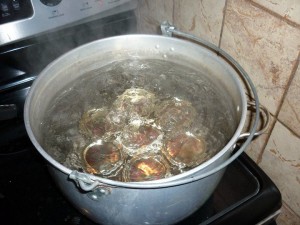
Boiled them in a water bath to sterilise everything

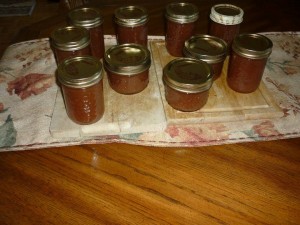
And ended up with 10 jars holding 250 ml each. Good work, Lorraine!

Now that, my friends, is a faster way of doing it than I have been doing it… and bearing in mind the immense apple glut we have, well, I think I will have to try her method!

I shall ask her to write down what she added to the apples and then I shall add it to her post!

Beans and Egg on Toast – the Bear’s favourite homecoming meal.

The Bear travels a lot.

All over the world. And wherever he travels  he eats. He has a great time sampling different foods and styles of cooking but whenever he gets back from his travels he always asks for one thing in particular. I would and could cook him anything at all, no matter how involved or time consuming, because I am so pleased that he is home again….. and all he ever wants is his favourite.

I think it happens to us all when you have been away from home for too long. All you want is something that is inextricably tied to memories of home, something that can only be made at home… you’d never be able to get a restaurant to make it for you. They could try but they’d never get it right. Restaurants are fine… they are great in some cases but eating out every night? After a while you need something simple. Once when I had been travelling round the south of India for weeks, eating the most delicious food and learning to make dal, I was preparing to come home and all I could think about was my mother’s cooking.  In an internet cafe in Bangalore (this was only a few years ago but BlackBerry’s weren’t on the market yet) I emailed work and asked the lovely Lolly to phone my Mum and tell her I was on my way back and to please make fish pie for my homecoming! And when I eventually got back, there it was, delicious and perfect and exactly what I needed after so long away.

Homecoming food should be comfort food. It should make you feel surrounded with love. It shouldn’t be – it can’t be – challenging, it has to be familiar.

So that’s what he gets.

And what is it? It’s beans on toast with a fried egg. But, like the advert says, it’s not just ANY beans on toast with a fried egg… it’s the Bear’s Beans on toast with a fried egg!

There are specific ingredients, though, that make this special. It wouldn’t be the same if I used supermarket bread, no matter what premium range it came from. It wouldn’t be the same if I used any old beans and just plonked them on the toast. And it certainly wouldn’t be the same if I used ordinary eggs and just fried them any old way.

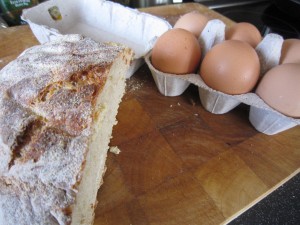
The bread has to be made by me and it has to be No-Knead Bread because that not only tastes good but it has the perfect texture. It doesn’t dissolve when you pour the beans over it. Go and follow that link for a step by step look at making it. I have to start it the day before I need it but that’s good, when I start the bread I know my Bear will be home soon.

Those eggs? They are the gorgeous free range eggs from our local farm shop. Free range makes such a difference and the quality of their eggs reflects this. They are large with golden yolks and taste simply delicious.

And the beans? Well, they just HAVE to be Heinz.

So far so good.

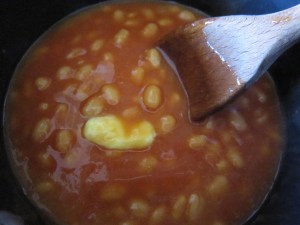
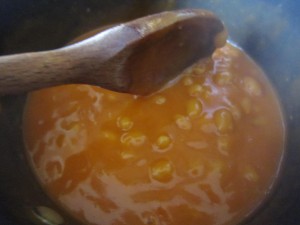
And now to start it. The thing about beans is that they can – even the best of them – be a bit watery. We don’t like that. We like them heated gently and slowly till they become rich and thick.

….. and with a knob of butter added to them to make them taste even better.

The bread has to be cut thick, but not too thick and toasted

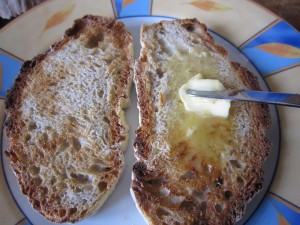
…..before being spread with salted Normandy butter

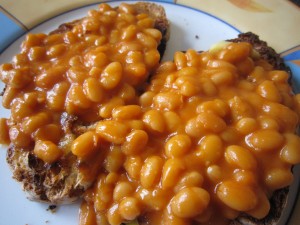
…. and piled high with beans. See how thick they are? How tasty they are too…..

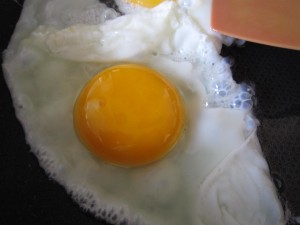
The eggs are cooked in oil with some chilli oil poured in (ohhhh… how good that makes the eggs taste. Just a bit of a bite to them!)

And then you put the eggs on top.

It really is delicious. The yolk spills out and mixes with the beans and the toast mops up all the delicious dribbles.

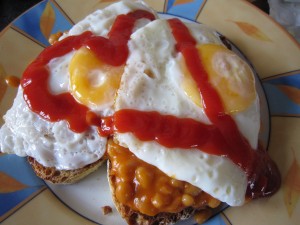
It still needs just one extra thing though for the ultimate, homecoming comfort food….Heinz tomato sauce……

And that’s why you can’t get that in a restaurant. 

There are so many specifics and the biggest of them all is that the cook has to make a tomato sauce heart over the top.

Perfect homecoming food that says welcome back and come on in, you’ve been missed.

Lolly!

We have a new T.O.B Cook!

Once upon a time I had a good job. A great job. And I had great friends working with me. I still have the friends, it’s just the job that went by the wayside.

One of those friends is Lolly who was always there to sort everything out – she was the one who listened to me trying to run over my phone in my desperate attempt to get shot of the dreadful thing and get another…. she has listened to me shriek in disbelief at the tortures inflicted on me by computers… she has rescued me from all sorts of things and made sure that all was well in my world.

And what did I give her? A potato ricer. It just goes to show what a brilliant person and cook she is that she loved it!

And now the lovely Lolly is reading my blog…..

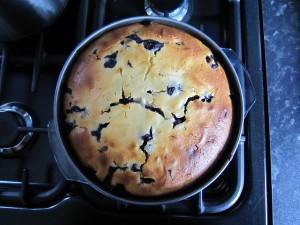
She decided to make the Blueberry Yoghurt Cake

Doesn’t that make your heart skip a beat?

That truly is one beautiful cake! I don’t think I have seen a more beautiful one.

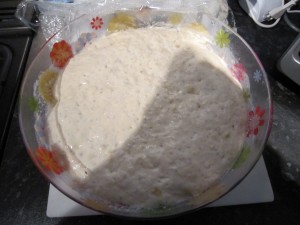
And she decided to try No Knead Bread….

That’s her bread in progress – and it is a testament to her skill as a baker that as soon as it was ready to eat, her parents and her beloved ate it!

I shall get Lolly to tell you more, but until them, look at her pictures and drool at her cake!  

October 2010

Autumn is here as is the apple crop. We have all been trying to do as much as we can with the huge haul of apples and the lovely Lolly is no exception.

We both love cake baking and Laura and I have been working on delicious cakes using apples. One thing we found on our searches was that apple butter or stewed apples can reduce the need for fat in a cake and anything that can make cake almost a health food is good for us!

  Lolly had emailed me one morning and we were talking about the potential for cake ” I was having a look at your blog and came across the recipe for the Apple Cake that you made with Apple Butter, and some chopped up apple pieces. I have 3 smallish apples left from my bounty, as well as a small Tupperware box of stewed apple and I wondered if you thought it would work if I made it like this….

Peel and core my 3 remaining apples, mix with juice of ½ lemon.

Put 250ml greek yogurt in a bowl and add 200g golden caster sugar, 60 ml veg oil, 2 eggs and the seeds from one of your wonderful vanilla pods and gently mix

In another bowl put 300g plain flour, 1 ½ tsp baking powder, ½ tsp bicarb, and then instead of the apple butter, two heaped dessert spoonfuls of stewed apple and a tsp of cinnamon.

Mix through and add dry ingredients and chopped apple.

 Do you think that this would work, or do you think I should also add a little bit of butter for a bit of fat?”

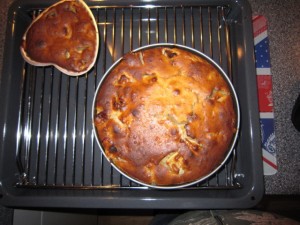
Look at that! I think you could say that it worked!

Lolly says ”  Well I made it! I think that I put too much of something in, perhaps flour as the cake is a little dense. However, that hasn’t stopped it from being devoured by everyone at work so it must taste alright!!! I also made a small heart shaped one for Giles…!”

I think that is how it should be for a cake that is best eaten with tea or coffee – somehow, light and fluffycakes belong more with afternoon dainty teas. This is the sort of cake that is perfect for a mid morning break, say. Nothing too sticky… nothing too airy, just a perfect slice to have with a hot drink.

Well done, Lolly… and I bet Giles loved his heart shaped cake!

Baking a baguette

January, eh? There are many downsides to January – bad weather, enforced dieting because of Christmas excesses – but there are some good points. Sales, for one. And with the terrible state of the economy, the sales start on Boxing Day, if not sooner.

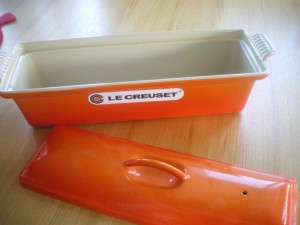
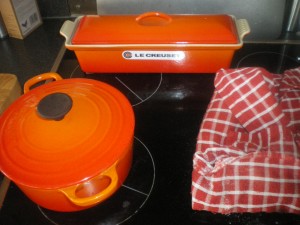
I had been wanting to go to the Le Creuset shop for ages and what I really wanted was to get there in the sale and buy a terrine…. I love making pates and terrines and while I can easily do them in other containers I really, really wanted a terrine. I have a square one but I wanted a long, loaf tin shaped one….

So I dragged the Bear to the car and we set off. Only to find that not only were there no terrines  in the sale, there were no terrines at all.

It’s at times like this that I thank my lucky stars for the Bear because when we got home he started looking for terrines online. He not only found one, he found one at a bargain price……under £50

………………….and it was delivered on New Year’s Eve.

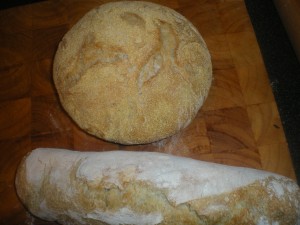
Now, I make No Knead Bread and bake it in either my round or my oval Le Creuset casserole. You need a lidded pot to cook it in because you have to create, as near as possible, a steam oven effect. You have to get it scorchingly hot and throw in the dough and put the lid on to make a lovely chewy crust with a gorgeous, almost caramelised flavour to it. The bread is made from a slow risen dough, which gives it a distinct taste and good texture and crumb.

Thing is, it takes the shape of  the container you cook it in…. so, I thought, if I made it in a long, thin, cast iron pot, it would make a long, thin, baguette type loaf.

That would be perfect for garlic bread….. and I could make some for part of our New Year’s Eve party.

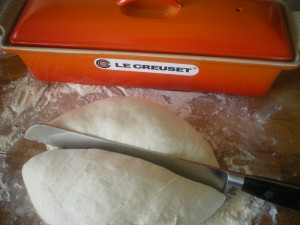
I had started my dough the night before and when it was ready, I rolled it in flour and let it rest for ten minutes, then cut it in half

I realised that there  was too much for the terrine pot so cutting it in half  would mean it would fit and I could make a small round loaf with the other half of the dough.

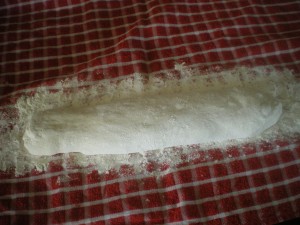
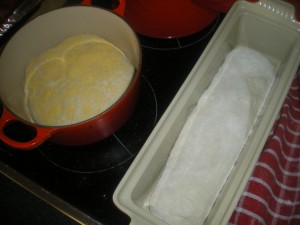
One bit was stretched into a baguette shape and lain on a flour dusted tea towel

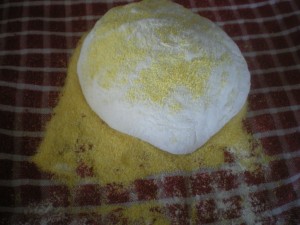
While the other bit was rolled into a round and sprinkled with cornmeal

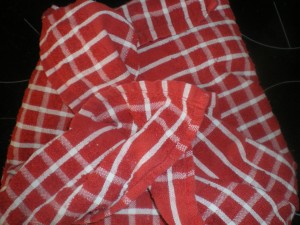
And both bits covered with the edges of the tea towel and left to rise for two hours

Half an hour before the bread was ready, I put the oven on to just over 200 degrees C and put in the terrine dish and the small casserole

Once the half hour was up, I carefully lifted them out and dropped in the dough, giving the pots a shake to get the dough to settle before putting the lids on and putting them back in the hot oven.

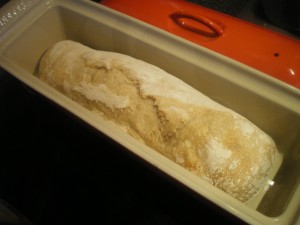
Half an hour later…..

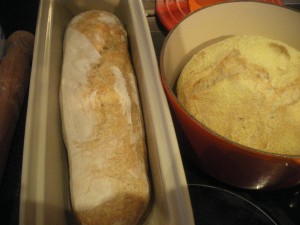
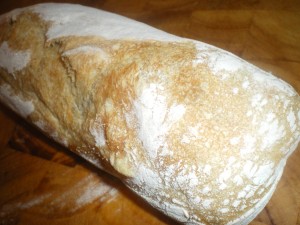
Take the lid off for the next 15 minutes or so….and turn out a beautifully baked baguette shaped loaf

It was fantastic.

Ever since I started baking the No Knead Loaf, I have become more disillusioned with other bread. This really is a wonderful loaf

Two beautiful loaves…. and so lovely that the bread was just eaten as it was and not, after all that, made into garlic bread

I knew I was right to ask for a terrine.

Just look how useful it is going to be – pates and terrines one day and baguettes baked in it the next day to have with the pate!

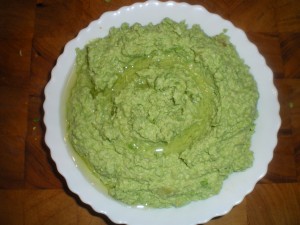
Pea and Soya bean houmous with fresh cheese on toast

Apples, pea and soya bean hummus 006


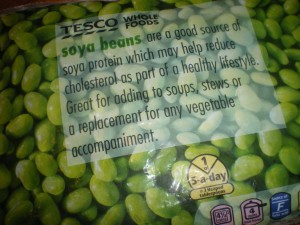
I really like the taste of soya beans – there’s a lovely nuttiness to soya and the texture is really good. Not floury at all like so many beans, but clean and firm. I often make a mixed dish of soya beans and peas to serve with a meal as a vegetable side dish. It looks so pretty as well – bright green peas and beans together look beautifully fresh and taste clean and bright.

In the summer I had spotted a recipe in Good Food for Pea and Broad Bean Houmous and thought it looked delicious… but how much more delicious it would be, if the broad beans were replaced with soya beans.

As it is November, the heating systems have come on at work and they are proving difficult to control – it can be almost tropical at times, so a light and cooling lunch (that is ideal in summer time) actually has its place in the grey days of late autumn. You can make this and pack it easily for a lunch to be  taken to work… all you need are the soya beans, some peas

Apples, pea and soya bean hummus 007

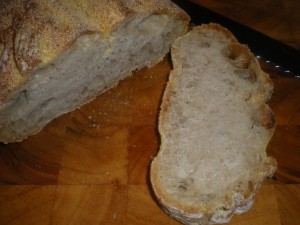
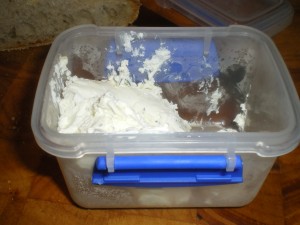
Some garlic, a lemon, some oil, fresh cheese  (well, I made it at the weekend in the Great Greek Yoghurt Experiment and I still have some left so that will be perfect instead of the goat’s cheese in the original recipe) and some lovely, slow risen No Knead Bread.

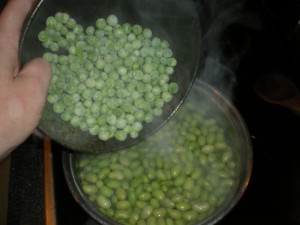
Let’s start on the houmous then….. start by boiling the soya beans. They are done first because they are bigger than the peas… so give them a few minutes in a pan

Apples, pea and soya bean hummus 010

and then add the peas. Frozen vegetables, like peas and beans are marvellous because you end up with the freshest and tastiest little morsels – far sweeter than you could ever hope to get by buying them in pods.

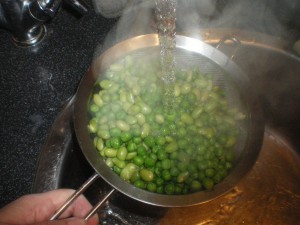
The peas will only need a minute or two then drain the lot, rinsing them in cold water

Apples, pea and soya bean hummus 011


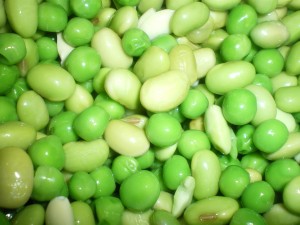
They really do look so lovely

Apples, pea and soya bean hummus 013

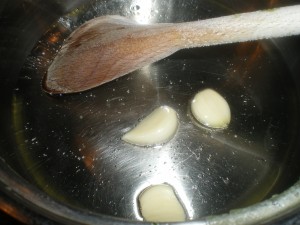
While they are rinsing and cooling down, pop two or three garlic cloves in the pan you have just emptied and add some oil…. this needs to be on the lowest setting so you can gently cosset those cloves into softness without burning them or making them change colour (though I have to say it isn’t the end of the world if they do change colour…)

Apples, pea and soya bean hummus 012

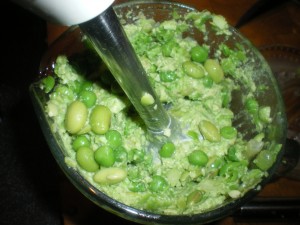
Then, whizz the peas and beans to a sort of roughishly smooth texture

Apples, pea and soya bean hummus 015

Once the garlic is soft, add the oil and the garlic to the pea and soya bean puree and whizz it round again – you want it smooth but not so smooth it has no texture at all. You are aiming for a graininess, I suppose.

And squeeze a lemon, after taking off its zest .. add the juice and the zest and stir ….season it well with salt and pepper…. it should taste lovely

Apples, pea and soya bean hummus 016

Put it in a bowl and drizzle with more oil… then… make some toast

Apples, pea and soya bean hummus 018

Get out your cheese

Apples, pea and soya bean hummus 020

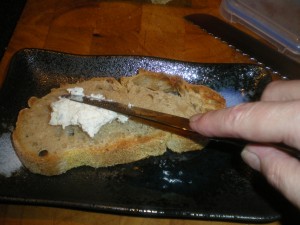
Spread lightly

Apples, pea and soya bean hummus 021

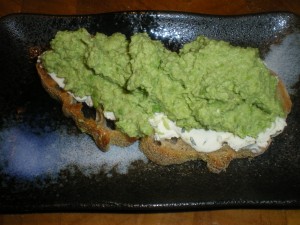
Then top with your lovely houmous….

Apples, pea and soya bean hummus 022

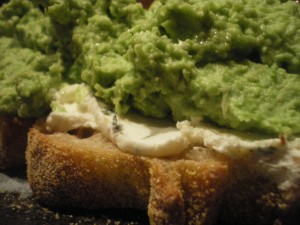
… there you go… light and fresh and so very tasty. Ideal in the tropical temperatures of an overheated office. Even if it is the dog end of November.

Apples, pea and soya bean hummus 023

Woodpigeon Breasts on toast with lemon and thyme fresh cheese

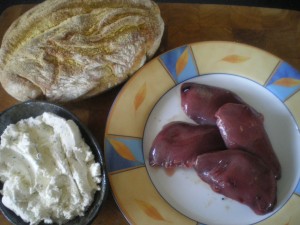
I had got some woodpigeon breasts and thought they would make a lovely lunch.

 woodpigeon, Christmas pud stuffing, blueberryyoghurt cake 001

Beautiful wild game with no additives

 woodpigeon, Christmas pud stuffing, blueberryyoghurt cake 003

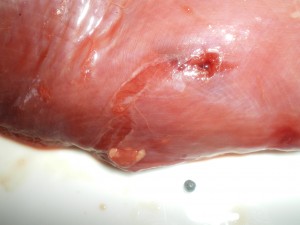
Except, perhaps the lead shot that killed it!

I also had the lovely fresh cheese that I made specifically for this on the Great Greek Yoghurt Challenge….

 woodpigeon, Christmas pud stuffing, blueberryyoghurt cake 004

And I have a fresh loaf of No Knead Bread

(I think I have seen a recipe for something very like this but I really can’t find it… I can’t have imagined it, surely? I have spent ages flicking through my magazines looking for the recipe but I just can’t spot it. It was probably in Olive or delicious. a year or more ago and it involved some kind of game, on toast with a lemony, thyme-y ricotta…. probably.  I have searched online and I still can’t find it – if any of you know who did it then let me know so I can give due credit. I would hate for someone to think I was stealing their ideas and I always try to link back to originals. I would hope that people would do that for me too)

Anyway, this is as simple as simple can be and oh-so-fast.

First, slice and toast your bread

 woodpigeon, Christmas pud stuffing, blueberryyoghurt cake 005

Heat some oil in a pan (I use my oil that I have steeped chillies in – it just gives things a little lift) 

 woodpigeon, Christmas pud stuffing, blueberryyoghurt cake 006

 and after seasoning the woodpigeon breasts with salt and some thyme

woodpigeon, Christmas pud stuffing, blueberryyoghurt cake 007

woodpigeon, Christmas pud stuffing, blueberryyoghurt cake 009

start to fry it quickly -it will only take a few minutes to get the outside browned beautifully while the inside stays pink

woodpigeon, Christmas pud stuffing, blueberryyoghurt cake 011

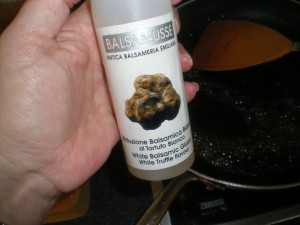
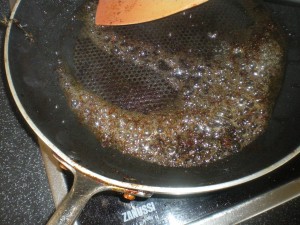
Once it is done, take it out and let it rest while you deglaze the pan with something.. wine, perhaps? Sherry? Port? Or, as I did, a Balsamic truffle glaze.

woodpigeon, Christmas pud stuffing, blueberryyoghurt cake 012

woodpigeon, Christmas pud stuffing, blueberryyoghurt cake 013

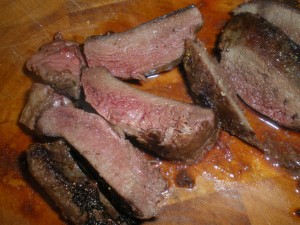
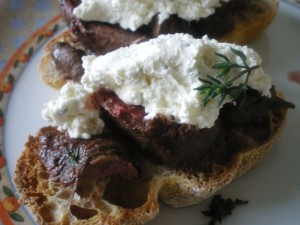
Slice the pigeon breast and lay it on the toast,

woodpigeon, Christmas pud stuffing, blueberryyoghurt cake 016

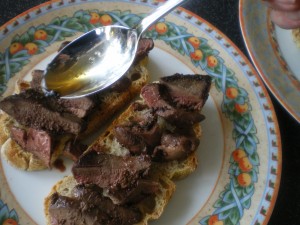
Drizzle with the pan juices

woodpigeon, Christmas pud stuffing, blueberryyoghurt cake 017

Put a spoonful of the fresh cheese over the meat

woodpigeon, Christmas pud stuffing, blueberryyoghurt cake 021

And that, I should tell you, was a lovely weekend lunch.

And I know that, hard though it is to believe, that one portion of this will come in at under 400 calories. Just a squeak under, but under, nevertheless.

It would be a brilliant week night supper as well, as it can be made in less than 15 minutes, if you have everything to hand.

Nikki

.. another T.O.B cook!  My aim is to get as many people baking as possible and Nikki decided that she would try the No Knead Bread

So she bought her ingredients and then … well, then she just waited for an opportune moment. Eventually….

Nikki RJ Loaf 1      Loaf number 1

And she tried again                  Nikki R-J Bread loaf 2

Much better.. and much appreciated by her daughter…Nikki RJ bread

Anyway.. this is what Nikki says about the whole experience…

“First thing you should know about me is that I am THE worlds greatest procrastinator. I can put things off for months – even if I have fantastic intentions, I can avoid it until there is no way out of it. It’s not even that I don’t like cooking, I do, but I like instant gratification. I’m blaming it on my generation!!

I bought all of the ingredients needed for the No Knead Bread, even took a picture of the ingredients to prove I’d done something towards making the thing! If I’m honest I was put off with the amount of time I’d have to wait before I could try it.

So there I was, all ingredients bought (ok, this may be a couple of weeks after actually purchasing them), a spare couple of days or so without anything particularly pressing happening and no more excuses forthcoming… I had family leaving for the weekend and a child who was amusing herself, so I found myself in my night clothes in the kitchen getting the ingredients out to make the No Knead bread.

I made the mixture… but decided it looked a little too ‘runny’ before the yeast even started to work, so added more flour until it was at a consistency that I was comfortable with, wrapped up the bowl lovingly up in cling film and set it to once side for hours!!!

Next morning there I was again, in the same position, night clothes on in the kitchen having just made my daughter breakfast, I decided to tackle the bubbly, sloppy mixture. Having floured my board I started to almost pour out the mixture on to the board – it’s very sticky!! The gloop landed on the floured board and after a little shaping it looked vaguely like the pictures on the Omnivorous Bear’s website. My impatience got the better of me and I couldn’t bear to wait for the full 2 hours before I threw it in the oven. I think I managed an hour and a half.

I threw the mixture with quite a bit of force in to my casserole dish and heard the sizzle and watched the dough bubble a little as it hit the dish – that was rather satisfying! In to the oven it went for half an hour or so, I then checked on it, decided it was cooked enough and needed to brown up. Another 10 – 15 minutes later it was ready to come out. I liked the fact that it didn’t make my house smell of that over powering yeasty smell like other loaves do when they are cooking.

It was done, I dumped it (yes, I know my terminology is affectionate) on to the cooling rack and tried to wait until it was cool and the ‘crust’ had hardened up. I think we managed to wait for just over an hour and then we cut in to it. It was still warm and slightly soft but edible. My daughter munched her way through 2 slices with thick butter and I ate quite a bit myself. So all in all although the wait was endless the end product was a success – I even made it again so it can’t be bad!!

Since cooking the bread I’ve since passed the recipe on to friends, one of whom has an intolerance to the yeast or something (I didn’t really listen) in shop bought bread, she tried the No Knead Bread and has become a convert and she makes two loaves a week for her and her partner. She’s much more committed than I am!!

Thanks the Omnivorous Bear – I baked, my family liked it, I may even try other recipes – but only after a long period of umm’ing and ahhhhrrr’ing!”

16 Nov… Nikki saw the Salt and Pepper post and used the spice rub on steak
Nikki RJ salt and pepper
As she described it as “b*****y yummy” and that she was no longer reliant on the Chinese for that salt and pepper fix, I think you will gather from that that it was a successful recipe. In a BlackBerry mesage to me later she said she tought she was turning into a cook. Which is a good thing, Nikki. A very good thing.
 My only aim is to get as many people cooking for themselves. Looks like it is happening

Best sandwich in the world

.. or so says the Bear. He likes this whenever he is at home and would probably eat it every day if he could. Of course, it is not a sandwich in the real sense of the word – there’s no top – and I am perhaps more partial, say, to egg mayonnaise. Or maybe crayfish and rocket… Still, each to his own and that is his choice.

It’s very simple – just three ingredients and a sprinkle of Maldon Salt

Bear's avvy and tomato 001

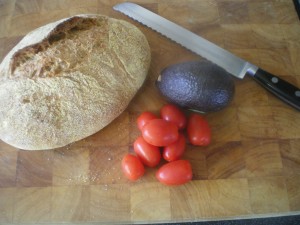
It’s best made with the delicious No Knead Bread, which makes spectacular toast, a Hass avaocado (they are the knobbly, dark green ones) and some small baby plum tomatoes, crisp, sweet and juicy.

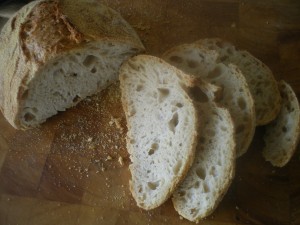
Slice your bread

Bear's avvy and tomato 002

and lightly toast it

Bear's avvy and tomato 003

Slice those little tomatoes

Bear's avvy and tomato 005

and then scoop out the avocado and mash it with a fork

Bear's avvy and tomato 006

Then start to put it all together….

Bear's avvy and tomato 007

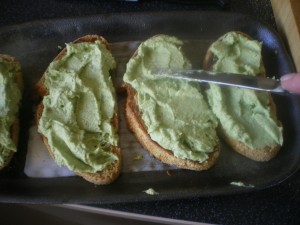
Spread the mushed up avvy thickly over the toast

Bear's avvy and tomato 008

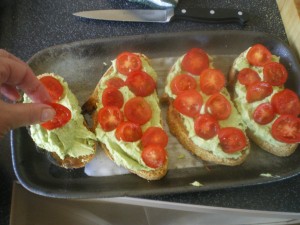
Then put the tomatoes on top of that

Bear's avvy and tomato 009

And sprinkle lightly with Maldon Salt…..

Bear's avvy and tomato 011

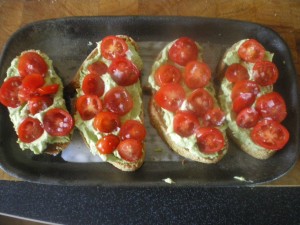
And there you have it. How to keep a Bear happy in one easy lunch.

No Knead Bread update

Today is a Saturday and that means I have, within easy reach, dear sweet neighbours who come to help when I ask them nicely. Last night D & L and I spent a great evening sitting around eating and drinking until the early hours (which may explain my headache today) and while we were talking and laughing they said they would try the No Knead Bread.

Now, as some of you ( ahem, C ) have commented, the No Knead dough, at the point of tipping out of the bowl, is incredibly wet and sticky… I did say that but I couldn’t take a picture as I was doing it because there are only so many hands a person has…. and I am slightly reduced in that department anyway at the moment.

And so… a plan was born. We would make bread and, with the help of my dear friends, take the missing pictures for the blog and also show them first hand how easy it was to make!

There we were, measuring out, in a slightly unsteady way, the flour, yeast, salt and water. We mixed it together and reckoned that it would be ready for “doing stuff to” later that afternoon… yes, it was after midnight, but hey, it was the weekend and we were having a good time.

That meant that D or L would be around to watch and help at the tricky moment, because try as I might, I hadn’t been able to describe well enough what this wet and sticky dough looked like… and also be there to help me take a photograph.

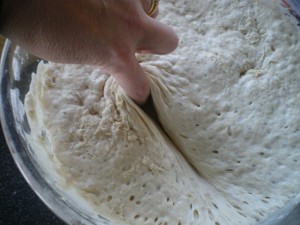
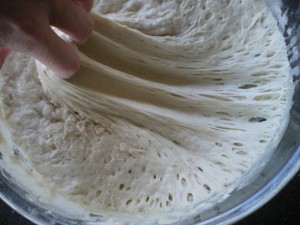
So… I have inserted these pictures into the original No Knead bread post so that you can follow it from start to finish, but for those of you who faltered at this point, THIS is what I mean by wet and sticky..

No knead bread edit 001

Yes, that is what anyone would call wet and sticky…

No knead bread edit 002

Look at the way it pulls. See the bubbles, stretching and expanding? That is going to make your bread beautifully chewy and tasty.

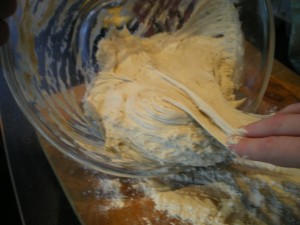
This dough doesn’t roll out of the bowl, you have to scrape it out

No knead bread edit 003

And that’s it.  A big, sticky lump  that is going to be rolled around, with your hands on that floured board where it magically becomes a normal looking piece of dough.

Does that make you feel better, C?  Will you try again? Have D & L’s efforts and help with photography inspired you?