Cheese and Sweetcorn Scones

When I made the delicious Roasted Garlic and Marrow Soup, I wanted something to go alongside the soup to make it a substantial lunch as I knew we weren’t going to be eating until late that night. What better, I thought than a savoury scone? One still warm from the oven? Maybe a good cheese scone would be just the thing.

Those of us who are British will know what I mean by a  scone – it’s what American’s call biscuits. What they call cookies, we call biscuits. Confusing, eh?

(A scone is an essential part of a British tea and  as Wikipedia points out ” According to one academic study, two-thirds of the British population pronounce it /?sk?n/, rhyming with “con” and “John”, with the preference rising to 99% in the Scottish population. The rest pronounce it /?sko?n/, rhyming with “cone” and “Joan”. British dictionaries usually show the “con” form as the preferred pronunciation, while recognizing that the “cone” form also exists”. I say “skon”  and as my husband will tell you, I am invariably right……..)

When I walked to the local shops I saw that the greengrocer was selling corn on the cobs, locally grown.

I knew from experience that these were sweet and delicious so I bought a couple. I’d seen a recipe in Good Food for cheddar and sweetcorn scones  so I thought this was the ideal opportunity and recipe to try out. I got some really good Cheddar from the Farm Shop and came home, knowing that it wouldn’t take more than half an hour to get them made.

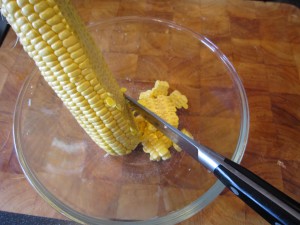
The first thing to do was to cut the sweetcorn kernels off the cob. The easiest way to do this is to stand the cob in a Pyrex jug or bowl and run the knife down so the kernels fall into the jug. If you don’t do this then the kernels scatter everywhere. I know this because I have done it. What that means is that you then waste time looking for the sweeping brush and clearing up the mess. Do it in a bowl or a jug, eh?

It’s quick and its easy.

The next thing is to cook the kernels quickly. I  put a knob of butter in the bowl and microwave them for a couple of minutes if I am serving the corn as a side dish, but as these were to go into scones I decided that a small amount of water would do just as well. Adding extra butter to the recipe would skew things. It will only take a couple of minutes and then you can drain them, ready for the next step.

Start by heating the oven to 220 degrees C/430 F.

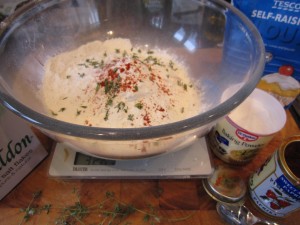
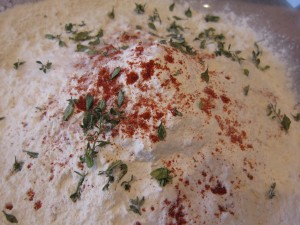
Mix, in a large bowl, 350g self raising flour, 1 teaspoon of baking powder, ½ teaspoon sweet smoked paprika, 1 teaspoon of salt  and some thyme leaves.

The original recipe called for mustard powder too, but mustard is one of the Bear’s Big Hates so I tend to avoid it whenever possible.

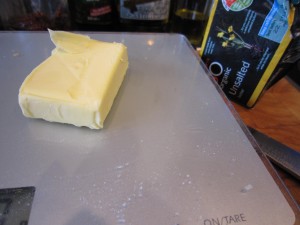
50g of unsalted butter must then be rubbed through until the mixture looks like fine breadcrumbs.

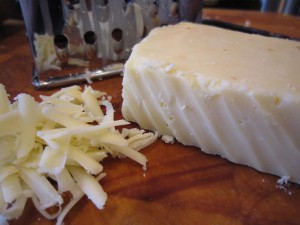
Grate 175g of good strong Cheddar cheese and add most of that to the flour mix.
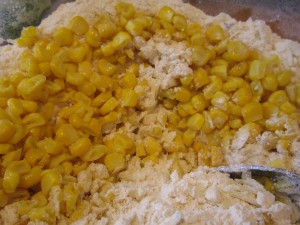
Add all of the cooked and drained sweetcorn and mix it all well, so there’s an even distribution of ingredients.

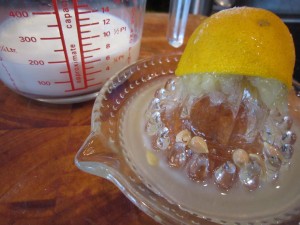
Add the juice of half a lemon to 175ml of semi skimmed milk.

My mother always used to save soured milk for scones when we were little… which makes me wonder, did milk go off more quickly years ago? I hardly ever have soured milk nowadays. maybe it is that fridges are better?

So, with no soured milk available, lemon juice does the job.

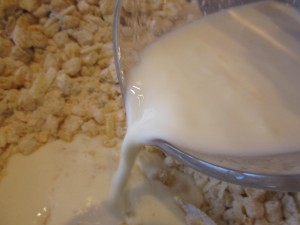
You can see that the milk looks almost lumpy… the lemon has acted on the milk, souring it and that’s the way to get perfect scones.

Mix it all together.

The dough will be sticky, but don’t despair and DON’T faff about with it. You need minimal interference for scones, otherwise the gluten in the flour toughens then and you end up with hefty, solid lumps, when you were wanting light and delicious morsels.

Sprinkle some flour on the board and knead the dough briefly so it comes together.

Make into 10 or 12 little balls by roughly rolling them.

Flour a baking tray or a silicone sheet on a baking tray and put the scones on.

Brush them with some milk, then scatter them with the rest of the cheese, some paprika nd any remaining thyme leaves.

Into the oven for 10 to 15 minutes until they are risen, golden and sound ready… that is, when you tap the bottom, they should sound hollow.

And just look at them!

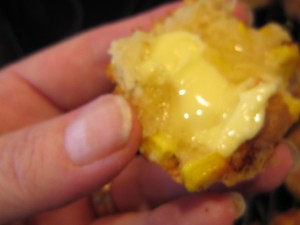
Of course, we had to try one with some butter to see how they were……..

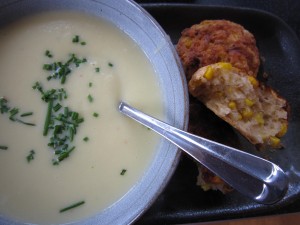
Before I served them with soup for lunch.

A perfectly light and deliciously tasty scone makes a great accompaniment to soup and now that the weather is changing I’m going to be making a lot more. Whyever wouldn’t I when in half an hour I can have beauties like these emerging from the oven?

Foraging to make Fruit Leather – Part 1

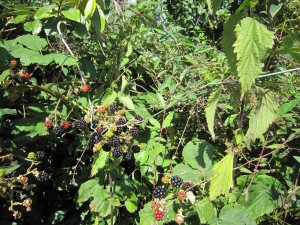
The Bear was finally home from his travels and we were  not at work.  It was also not raining or blowing a gale. For everything to come together like that,  is actually a very rare occurrence in our lives so we decided to make the most of it and go for a stroll and see how the blackberries were doing in the hedgerows. Goodness knows why the Bear and I went out to get more fruit because our freezer (and the freezer of everyone associated with our family) is already packed with fruit already. I suppose it’s just that  I just can’t bear to see waste. The brambles are absolutely laden with fruit and even the birds can’t get through that much.

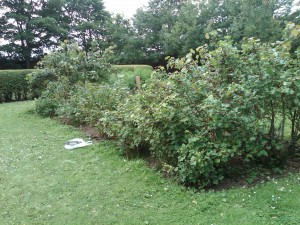
This year has been fantastic for fruit – my apples and figs were fruiting heavily on the trees on the balcony and my mother’s fruit garden has produced more pounds of goosecurrants, redcurrants, whitecurrants and gooseberries than we know what to do with.

We have had family and friends round to pick as much as they want and there are still pounds more to pick

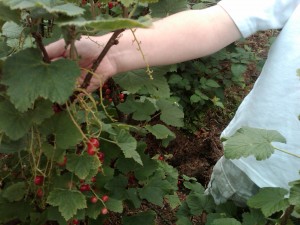
It comes to something when even her young grandson is sent out to help get the redcurrants. He carefully showed me how best to get them off the stems using a fork to drag down the stalks, knocking the currants off as it goes and a bowl underneath to catch them.

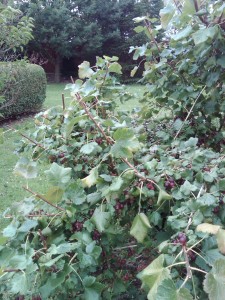
The goosecurrants (two ancient bushes) are a cross between a blackcurrant and a gooseberry and they have been particularly prolific this year.

They make fantastic jam or jelly and my sister in law has made some spectacular jam that puts my mother’s to shame. Mind you, she is the one who did the Pheasant Breasting Masterclass  while my brother took the pictures,back in December, so you know from that that she has a real talent in the kitchen.

Even my mother’s  ancient apple tree that hasn’t borne fruit for the last 20 odd years has suddenly started producing. There are bags of cleaned fruit in the freezers just waiting to have something done with them. Enough jam has been made to go on toast and fill cakes until all of us are old and grey and we still have more bags than we can count. Cordials and ice creams are next on the list to make – all we are missing is the time to do them all.

But still, we thought, we might as well go and look at the blackberries. And besides, I had an idea for something. Something that wouldn’t take up any more freezer space. If we did get blackberries I would use them that evening.

We live on the top of a hill and to the side of where we are, is a lovely park. We can walk out along the private path and down into the park itself. It is a fantastic walk in every season of the year – in winter it really looks magical in the snow… in summer, people are out on the grass and now? Now the bushes are laden with fruit and people are walking round with bags.
The park is well maintained and the grass is mown and even the edges where the hedgerow plants are, are looked after. The gardeners  always leave the blackberry bushes to fruit.

Deep inside the bushes that line the edge of the park are old, abandoned apple trees that fruit heavily and the apples just fall to the ground.

Today though, we were there for blackberries. Plenty of people had been there before us so we were going to have to head deeper into the bushes.

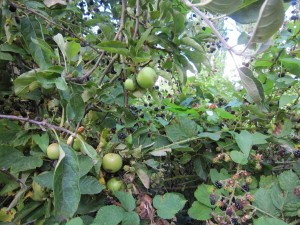
We went further into the wild tangle of brambles – so wild they had entwined themselves around apple trees and the blackberries hung down alongside ripening apples.

Luckily I brought along a straightened out wire coat hanger (with the hook left, of course) so I could pull down the best of the blackberry branches.

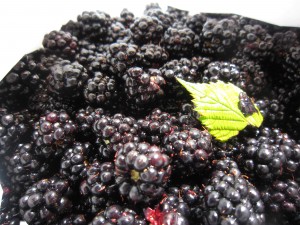
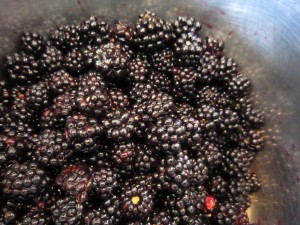
We got lots of great big, fat and juicy blackberries with only minor damage to ourselves – a few scratches here and there and a minor tumble into the stinging nettles… but, as I assured the Bear as he lay there yelping in agony, it would all be worth it.

The thing about blackberries is that you have to use them the day you pick them. They must carry mould spores on them because if you leave them for a few hours, once picked, they will go mouldy.

There was a reason for me wanting to get more fruit, though. I wanted to try something I had read about over the past few years. When we first met, for our first Christmas, the Bear bought me “Preserved” by Johnny Acton and Nick Sandler – fabulous book that details all kinds of methods and recipes for preserving food. I’d read it and made plans to work through it but, as always, life got in the way and I never got round to it.

The thing I was most intrigued by was fruit leather – where quantities of fruit were pureed and then dried, in a thin layer, making a dried fruit sheet that lasts  without having to freeze it. It’s called leather because that is what it looks like – it is soft and chewy in reality.

So… something that could use up extra fruit and wouldn’t take up space in my freezer? That had to be worth a go, right?

Maggie’s Lemon Drizzle Cake … an homage to my aunt

As some of you know, my aunt passed away a few weeks ago. What you might not know is just how much of an influence she was on my life.

When I started this blog, I told you how I had spent a lot of my life not cooking. I ate, obviously, but I got other people to cook for me. I didn’t need to cook as I lived on my own and anyway, I was always travelling. I ate in great restaurants and had a marvellous time.

I come from a family that always celebrate things with a family meal. Every occasion was marked with a get together. My mother and my aunt used to swap occasions… Christmas Day, one of them would cook, Boxing Day, the other would do it. Whoever did New Year wouldn’t do Easter. Everybody’s birthdays were a reason to come together as a family and eat.

My aunt was a great cook and always made the most superb cakes. Her Christmas pudding really couldn’t be beaten and, since I started cooking,  I always used to ask for some to take home with me so I could use it in Christmas Pudding Icecream. She always believed that a person should be able to cook and, more to the point, be able to cook well.

She was so pleased when I started cooking and asking her how things were done. I used to ring her from my car as I drove the thousands of miles I used to do on motorways in my other job. She would tell me how I was supposed to make things and patiently go through the shopping I would need to get in order to make whatever it was she was helping me with. I would stop in some far away town, get my ingredients and carry on driving home. Then, when I got there, I’d ring her again and check I had everything right in my head.

She was the one who taught me how to cook ham properly….. she taught all of us.  My brother adapted her recipe and came up with Gingery. Which is, in our eyes at least, possibly the world’s most delicious roast ham. Her daughter, my cousin, has been baking for years and is the maker of the world’s most delicious chocolate cakes which pleases her sons and her nephew no end. My aunt was never happier than helping people learn – she was a teacher all of her life. She even taught my postman when he was a little boy and whenever I saw him he would always send his best wishes and tell me that my aunt and uncle were the best teachers in that school.

Anyway, while my cousin and I were sorting things out at my aunt’s house, she dragged me to a bookcase and said she had found this….

………An ancient copy of Mrs Beeton’s Book of Household Management.

My cousin said she wanted me to have it, tattered though it was, because it was something my aunt had had for years. It’s falling apart, as you can see and the covers are hanging off. I wish I’d asked my aunt about the book … who it belonged to before her and what she had learnt from it….anyway, I have it now and it is on my cookery bookshelves. You never know, it might get picked on the next round of Cookery Lotto!  How proud she would have been to think that I was even contemplating cooking something from it.

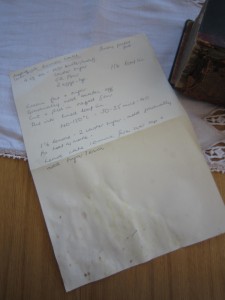
The very first cake she taught me to make was her simple and delicious Lemon Drizzle cake. I found the recipe in my cook book, scrawled on a piece of paper. She will have dictated that to me as I, no doubt, sat in the car at some motorway services, parked up in the rain.

I think she chose that as it is the simplest cake in the world to make and if she was going to entice me into the world of baking, she would need to make sure that I could manage. I think she was reckoning on a small cake, emerging triumphantly from the oven, would be the first in a line of cakes.

And, I suppose, in a way, it was. I decided, this weekend, to bake the Lemon Drizzle cake because it reminded me of her.

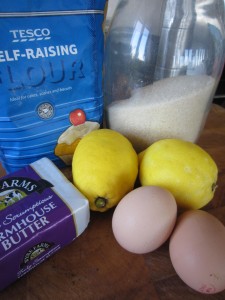
The ingredient list was simple and concise – 4 oz each of soft butter, caster sugar, self raising flour and a couple of large eggs. How hard could that be? And some lemons for the lovely drizzle to be poured over the top.

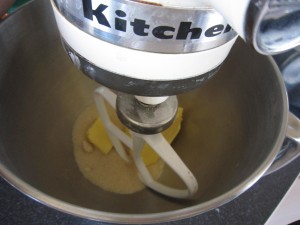
My note did say to cream the butter and sugar together and I’m certain she meant doing it with a wooden spoon… but you see the Kitchen Aid mixer? She bought me that as my wedding present. I have to use it, then, don’t I? I think she realised by the time I eventually got married that I was turning into a cook and a Kitchen Aid was going to be far more use to me in my married life than some standard wedding present of crystal or maybe bed linen. It was an incredibly generous gift, from an incredibly generous aunt.

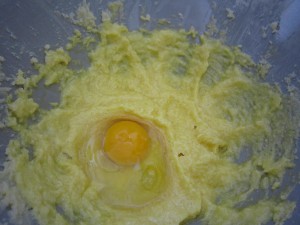
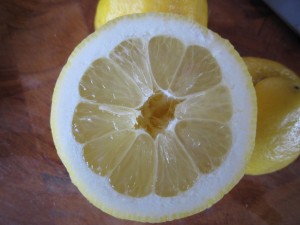
A couple of the brilliantly golden-yolked free range eggs turn the mix into a vibrant yellow. Finely grate some lemon zest in there – you will be using the lemons later. Just remember to make sure you used unwaxed lemons and if you don’t, give the lemons a good scrubbing first.

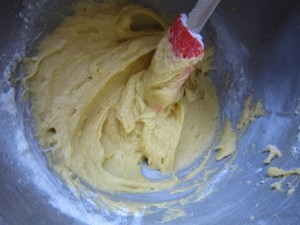
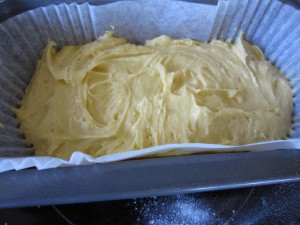
That 4 oz of flour (she told me to sieve it) was folded in and then everything put into a lined loaf tin.

Those silcone paper tin liners are an absolute godsend. No more snipping about with pieces of greaseproof paper or baking parchment… the hours they must save across the world!

And into the oven for about 30-40 minutes at 140-150 degrees.

Now to make the lemon drizzle…

That too, is simple…. Just the juice of one and a half lemons and some icing sugar – a good 2 ounces.

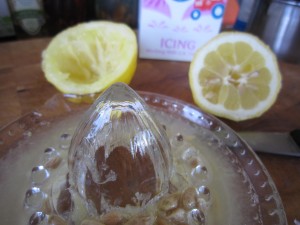
(I know that whenever you see chefs on the TV they squeeze lemons in their hands but I always use that glass lemon juicer. I don’t think you need to get your fingers covered in juice and besides, the pips will always drop in whatever it is you are making. Anyway, you get far more juice out of the lemon or the lime with one of them than you do by just squeezing. Maybe my hands aren’t strong enough? )

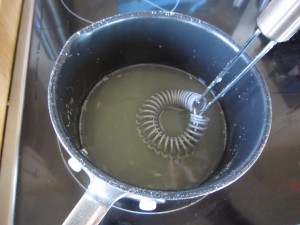
Heat it gently in a pan until the icing sugar dissolves.

Then let it cool.

At the end of the cooking time, take the cake out and peel back the paper to let it cool for ten minutes or so.

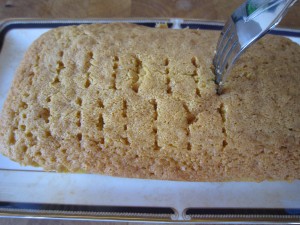
Once that’s done, take a fork and prick over the surface of the cake

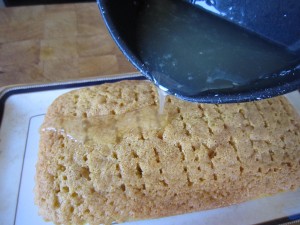
This will let the lemon sugar syrup sink in when you gently drizzle it over the surface.

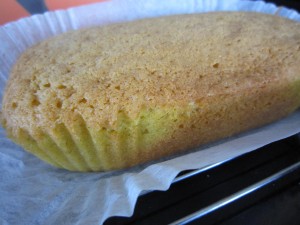
And there you have it.

The simplest cake in the world… but also one of the most delicious.

Golden cake with a lovely, sweetly sharp lemon drizzle. The first cake I made and one that will always remind me of my darling aunt.

Thanks for everything, Maggie.

Creamed Horseradish Sauce

I always believe that something you can make yourself is probably going to be better than something you buy – well, apart from fancy sugarcraft things. I am far too ham fisted and clumsy to turn out beautifully sculpted flowers, say.  Actually, anything dainty is probably beyond me, now I think about it.

But I can do all sorts of other things…and horseradish sauce is one of those things. You can buy it of course, but then you are at the mercy of the makers… the heat will be determined by them, as will the level of sharpness. Making it yourself means you can tweak it until you get the perfect sauce for you. I like mine creamy and not too hot, so that’s how I make it.

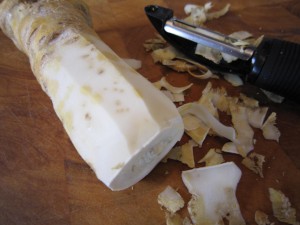
That’s a horseradish root.

My mother has it growing outside the kitchen door, in a brick edged raised bed. You need to keep the plant confined, otherwise it will be romping happily through your garden (and probably your neighbour’s) without so much as a by-your-leave.  Delicious though horseradish sauce is, I don’t think anyone will be eating pints of it everyday, so keep the plant in a decent pot or a raised bed.

Anyway… how about this for simple?

Now, one thing you should be aware of, that grating horseradish can make you eyes water.. it is so strong the fumes can waft up and before you know it, you have tears streaming down your face.

Bute here’s a trick to help avoid it… freeze it!

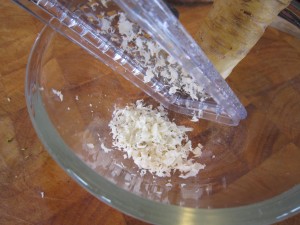
I clean the root and pop it in the freezer and grate it frozen. That stops the volatile fumes getting in your eyes.

When I am ready to use it, I get it out and peel the outer skin from maybe an inch or so of the end.

Just grate away.

(You might need to wrap the root in a tea towel because it IS frozen solid and I don’t know about you but my fingers get so very cold) Once you have grated an inch or so, wrap the remainder of the root in cling film and put it back in the freezer ready for the next time.

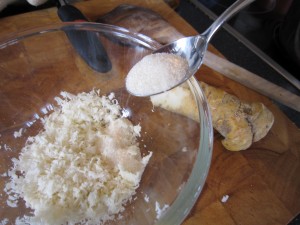
You’ll need to add at least a teaspoon or so of sugar to the grated root – I use golden caster sugar, as it dissolves quickly.

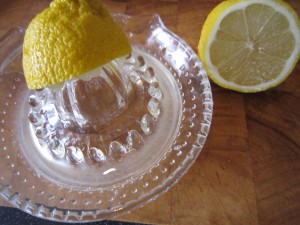
For sharpness, the juice of half a lemon is just perfect.

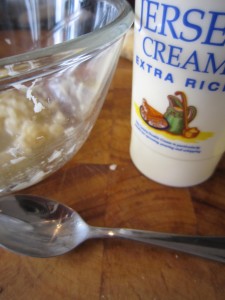
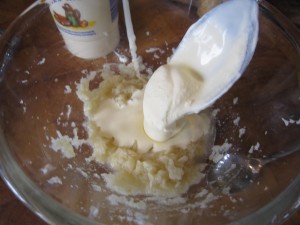
And to make it perfectly creamy, a tablespoon of double cream is just the thing

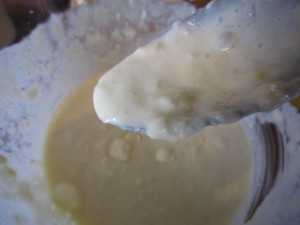
And now?  Just stir it round, mixing it all together.

It’s a good idea to do it an hour or so before hand so all the flavours can blend in and settle down to make….

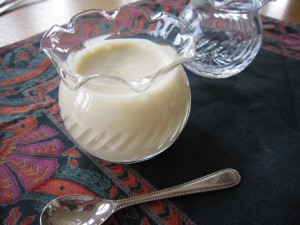
… a beautifully textured sauce.

Just the thing to serve with beautifully roasted rib of beef…..

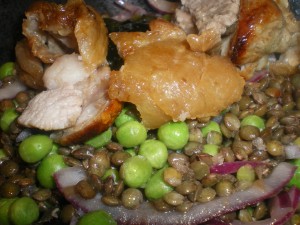
Puy lentils and peas

One of the most delicious vegetable  dishes the Bear and I have is made from what might seem to be an unlikely combination of lentils, peas and onion…. it’s quick and easy as well as low calorie. What more could you want?

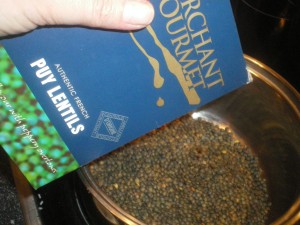
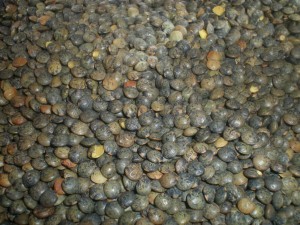
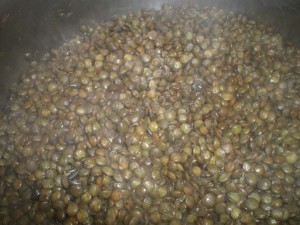
Puy lentils are a beautiful browny-green colour and they have a lovely nutty flavour

They just need a quick rinse and then put them in a pan with twice the amount of water and bring gently to the boil.

I sometimes add stock granules to the water and that adds another dimension of flavour to the lentils.

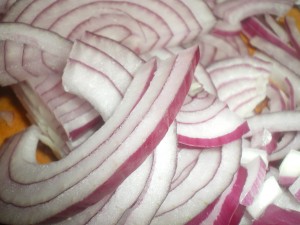
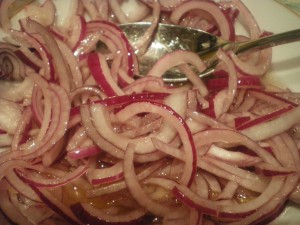
While they are gently boiling, finely slice a red onion

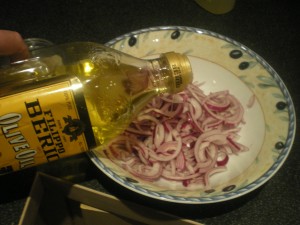
and put the slices in a bowl with some olive oil… maybe three or four tablespoons

This starts to soften and mellow the onion.

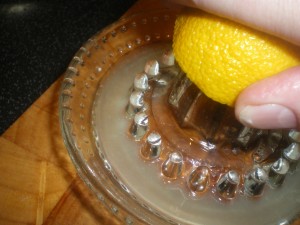
Then squeeze half a lemon

Pour the lemon juice in and stir round

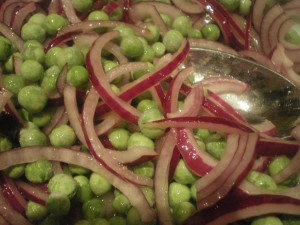
Add a few handfuls of frozen peas and no, you don’t need to defrost them.  They start to defrost gently and not boiling them keeps them full of flavour. That lemon juice and olive oil dressing seems to emphasise the sweetness of the peas.

By now the lentils will be cooked – they keep their firmness to some degree but they shouldn’t be hard.

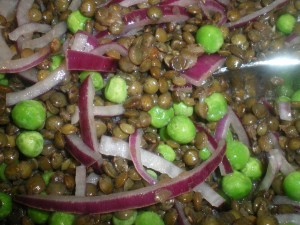
Drain them quickly… and then…while they are still hot add them to the bowl

Stir them through the mixed peas and onion, making sure they are all covered with the lemony dressing.

The heat of the lentils softens the onion to perfection and takes the last chill off the peas.

This really is an excellent side dish to serve with roast meat… one of our favourites is roast lamb. The lentils and peas are all you need to serve with a few slices of meat – we don’t even bother with potatoes – which means it makes one of the simplest suppers ever

Salt and pepper prawns

I can always be tempted by salt and pepper dishes from our local Chinese restaurant and when the Bear returned home clutching  raw king prawns and a bottle of rose it seemed that this would be the night to make salt and pepper prawns. I didn’t want to do a deep fried dish (lovely though that is) so I decided on a more or less dry fried way of cooking so I could at least say I was giving a nod towards healthy eating.

The rose went into the fridge to chill – that lovely pink fruitiness goes so well with spicy seafood – and I started on the spice coating.

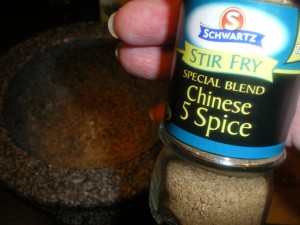
All you need is salt, black peppercorns and Chinese five spice powder. Well, actually you should use Sichuan pepper as well, but I didn’t have any.

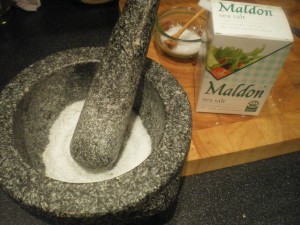
Actually, I didn’t have ordinary salt, either, which meant I had to crush some….

vegetables salt and pepper prawns 021

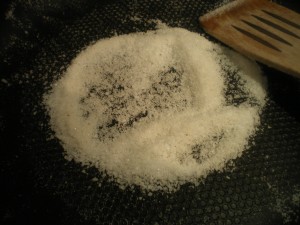
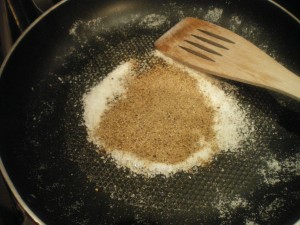
So, about 2 tablespoons of salt are put into a dry frying pan and toasted…. you will see the salt change colour slightly

vegetables salt and pepper prawns 025

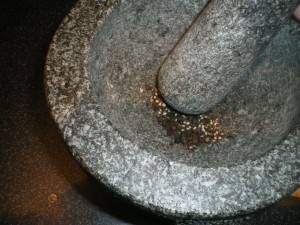
In the meantime, crush a  teaspoon or so of black pepper corns

vegetables salt and pepper prawns 022

And then pour in a teaspoon of Chinese 5 Spice powder and stir it well. If you had the pink Sichuan peppercorns then add a teaspoon of them and grind them

vegetables salt and pepper prawns 023

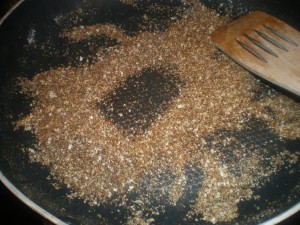
Once everything is smooth and fine, add the spice mix to the salt and toast. Again you will see a colour change

vegetables salt and pepper prawns 026

You can see it smoking in the pan… a word of warning – aromatic though that is, it doesn’t half make you cough if you breathe it in

vegetables salt and pepper prawns 028

Leave it to cool and then remove it from the pan and get your prawns out. A spring onion, finely chopped and a squeeze of lemon juice will set them off beautifully.

vegetables salt and pepper prawns 031

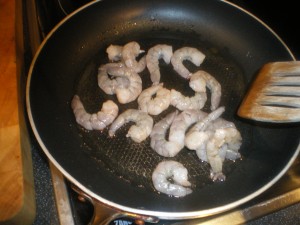
You can see they are grey and raw…

vegetables salt and pepper prawns 032

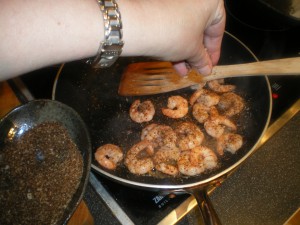
put the minimum of oil in and get it hot and then throw them in

vegetables salt and pepper prawns 033

Thirty or so seconds later they are pink and opaque.

vegetables salt and pepper prawns 035

Scatter over some of the salt and spice mix

vegetables salt and pepper prawns 036

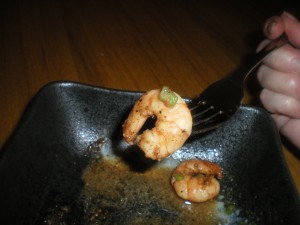
………………….then serve with a scattering of spring onions and a squirt of lemon juice

vegetables salt and pepper prawns 039

And the chilled rose is just perfect along side it.

prawns 002

The Bear, who has always been hesitant about prawns and only bought them to please me… ate his portion with gusto and decided he liked prawns after all. I’m not sure that is such a great result.. on the one hand, it is lovely that we both like prawns but on the other… well, I have had to share!

Mayo… mmmmmmmayo

It’s always handy to have the makings of mayonnaise in the house. In just a few minutes you can have a lovely thick, tasty dressing that you can modify in all sorts of ways to match whatever you want to use it with.

 I made fish and couscous and wanted something to tie it all together. I know that Bear would have been happy with tomato sauce but I wanted something nice. Lemon mayo, I thought, would be just the thing. So….

Mayo, fish and crisps, lamb shanks and spurtle 018

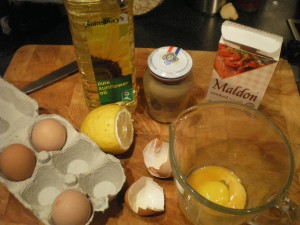
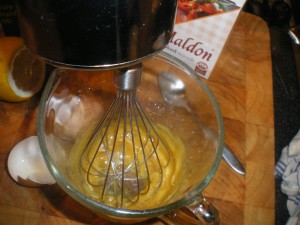
Two eggs were separated (the whites can go into something else tomorrow) and the yolks put into a jug.

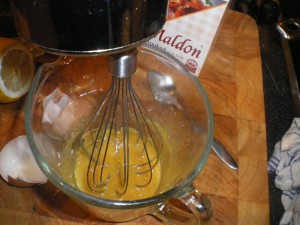
Stir a sparse teaspoon of mustard (very, very sparse if you are using English mustard as that is hot, maybe just a touch… but I was using Dijon which is mild) into the yolk and blend it. Add a pinch of salt and then, if you are feeling energetic, whisk it fiercely. I stuck the balloon whisk on the end of my blender and whizzed away.

Mayo, fish and crisps, lamb shanks and spurtle 019

You can see it start to thicken slightly and change colour a bit

Mayo, fish and crisps, lamb shanks and spurtle 020

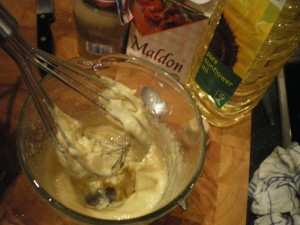
And then you trickle in some oil. Use a flavourless oil, like sunflower, rather than olive oil as that can make it taste just a bit too strong. I have saved the oil from jars of roasted peppers or sunblush tomatoes (you know how there’s always loads left and it seems such a waste to bin it) and used that before as an addition to the sunflower oil. That just gives it an extra taste dimension – useful if you are making it for a specific dish.

Mayo, fish and crisps, lamb shanks and spurtle 021

Suddenly it thickens even more and the colour lightens…

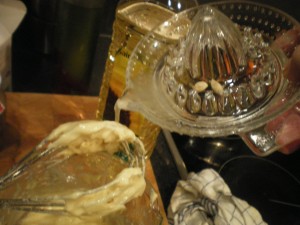
I wanted a lemony mayonnaise to go with the fish so I added the juice of a lemon

Mayo, fish and crisps, lamb shanks and spurtle 022

Whisk, whisk, whisk! Add more oil and maybe a couple of teaspoons of white wine vinegar. Taste it to see if you have the flaovouring right.

Mayo, fish and crisps, lamb shanks and spurtle 023

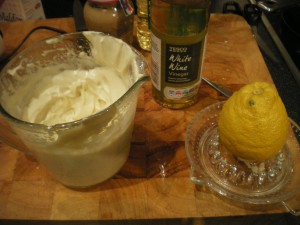
You’d be surprised how much mayonnaise you can make if you keep adding the oil. In one of my favourite books, ‘ The Curious Cook’ Harold McGee experiments with just how much oil can be emulsified with just one yolk. Make as much as you need.. just keep whisking and adding the oil slowly.

You end up with a wonderfully thick, unctuous, deliciously flavoured mayonnaise. Less than ten minutes (I made it while the fish cooked) and you have something to be proud of. This was lemony and savoury and oh-so-right for that fish.

Lamb shank, pumpkin soup, bread, mayo 022

In fact, it was so nice that the Bear went and got an extra spoonful and he’s not a mayonnaise lover. Mmmmmmmm…

Butter bean mash

Sometimes I just get fed up with the ordinary things I make to go with a meal. Sometimes I just don’t have time to make the ordinary things… mashed potaoes? All that peeling, boiling, draining and mashing? What if you are late in from work and need something quickly? Or, quite frankly, if you are fed up to the back teeth of mash?

At times like this I make butter bean mash. I always have tins of beans of various sorts in the larder because they are a brilliant standby and you don’t always have the time to soak the beans overnight.

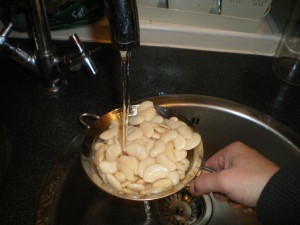
First of all, get a couple of tins of butter beans, open them and rinse the beans till all the gloopy stuff goes

Beans and belly pork 005

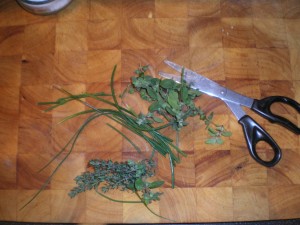
Then, while they are draining, get some herbs if you have them

Beans and belly pork 002

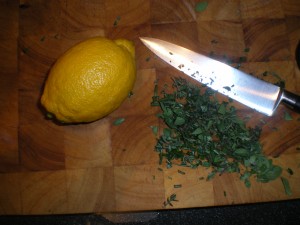
I found some thyme, chives and oregano in the herb boxes on the balcony and, after stripping the leaves from the stems, chopped them roughly

Beans and belly pork 003

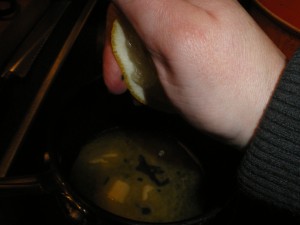
Then, as I heated some butter in a pan, I squeezed in some lemon juice to sharpen things up a bit

Beans and belly pork 008

And if you look closely you will even see a drop of lemon juice perfectly captured as it falls into the pan.

I’d like to say that shot was planned that way, but really it was just sheer luck.

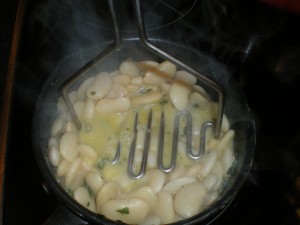
By now the beans were well drained so they were added to the buttery lemon mix and stirred round, with the chopped herbs thrown in to soften in the heat. Once they were good and hot, I gave them a bit of a bashing with a potato masher

Beans and belly pork 010

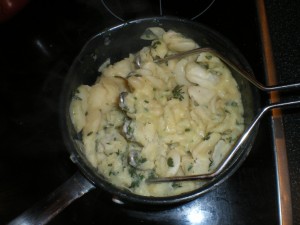
Not too much though because you don’t want a smooth puree, you need something of the butter bean left

Beans and belly pork 013

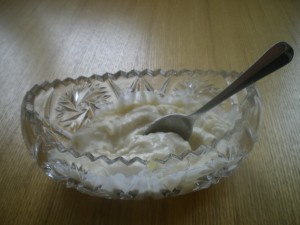
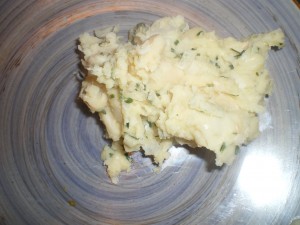
And there you have it… a good, roughly smashed dish of butter beans

Beans and belly pork 014

Just right to serve up with whatever you fancied.

On this particular night, what I fancied was some delicious stewed beef and mushroom that I had made a few weeks ago and frozen ready for a night like this….. and served it in a good old Yorkshire Pudding

Beans and belly pork 019

It was gorgeous. The butter beans made a lovely change from ordinary mashed potato and were quick and easy. The buttery, lemony, herby tang livened them up brilliantly… and for a side dish that took less than 10 minutes? Perfect.

Well, what else could you ask for on a cold and dark night?