Red cooked shin of beef

The weather has definitely changed. The winds are getting stronger and I have started to wear a coat to travel to work.

It been raining a lot as well and when I look out of the window of my office at work I can see waves being whipped up on the lake.

Even the ducks, swans, geese and the heron are all in hiding.

You can see the trees are being bent over in the strong winds. The rain is splattering against the window and the skies are getting more grey.

What we need is something warm and sustaining. I want meat… I want tasty meat. I want something to fill me and make me smile.

So I decided upon shin of beef which is a British, inexpensive cut of meat from the front legs of cattle. Just over 500g costs  just over £3. That’s enough to easily feed four people. Shin needs long and slow cooking which transforms it from incredibly tough to  the most melt in the mouth meat ever, with a real depth of flavour.   If this cut isn’t familiar to you, look at the link  which shows you the difference between American and British cuts of beef.

When you look at shin of beef you can see the tendons and the fat running through it. This has to be cooked slowly and the meat becomes transformed into the most tender morsels imagineable. The gravy served with it reduces and becomes intensely rich and flavoursome. It is perfect in a beef stew with dumplings  and that, I have to say, is how I normally cook it.

Except this time I wanted something different. I wanted something with a bit of a zing to it…and I had a fancy for some kind of Chinese flavouring. I have always adored the taste of star anise flavoured sauces and I remembered that when I was a poor student and wanted a treat I would order fried rice with a drizzle of Chinese barbecue rib sauce on it. That would be it. Just rice with some sauce… I think the takeaway was used to poverty stricken students asking for the bare minimum. (Mind you, there was an Italian restaurant in town that once served a group of us a side dish of peas between us because that was all we could afford and one of our friends fancied someone working there…)

Anyway. Here I was, years later, with enough money to actually buy some meat and I was going to make the most of it. I didn’t have a classic Red Cooked Beef recipe but I could make a fair attempt at it. No doubt the purists will think this isn’t the way to do it but this works for us. The flavour at the end is amazing and that’s good all we are concerned with.

Slow cooked meat is the easiest thing in the world. All it needs is time. You really do very little to it.

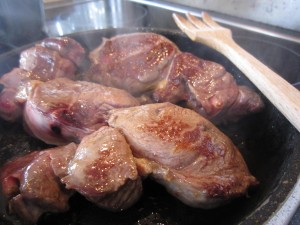
First of all, sear the outside of the beef as this gives it a good colour and a better taste.

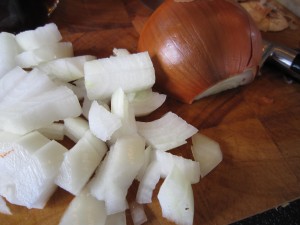
Chop an onion into pieces. There’s no need to worry about making it neat – after a few hours in the slow cooker this will jsut disappear into a lovely rich sauce.

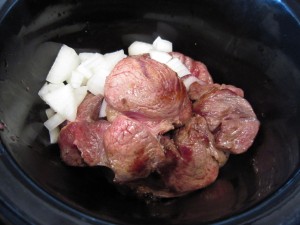
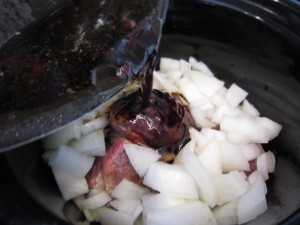
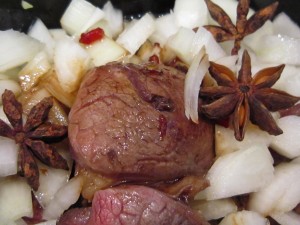
Put the onion in the bottom of the slow cooker (or casserole dish if you are using that) and lay the browned meat on top of it.

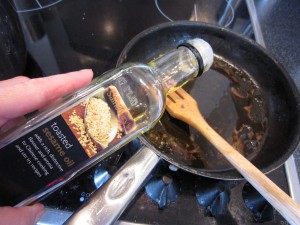
Add some oil to the pan juices (yes, I know that using sesame oil might seem extravagant, but once oil is opened you must use it as it will go off. You might as well use it in an appropriate dish rather than waste it. The delicious smell will disappear, I know, but you know the mantra, waste not, want not!) Use vegetable oil if you have it. What you are doing is getting the rich caramelised bits of meat from the pan.
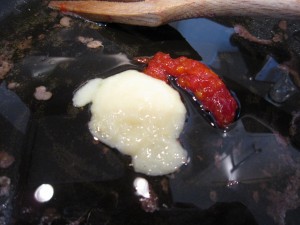
Stir in a good teaspoon of minced ginger, the smae of garlic and half a teaspoon of  chilli – here I am using the tubes of freshly minced herbs and spices a) because I have them and b) my chillies have failed this year and my ginger is dried up and horrid. They are great to keep in the fridge, ready for an emergency. Add a good splash of soy sauce to add a salty, savoury element.

And star anise. Aren’t they beautiful?

Pour the oil and meat juice mix over the meat and onions and add the star anise.

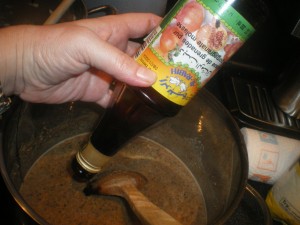
Normally I’d add Chinese rice wine but we had none left… we did have sherry though and that is a good compromise. Half a cup of sherry adds an extra layer of aromatics to the dish.

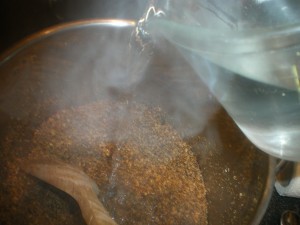
A cup of water is added to bring the liquid content up to almost the top of the onion and meat. Don’t cover it, though as that will boil it and toughen the meat. You are aiming for a lovely gravy that will cosset the meat until it relaxes into tender submission.

And that’s it. Five minutes to prepare.

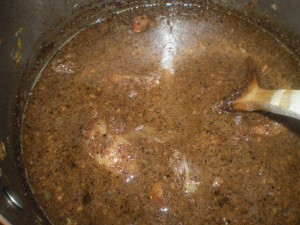
All you have to do now is to start the slow cooker, or put your casserole in the oven on a low heat and then just walk away for a few hours. Relax and enjoy the sense of anticipation.

Four hours later, the apartment smells of delicious, fragrant, spicy meat.

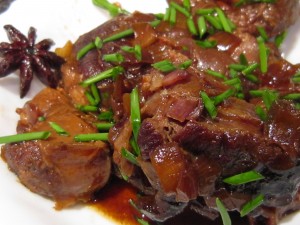
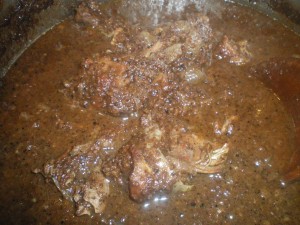
The meat is so tender it just falls apart when I lift it out with a spoon. The long, slow cooking has turned the tough meat into soft and delicious morsels.

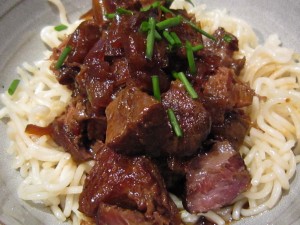
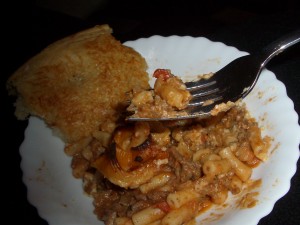
Served in a bowl on top of some noodles with a few snipped chives over the top of it and we had the perfect supper. Delicious, tasty, spicily aromatic beef piled on top of soft and filling noodles… heaven in a bowl.

It made the grey day go away and we felt warm and happy.

What more could you ask for? A meal that tasted delicious and cost £1 per serving. That’s pretty good going.


Meatfree Monday – the simplest supper ever – spaghetti with tomato, anchovy, chilli and cream.

I needed to make supper but there was only me to cook for as the Bear had gone out to eat at an incredibly smart restaurant (work, you know… ) and I just couldn’t be bothered to shop. Sometimes, you know, the thought of going food shopping at the end of a working day just defeats me. It’s not that I’m not organised, it’s that while our apartment is beautiful, it doesn’t have a large fridge so it’s not as if I can do a big shop and get everything I need for the week. I have to do little and often.  

I thought first of all that  would just have cheese and crackers but when I got in, I discovered I didn’t even have any cheese, never mind crackers. I would have to see what there was…..

I did find some tomatoes that the Bear had brought back from his Dad’s greenhouse and a head of garlic. The tomatoes were going a bit wrinkly but at least that meant they had ripened.

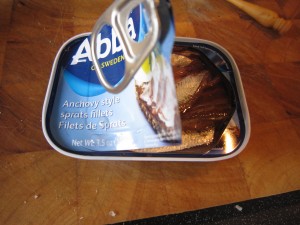
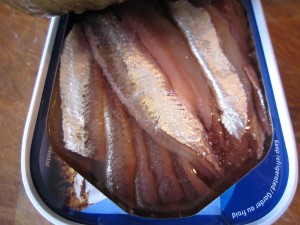
I’d previously opened a tin of anchovy style sprats (the famous Ikea sweet sprats (essential for Jannson’s temptation, possibly the world’s most succulently decadent comfort food) and had some left over

They had to be used up

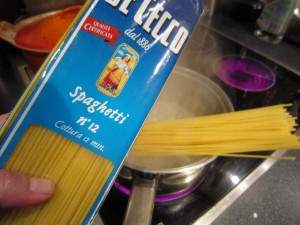
And I had some spaghetti.

I had enough for a feast! I set the water to boil and then added the spaghetti.

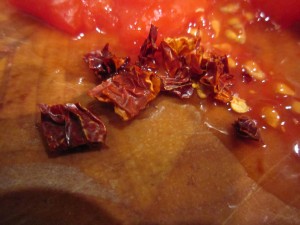
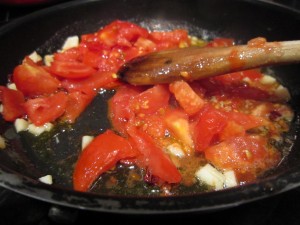
While the water was heating I chopped the tomatoes and chopped in a dried chilli

Quickly fried them together

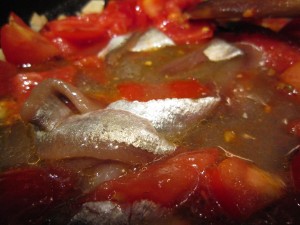
Stirred in the remaining anchovies

And then realised that there was the remnants of a pot of cream waiting to be used… would it work?

I often eat chilli, tomato and anchovy over spaghetti, but tonight I felt I needed something a little richer, a little bit more comforting. Cream would help, surely?

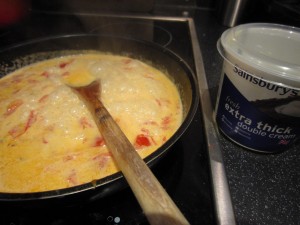
I stirred it in……it tasted delicious. Probably beyond delicious. It was a gorgeous mix of sweetness, heat and salt, all softened by the addition of cream which made it into a lovely smoothly rich sauce.

Tossed over the spaghetti it was just what I needed. It was rich and satisfying and, unbelievably, made from scraps.

And all it took was maybe 15 minutes.

Do you know, that was better than anything I could have ordered from that fancy restaurant.

Another Meatfree Monday success!

Toffee and Apple Butter Crumble

When I was at school we studied the English Romantic poet, John Keats. To this day, I can still recite many of his odes and whenever my friend J and I get together, something will trigger something in our heads and we will burst into recitation – either sonnets from Shakespeare or poetry or even psalms and verses from the Bible. It must be hard wired into our brains now and it still makes us laugh that after all these decades, the words our teachers drummed into our heads when we were little schoolgirls, still remain. It seemed so hard at the time to learn everything and now it seems we can’t forget anything! Makes us pretty good at quizzes, of course, and a source of irritation to our husbands as they weren’t taught like us Grammar School girls and they roll their eyes when we go into our synchronised recitation mode at the least provocation or reminder. We can’t help it. It just happens automatically. We must have been terrified of our teachers.

 Keats, in his ode “To Autumn” called this the “season of mists and mellow fruitfulness”  and he was right. The apple trees are bending under the weight of the apples and this morning, the first of the real autumn mists filled the valley below us. What might have seemed boring and irrelevant to our teenaged minds is now appreciated and I found myself reciting the ode as I made coffee for breakfast and gazed out of the window.

Mists certainly… mellow fruitfulness? Yes. We still had such a lot of apples from our brief foraging trip and I needed to use them.

I was going to be cooking a meal that evening for a visitor from South Africa and another colleague. It wasn’t going to be a fancy dinner but it had to be good. I wanted to show what traditional British cooking was like and prove that it is delicious. What better for dessert, I thought, than Apple Crumble? Perfectly British and perfectly delicious.

Last time I made crumble, I made Toffee Apple Crumble and it was delicious – the addition of fudge made an ordinary apple crumble something special. This time, I thought, I would use fudge again but also add the Apple Butter I made at the weekend. That would add in another layer of appley lusciousness to the crumble…..

So, I got in from work and peeled some apples. Normally I use good sized apples and allow one per person. That normally works out about right.

These were my foraged apples – not quite so big as ones from a managed orchard, so I decided 6 would do. Also, I am rather greedy and I was hoping for leftovers the next day.

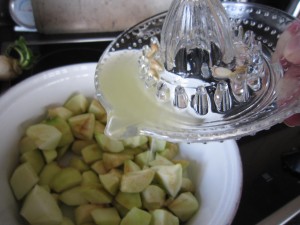
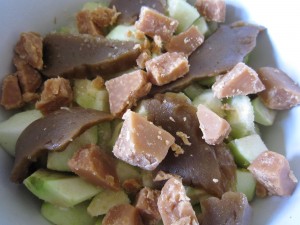
Peeled, cored and chopped, I put them in a large baking dish and sprinkled the juice of half a lemon over the bits to stop them getting too brown.

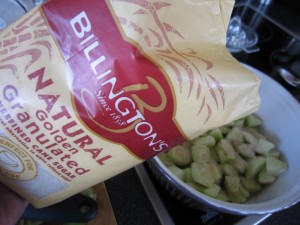
A sprinkling of golden granulated sugar over the top would balance things nicely and help make delicious juices (and I do mean, by the way, just a sprinkling. More sweetness will come from the fudge)
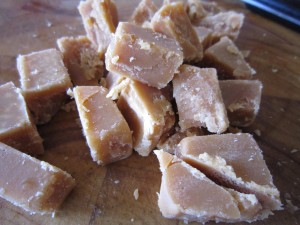
The fudge needed to be cut up too…

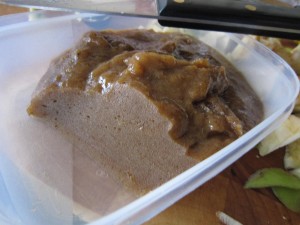
And the apple butter I made? Look how it has set… it can be cut into slices, just like real butter. Apple butter is just apples cooked slowly until their natural sugars caramelise, which is why it is a deep golden brown, and spices (cinnamon, ginger, nutmeg and cloves) stirred in and cooked with the apples.

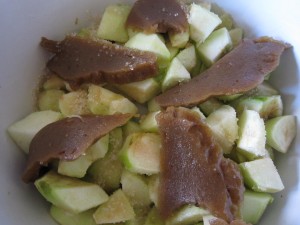
I layered some slices over the apple, knowing that when everything baked, the apple butter would melt over the apple pieces and that lovely spiced apple mix would be perfect in the crumble.

Next, the fudge pieces were scattered over the top.

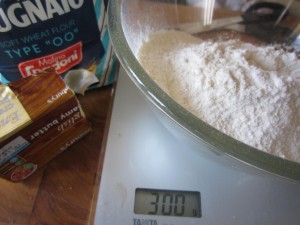
The crumble mix is simplicity itself – 300g of plain flour, 200g of sugar and 175g of butter.

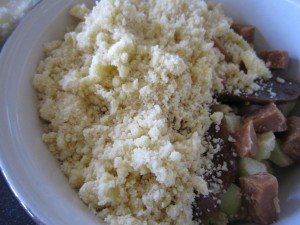
Making the crumble topping is really easy – just rub the mix through your fingers until it resembles breadcrumbs. It doesn’t take long.

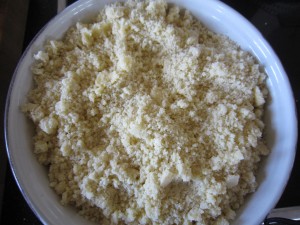
Then scatter the crumble mix over the prepared fruit and fudge.
Don’t pack it down, just shake the bowl from side to let the crumbs settle round the fruit, fudge and apple butter.

And then all you have to do is put it in the oven at 180 degrees C/350 degrees F for 40 minutes or so.

Oh, the smell of it as it cooked – there was the sweet buttery smell of the crumble itself and the sharpness of the apples and the spicy mix of cinnamon, nutmeg, cloves and ginger from the apple butter.

And what was it like?

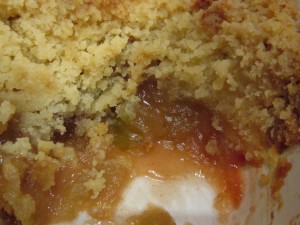
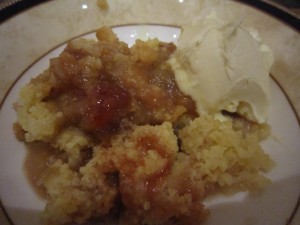
It was lovely. So lovely I forgot to take a picture of it as it came out of the oven. I just dug into it and served it up.

Served with a great dollop of extra thick double cream.

It was eaten and seconds were requested. Our South African friend said she had not wanted to go home without trying a hot English pudding, so that was good. I suppose our traditional hot puddings are famous, and rightly so.

It was a perfect pudding, it really was. Toffee Apple Crumble was excellent but adding Apple Butter as well? That made it truly delicious.

And there are no leftovers.

Beans and Egg on Toast – the Bear’s favourite homecoming meal.

The Bear travels a lot.

All over the world. And wherever he travels  he eats. He has a great time sampling different foods and styles of cooking but whenever he gets back from his travels he always asks for one thing in particular. I would and could cook him anything at all, no matter how involved or time consuming, because I am so pleased that he is home again….. and all he ever wants is his favourite.

I think it happens to us all when you have been away from home for too long. All you want is something that is inextricably tied to memories of home, something that can only be made at home… you’d never be able to get a restaurant to make it for you. They could try but they’d never get it right. Restaurants are fine… they are great in some cases but eating out every night? After a while you need something simple. Once when I had been travelling round the south of India for weeks, eating the most delicious food and learning to make dal, I was preparing to come home and all I could think about was my mother’s cooking.  In an internet cafe in Bangalore (this was only a few years ago but BlackBerry’s weren’t on the market yet) I emailed work and asked the lovely Lolly to phone my Mum and tell her I was on my way back and to please make fish pie for my homecoming! And when I eventually got back, there it was, delicious and perfect and exactly what I needed after so long away.
Homecoming food should be comfort food. It should make you feel surrounded with love. It shouldn’t be – it can’t be – challenging, it has to be familiar.

So that’s what he gets.

And what is it? It’s beans on toast with a fried egg. But, like the advert says, it’s not just ANY beans on toast with a fried egg… it’s the Bear’s Beans on toast with a fried egg!

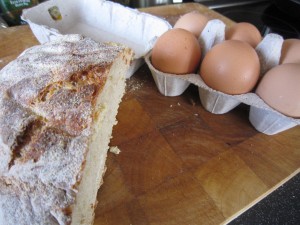
There are specific ingredients, though, that make this special. It wouldn’t be the same if I used supermarket bread, no matter what premium range it came from. It wouldn’t be the same if I used any old beans and just plonked them on the toast. And it certainly wouldn’t be the same if I used ordinary eggs and just fried them any old way.

The bread has to be made by me and it has to be No-Knead Bread because that not only tastes good but it has the perfect texture. It doesn’t dissolve when you pour the beans over it. Go and follow that link for a step by step look at making it. I have to start it the day before I need it but that’s good, when I start the bread I know my Bear will be home soon.

Those eggs? They are the gorgeous free range eggs from our local farm shop. Free range makes such a difference and the quality of their eggs reflects this. They are large with golden yolks and taste simply delicious.

And the beans? Well, they just HAVE to be Heinz.

So far so good.

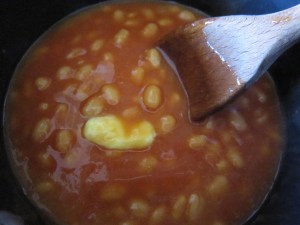
And now to start it. The thing about beans is that they can – even the best of them – be a bit watery. We don’t like that. We like them heated gently and slowly till they become rich and thick.

….. and with a knob of butter added to them to make them taste even better.

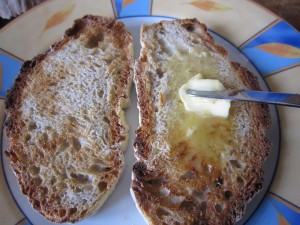
The bread has to be cut thick, but not too thick and toasted

…..before being spread with salted Normandy butter

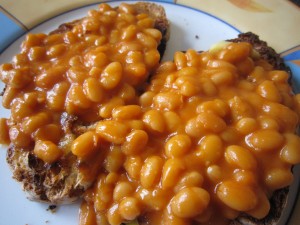
…. and piled high with beans. See how thick they are? How tasty they are too…..

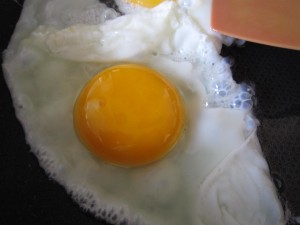
The eggs are cooked in oil with some chilli oil poured in (ohhhh… how good that makes the eggs taste. Just a bit of a bite to them!)

And then you put the eggs on top.

It really is delicious. The yolk spills out and mixes with the beans and the toast mops up all the delicious dribbles.

It still needs just one extra thing though for the ultimate, homecoming comfort food….Heinz tomato sauce……

And that’s why you can’t get that in a restaurant. 

There are so many specifics and the biggest of them all is that the cook has to make a tomato sauce heart over the top.

Perfect homecoming food that says welcome back and come on in, you’ve been missed.

Cheesy Polenta

At the end of a long and tiring week, when it gets to Friday night, I really don’t have the energy to go gallivanting around town. I must be getting old, I suppose, or maybe it is that I really like my home… my sofas, the peace and quiet, the comfort…

I want to come home, sit down and pour a glass of wine, safe in the knowledge my alarm is NOT going to go off at 5.50 am.

And of course, any glass of wine that I pour will be much better than some extraordinarily priced glass bought in a bar, so the pleasure of that  is heightened as I sit there, relaxing. Of course, it is better when the Bear is at home because then we can sit together and talk about the week… but it is pretty darn good when it is just me!
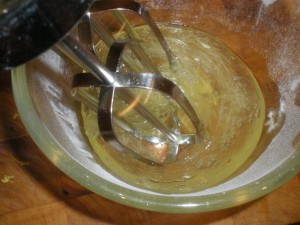
I don’t just sit and drink wine though, I need to eat, too. I need something nice and easy… I need something that will restore me after a full week’s work …. the best option?  Something savoury and delicious… it could, occasionally, be a takeaway from our local Chinese, but tonight I fancy something  carb laden and heavy on the cheese.

Cheesy polenta, in fact!

I’ve been thinking of perfecting more gluten-free dishes – my brother is badly affected (though not coeliac) and one of my dearest friends was diagnosed relatively late in life (in her thirties!) as coeliac. As I adore both of them there’s every chance that they will come and stay, so I need to be up to the mark should they arrive. The fact that A, my friend, recently moved to the USA, means she is less likely to turn up on the doorstep  but you never know.

So, tonight is not just about sheer self-indulgence – it is about making sure I can make something for my darling brother and my dear friend. The fact that sheer indulgence and a full tummy are the results… well, that is just a bonus!

First, look through the fridge for any cheese that you have – I have some parmesan that could do with being used, some cheddar that needs some surgery (just cut off the mouldy bits, that’s fine) and a lovely bit of Italian Tallegio (all soft and rich and creamy)

Get  your polenta out, and a large pan.

I always have polenta in the house because apart from using it in a polenta recipe (obviously) it is also brilliant for using to dust the outside of the fabulous No-Knead Bread 

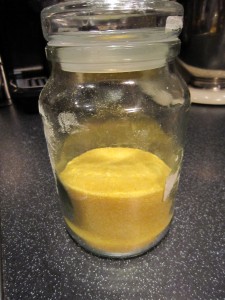
When you make polenta to eat, you will need one measure of polenta and four measures of liquid.

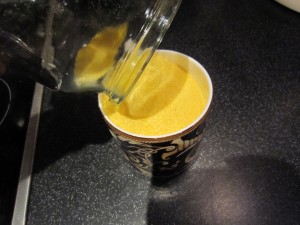
I’m just using a mug here – that’s going to make one big, gorgeous portion of polenta for me tonight… some for breakfast (don’t grimace like that, it doesn’t suit you!)  and enough to make a huge polenta flan. All of that will be revealed in posts to come. If you just want to make enough cheesy polenta for, say, four people, you will only need half a mug. (And, therefore, 2 mugs of liquid.)
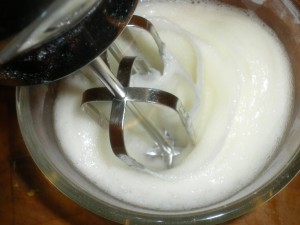
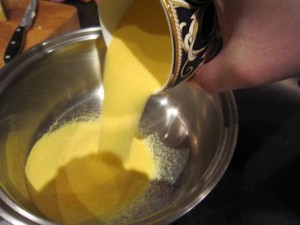
Pour it into a large pan (this will need a large pan) and then add 4 cups of liquid… I am using half milk, half water. You can use plain water… but I am going all out for luscious comfort tonight.
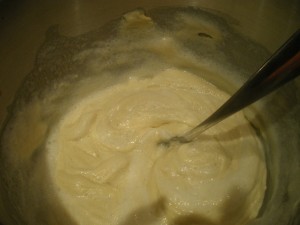
Stir it round so it mixes smoothly and start heating it.

Polenta is rather lovely to make… I  stand there, quite calmly, stirring. It is almost a meditative experience.

Do be careful though – it is so thick that when it gets up to the boil it has a nasty habit of spitting violently at you, if you aren’t stirring it.

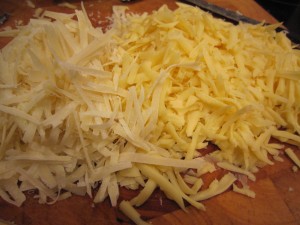
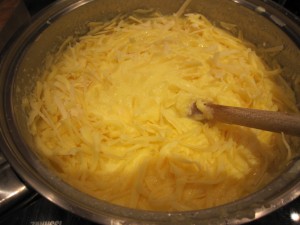
Grate your odds and ends of cheese. I dare say an Italian person might have ideas about what sort of cheese, but I am being very economical and using up all the bits and bobs in the fridge. There’s that cheddar I told you about and some parmesan…. you are looking for a huge mound of cheesy goodness.

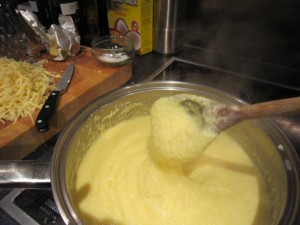
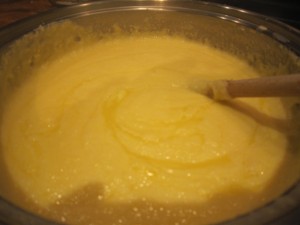
By now, the polenta will have thickened beautifully and be glugging away – when you lift the spoon and drag it, it will leave trails behind it.

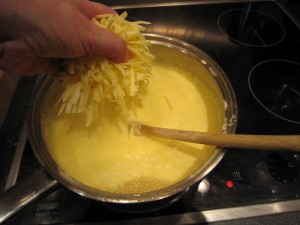
Now add handfuls of cheese

Stir it in… all of it

.. and watch it melt into the polenta.. becoming part of the polenta….

And, as I believe I may as well be hung for a sheep as a lamb, I drop in a chunk of butter and watch that melt into swirls…

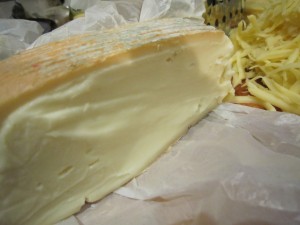
Remember I said I had some Tallegio? It’s a beautifully soft cheese with a rind

I don’t want to stir that in but I do want it in there… so what I do is cut a slice

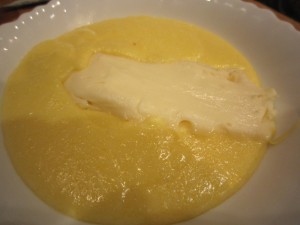
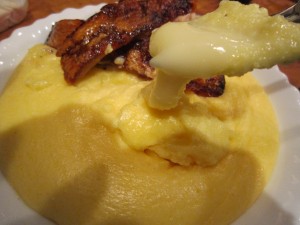
and after putting some hot and steaming polenta into a bowl… lay the slice on top and then cover it with more polenta.

Imagine that – a beautiful, creamy, extra cheesy surprise, melting secretly in your bowl….

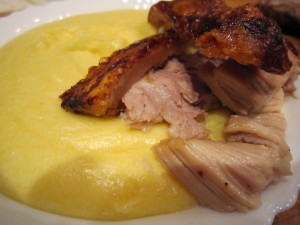
Now, polenta by itself is a delicious supper, but I happen to have some roast pork with crackling left over… so a slice of that on the top will be perfect. Those that don’t eat meat will still be ecstatic at a bowl of polenta

Well!

And that Tallegio? Look how it has melted perfectly.

All you have to do now is return to the sofa, bowl in hand, and tuck in.

Friday nights, eh? Who needs to be rocketing about town, spending lots of money when you can be at home eating polenta?

Lasagne loveliness

You know sometimes when you feel like no matter what, you deserve a treat? Yes, I have been good on my diet and yes, I have lost weight… and yes, I would have carried on with it. In fact, I have every intention of going back on the diet. But not tonight.

The constant snow and darkness, now followed by the miserable rain; the cold and disruption to everything is getting everyone down. Added to that, the nasty fall where I banged my head…

Oh and my camera has broken. I have to use my BlackBerry, or the Bear’s camera. And I had just (as in the day-before-just) bought a new battery, and two chargers (one for the car) for my camera. Insult piled upon injury!

Well, do you really think that some steamed vegetables, say, or maybe some celery would make me feel better?

Or would this…….?

A steaming dish of lasagne… or as the lovely Saucy Smith , from lobstersandwich calls it, Faux-sagna. Read her description and recipe and then you will see why I just had to do it….

Hot, steaming pasta with delicious ragu, bound together with a cheesy bechamel sauce?

Easy to eat…. so very easy to eat while curled up on a sofa…. perhaps with some garlic bread?

Surely, after the week I have had… and the bump on the head that I got, it would be not only right, but, in fact, eminently sensible to have lasagne? I’d been reading how Saucy made her her free-form lasagne and it seemed so right.

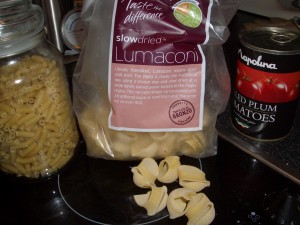
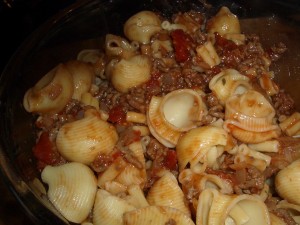
The essence of this recipe is that you don’t use pasta sheets and build it up.. you use what you have and you make it quickly. Saucy used penne but I didn’t have any. I had half a bag of lumaconi and a jar full of macaroni. I could work with that. I’d have to… I just needed  to put the two sorts together to get enough.

I had some beef mince in the freezer, some tinned tomatoes, some Parmesan cheese. I had half a pint of milk. I had two eggs. I had everything I needed!

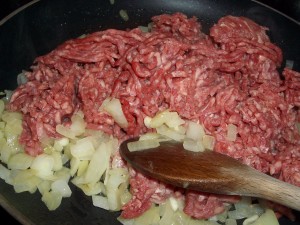
First of all, saute some onion until it is soft and fragrant, then

…add the mince and brown that off.

Take the pan off the heat.

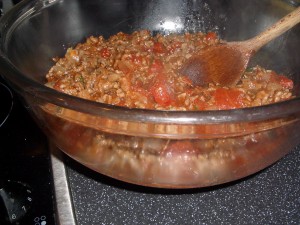
Add the chopped plum tomatoes and stir it all round

And put it all in a big bowl and mix it round.

While that was going on, I had cooked the pasta… I had to do it separately as I was using two different sizes. Big bits first, then while they are draining, do the littler bits of macaroni.

That only takes a few minutes, just drain each pan full and let it dry off.

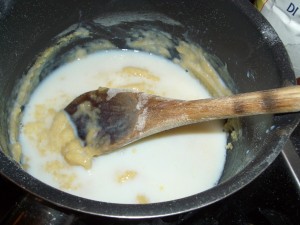
While that’s drying, make the cheesy bechamel sauce.

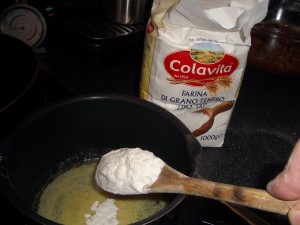
To make a good base bechamel, you need equal quantities of butter and flour.

 I like to use Italian ’00’ flour, which is extra fine. (I make pasta from it when I have the time, but today is not the day for that)  If you haven’t got the Italian flour don’t worry, just use plain flour.

I melted 30g of butter and then stirred in 30g of flour.

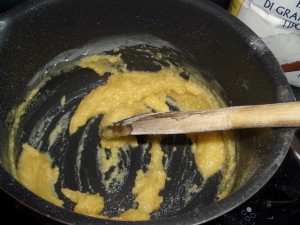
This really is the work of moments… a gentle stir round to bring it together, let it cook for a couple of minutes or so then start to add milk.

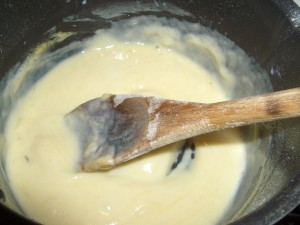
Lumpy? Yes, of course, but it just needs you to stir it quickly, consistently and well until it becomes a smooth and silky sauce

Keep going and add the milk slowly. I used the half pint. I wanted it to be thick and creamy. A sprinkle of salt and a grating of pepper freshens it up.

Once it is smooth, add handfuls of finely grated parmesan – I used maybe 80g because that was what I had (and I did need some for something else…)

The thing is, you must taste it. Does it suit you? Do you like the taste? You’re the one that is eating it.

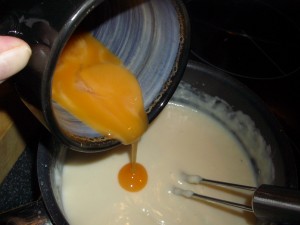
Take it off the heat and add a couple of egg yolks (the whites can be used maybe tomorrow in scrambled eggs or an omelette. Tomorrow is another day, another meal)

Stir it in, making the sauce rich and delicious.

The rest of the grated parmesan?

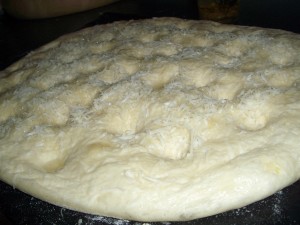
Just to prove how quickly this can be done, I had started making some foccacia when I was getting the other ingredients together. Possibly the easiest bread to make in a hurry.

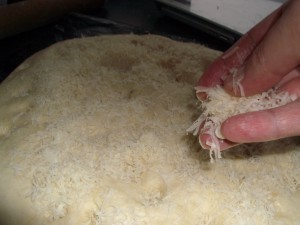
I tweaked it by adding chopped garlic to the dough so it was kneaded through the dough (at Christmas I made it with snippets of bacon on the top and garlic puree in it ) and then,  when it was beautifully plumped up, I scattered the fluffily fine grated parmesan over it.

That can bake when the lasagne goes in to the oven.

That’s not a great photograph but that is using my phone… trust me, it is beautifully bouncy and when I prodded it with my fingers they just sank in, the dimples just ready and waiting for a drizzle of oil.)

Back to the lasagne…

That mixture of pasta will have dried off by now so add it to the bowl with the meat and tomato mix

(Actually I am liking the look of this with the two different sizes)

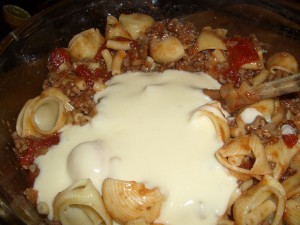
Then, pour three quarters of the cheesy bechamel into the bowl and stir it through.

Don’t use all of it… I said, three quarters. The rest has to be blobbed on the top, so you must leave some

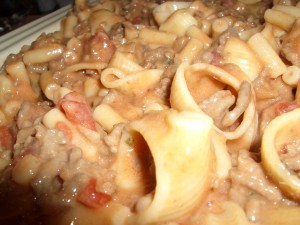
See how it makes a creamy, tomatoey mix?

How it seeps and fills the pasta?

Butter a good sized baking dish and pour the mix in

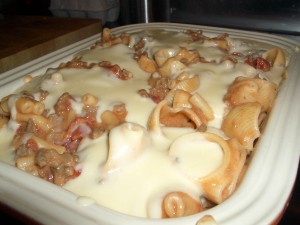
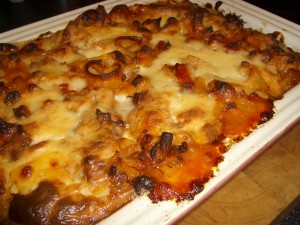
Then blob what is left of the bechamel over it. Don’t cover it… this is a random splodging of sauce!

Oven on…175 degrees

Free-form lasagne in on one shelf, foccacia on another

Quickly wipe down the benches, open some wine and prepare for bliss

The bread will take about 15 minutes and the lasagne maybe 30. That’s good because it means the foccacia has time to cool slightly before you start eating it.

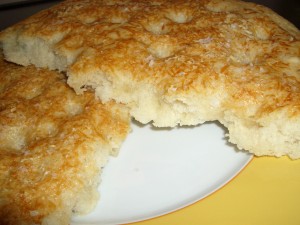
Break the bread so you can both get at it

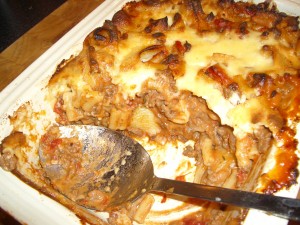
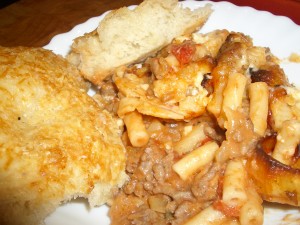
Get the lasagne out and scoop out a big bowlful

(Do you like the sound, as I do, of a spoon pulling up a portion… that first spoonful comes out with a sort of sucking popping noise.. maybe a sticky squelch… you know what I mean? It just tells you this is going to be good)

That’s not a great photo but I have to say, there’s only so long I was going to stand around, pointing my phone at it, while I breathed in the smell of lasagne.

There were delicious little morsels of macaroni and big shell like lumaconi, filled with a glorious mix of meat and tomato and cheesy bechamel.

Lovely garlicly, cheesey foccacia alongside it.

Now THAT made me feel better.

Sabrina’s Chicken

When I was much younger, I took it into my head to have an adventure and set off to Morocco. I travelled around on ordinary buses, with chickens in boxes on the racks and priests blessing both the journey and the travellers. I ate at roadside cafes and in back street restaurants.  I slept on rooftops of village houses in the Anti Atlas mountains and shared food with the people who lived there.

It was my first real adventure and it was so exciting. The food was so vibrant, so different to anything I had eaten at home – you have to remember this was twenty years or more ago and for a girl from the north of England it was an entirely new world.

Ever since then I have always been intrigued by Middle Eastern and North African food and adore the complex layers of flavours and spices, so whenever I see something new I am irresistably drawn towards it.  I was reading Sabrina Ghayour’s Persian recipes on Foodepedia and spotted Koreshteh Fesenjan and knew that this was going to be next on the agenda.

Koreshteh Fesenjan is chicken stew with walnuts and pomegranate molasses – and the way Sabrina described it made me long to eat it.

I wanted to do it so much that instead of waiting until I got boneless chicken thighs as she suggested, I just took the only pack of chicken I had in the freezer and sorted through the larder for walnuts and my pomegranate molasses.

It didn’t matter – it was delicious… so delicious I think you ought to make this, so get your ingredients ready – Sabrina’s recipe feeds 6 to 8… what I’m doing will feed half that. There was a reason for that – in my greed and eagerness, I knew I had all of the ingredients, just not enough of them to make as much as she did.

That was OK. though. There were only the two of us and while we routinely have a second helping the next day we might not be wanting to eat it the day after that as well.

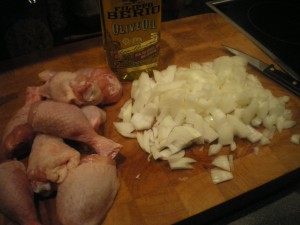
Get some chicken thighs  – you can buy a packet of them,  already skinless and boneless, (which would have been a better bet than the chicken legs I found, but what the heck!)

Chop a couple of onions

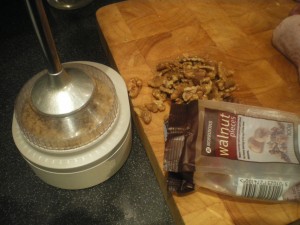
250g of walnuts – that was the two and a half, nearly three bags of walnuts I had .

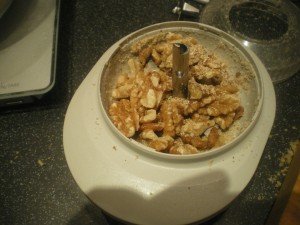
They need to be ground and as we normally buy them as walnut halves then I have to grind them.  My Bamix has a grinder attachment, so I did it with that, otherwise use a food processor, making sure the walnuts are finely ground.

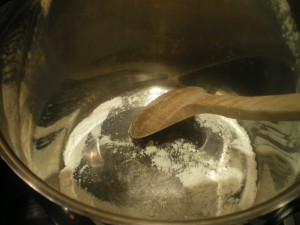
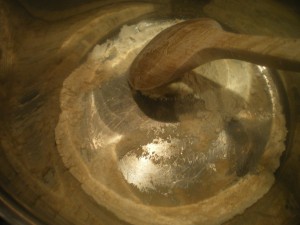
You will need two big pans for this… in the first, put a tablespoon of flour in and, over a medium heat, let it cook abit until it changes colour slightly.

See? I know it’s not a good photograph, but you can see what I mean.

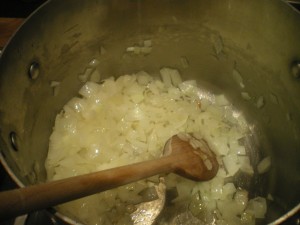
Meanwhile , in the other pan, start cooking the chopped onions in a tablespoon or so of olive oil.  You want the onions to become translucent, then add your chicken, after seasoning it with salt and pepper. Turn the heat up and turn the chicken in the onions until it is well sealed. Then turn the heat off and leave it. 

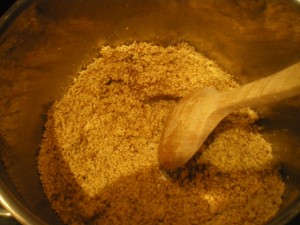
Now, back to the other pan…. add the walnuts and stir them in to the flour. You won’t need any oil as the walnuts have, as Sabrina says, a high fat content

After about 5 minutes, add a pint or so of cold water

Give it a good stir and bring it to a gentle boil then turn it down, cover it and let it bubble along for about an hour. I thought that seemed long but I was determined to get this right – it is necessary so you cook the walnuts until you see the walnut oil forming on the surface.

Then stir in a tablespoon of caster sugar and just over half a bottle of pomegranate molasses – oh, I love that. It is sweet but not sugary sweet and sharp in a tangy way. Stir it in and make sure it all dissolves properly and then….

… add the chicken and onion from the other pan and stir round.

Make sure there is enough of the sauce to cover the chicken – add some water if you ned to and then leave to cook, very slowly, for a couple of hours, stirring it occasionally to make sure those walnuts don’t stick to the pan and burn.

The smell of this is divine, it really is.

A sneaky taste every now and again (just to check, you understand) bears this out….the walnut and pomegranate sauce gets darker and the smell fills the room.

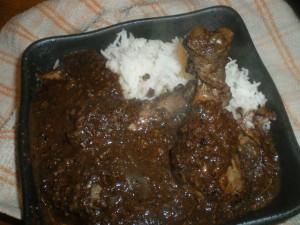
Serve with basmati rice, says Sabrina, so that’s what I do to serve with it….

And then?

Have you ever eaten anything that makes you whimper quietly with pleasure?

Oh, it was more than delicious – the texture of the walnuts, with their lovely deep flavour, mixed with the sweet sharpness of the pomegranate molasses and the softness and richness of the chicken …. it made me wonder why no one had told me about this before.

I’m making this again, I tell you. All I can say is thank you, Sabrina for writing about this in the first place.

It needs time to do it, so choose a Saturday or Sunday when the weather is bad. Lock yourself in and make this to cheer you and your loved ones and be very glad that this recipe exists.

Lemon glazed cake

There’s something very nice about a plain cake to have with a cup of coffee or tea. A plain and simple cake with a single flavour… no huge amounts of whipped cream and jam… just something to have with a hot drink. Something to change a snatched drink and a quick pause from work into a relaxing break.

Easy enough to make, as well…. I had an old recipe that I thought I might do – hence the measurements being in ounces… I have converted them because I can’t, for the life of me, work out how to get my digital scales to switch from grams to ounces.

I thought a nice plain cake with perhaps a lemon glaze would be good…

lemon glazed cake, tandoori pheasant, toffee vodka 002

 Start off by heating the oven to 180 degrees then mix

lemon glazed cake, tandoori pheasant, toffee vodka 003

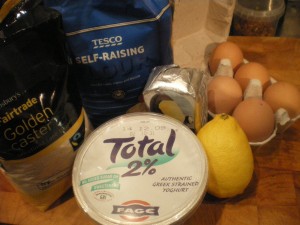
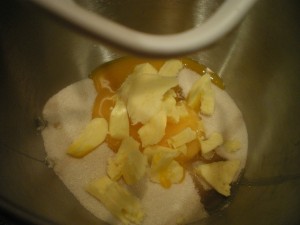
310g /11 oz caster sugar

56g/2 oz butter

3 egg yolks (you use the whites later)

Get everything mixed together

lemon glazed cake, tandoori pheasant, toffee vodka 004

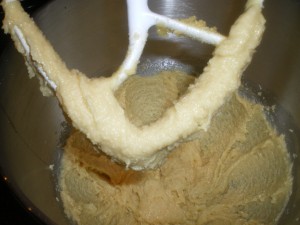
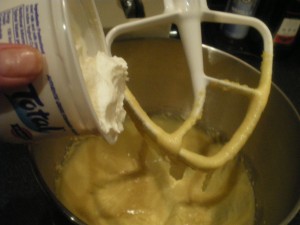
See, it is still grainy here… keep going until it is smooth.. then add  225g/8 oz of yoghurt –

lemon glazed cake, tandoori pheasant, toffee vodka 005

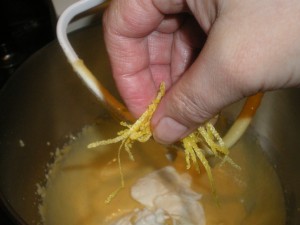
Zest a lemon and add that to the mix

lemon glazed cake, tandoori pheasant, toffee vodka 006

Stir it in gently – don’t overbeat things at this stage, then fold in 170g/6 oz self raising flour

lemon glazed cake, tandoori pheasant, toffee vodka 010

Then whisk the egg whites

lemon glazed cake, tandoori pheasant, toffee vodka 013

lemon glazed cake, tandoori pheasant, toffee vodka 014

And carefully fold them into the cake mix… start with a spoonful first to get the mix broken up slightly and then add more

lemon glazed cake, tandoori pheasant, toffee vodka 015

There you are, done.

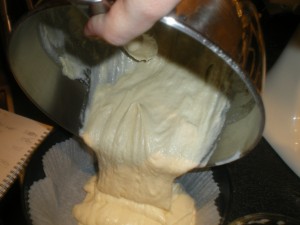
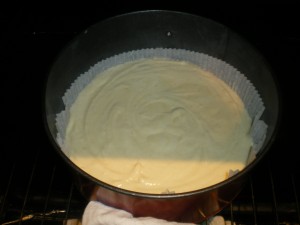
All you have to do now is pour that into a cake tin – a springform is best as you can get the cake out easily afterwards, and popping in a paper cakeliner makes it the easiest job in the world.

lemon glazed cake, tandoori pheasant, toffee vodka 017

Into the oven with it for maybe 35 minutes.

lemon glazed cake, tandoori pheasant, toffee vodka 020

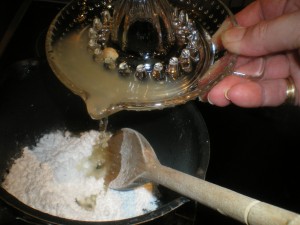
You can occupy yourself by making the lemon glaze….remember you zested a lemon for the cake mix? Squeeze it now

lemon glazed cake, tandoori pheasant, toffee vodka 022

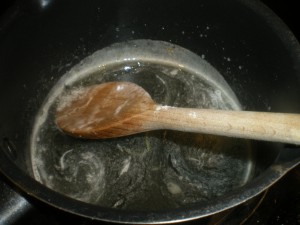
and add it to some icing sugar  in a pan and heat it through, making a lovely syrup

lemon glazed cake, tandoori pheasant, toffee vodka 026

.. which needs to cool.

You can relax now until the cake is ready to come out… stick a skewer in to make sure it is cooked and then get it out to cool

lemon glazed cake, tandoori pheasant, toffee vodka 028

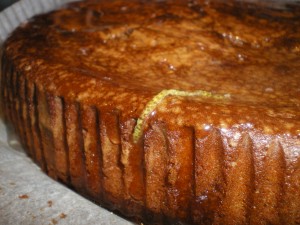
Once everything has settled… stick holes in the cake and then pour over the syrup to make a lovely glaze

lemon glazed cake, tandoori pheasant, toffee vodka 030

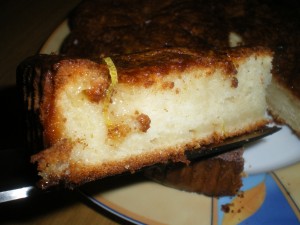
It is a really rather lovely cake, you know. Light and moist and beautifully tangy.. just the thing for a mid afternoon boost.

My boss, who doesn’t normally like cake, ate two slices and would perhaps have eaten more… but for the fact the whole thing had been polished off already. I suppose that is as good a rating as you will get for a cake.

Christmas Pudding Stuffing

Last week I got two of Matthew Walker’s Christmas Puddings  sent through the post.

woodpigeon, Christmas pud stuffing, blueberryyoghurt cake 055

The company have a competition  to win a camera and a photography course and asked  everyone  in the UK Food Blogger’s Association to have a go and invent something new using their Christmas puddings…

As the company says,

“the original Christmas pudding is based on a traditional recipe that includes 13 core ingredients, which represent Jesus and his 12 apostles.

I travel the globe to select the very finest spirits, vine fruits and seasonal spices, from a stout that is brewed right here in The Peak District to succulent sultanas and currents from Turkey and Greece.

The result is a beautifully moist and fruity Christmas pudding that truly captures the traditional taste of the festive season.”

And what exactly are the ingredients?

  • Sultanas
  • Raisins
  • Demerara Sugar
  • Currants
  • Glacé Cherries
  • Stout
  • Breadcrumbs
  • Sherry
  • Vegetarian Suet
  • Almonds
  • Orange & Lemon Peel
  • Cognac
  • Mixed Spices

Well then. With a list like that of ingredients,  I had better start thinking. I began with the little pudding. I was thinking of trying something savoury, something different….

And then I thought of stuffing. What about some lovely roast pork with crispy crackling? After all apple and apricot are perfectly normal stuffings for pork. When I talked about this at work there was a fifty-fifty split about whether this would work, probably just as there will be amongst those of you who read this.  I thought it would work… sweetly, spicy, savoury stuffing? What’s not to like about that?

The very first thing to do will be to get the oven as hot as possible to make the perfect crackling for that lovely pork… so put it on now to preheat

Then, open the pudding and smell it

 woodpigeon, Christmas pud stuffing, blueberryyoghurt cake 056

It was rich and dense and spicy and dark – as dark as the devil’s heart as we would say.

 So the next step was to make it into stuffing – first things first, start with the savoury aspect

woodpigeon, Christmas pud stuffing, blueberryyoghurt cake 064

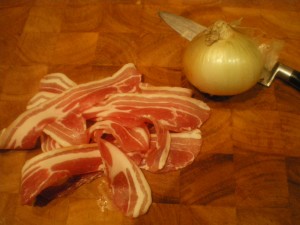
Bacon and onion would add a good savoury taste


woodpigeon, Christmas pud stuffing, blueberryyoghurt cake 070

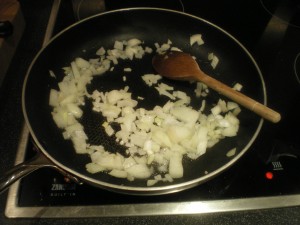
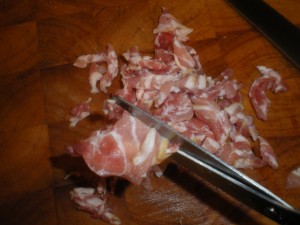
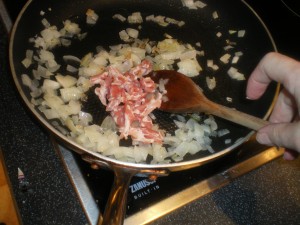
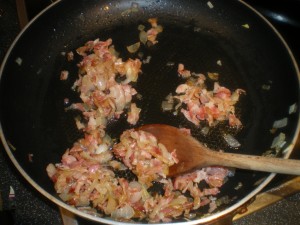
Gently fry the onion then chop the bacon (or do as I do and use scissors – much quicker)  and add that to the onion

woodpigeon, Christmas pud stuffing, blueberryyoghurt cake 072

woodpigeon, Christmas pud stuffing, blueberryyoghurt cake 073

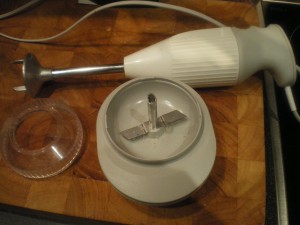
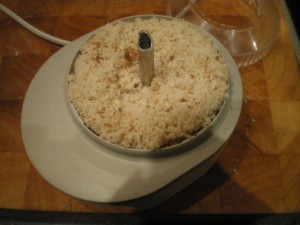
Make some breadcrumbs  – I have a Bamix and this makes breadcrumbs in seconds

woodpigeon, Christmas pud stuffing, blueberryyoghurt cake 057

woodpigeon, Christmas pud stuffing, blueberryyoghurt cake 059

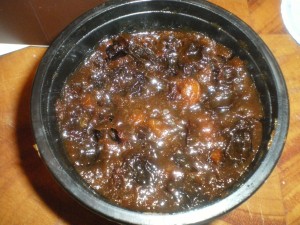
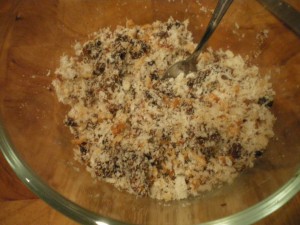
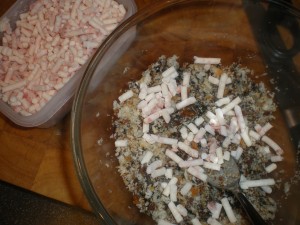
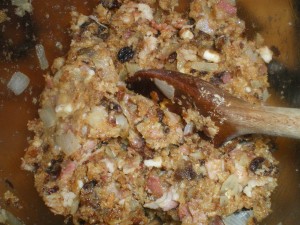
Cut up the pudding and add it to the breadcrumbs and mix it well. Adding a sprinkle of  some salt and pepper rounds things out

woodpigeon, Christmas pud stuffing, blueberryyoghurt cake 063

Some suet.. real suet from the butcher….. just a sprinkle, but imagine how that will make it taste….

woodpigeon, Christmas pud stuffing, blueberryyoghurt cake 074

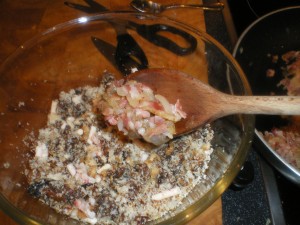
Once the bacon and onion have cooled slightly, stir that in as well

woodpigeon, Christmas pud stuffing, blueberryyoghurt cake 077

woodpigeon, Christmas pud stuffing, blueberryyoghurt cake 078

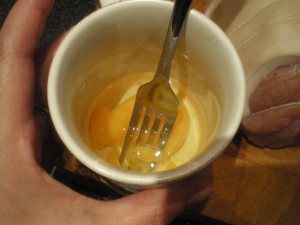
Then mix an egg lightly

woodpigeon, Christmas pud stuffing, blueberryyoghurt cake 080

And add that – this will bind everything together and chill the mix in the fridge. Having it cool will make it easier to roll and it also means you have time to tidy the benches and give things a quick wipe down.

woodpigeon, Christmas pud stuffing, blueberryyoghurt cake 082

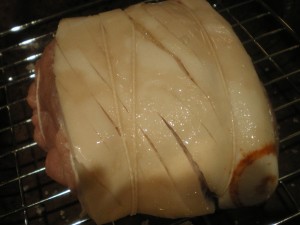
On to the pork…. make sure the skin is properly scored – if it isn’t already, sharpen a knife and slash it. Remember, the thinner the slashes the thinner and crispier the crackling will be. Massage in some oil and then rub that rind with salt.

woodpigeon, Christmas pud stuffing, blueberryyoghurt cake 087

Now, I spotted a problem… I had been going to stuff the pork with the stuffing but it wasn’t the best rolled joint…

Balls, I thought. 

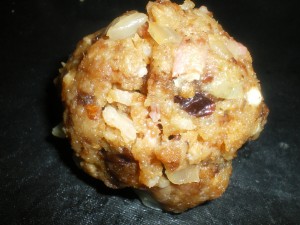
Stuffing balls, I mean, obviously! Straightforward stuffing the joint wouldn’t work, but rolling it into balls and roasting separately might just do it….

 woodpigeon, Christmas pud stuffing, blueberryyoghurt cake 085

Look how pretty they look

So, put that pork in to sear and blister. Leave that in there on the highest heat till you can see the skin bubbling, then you can turn things down and relax for a while.

I decided some nice goose fat roasted potatoes and the benefit of that would be that I could put those stuffing balls in with them towards the end of the roasting time and they could roll around in the sizzling goose fat so they become crispy on the outside and stay moist and juicy in the middle….

woodpigeon, Christmas pud stuffing, blueberryyoghurt cake 093

So, things were progressing well….once the potatoes were starting to turn golden, in went the stuffing balls

woodpigeon, Christmas pud stuffing, blueberryyoghurt cake 092

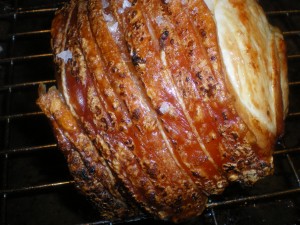
The meat was taken out to rest… look at that crackling

woodpigeon, Christmas pud stuffing, blueberryyoghurt cake 094


And then…. put everything together…

woodpigeon, Christmas pud stuffing, blueberryyoghurt cake 099

In conclusion? I was right. As a festive stuffing it hits all the right buttons.

The stuffing balls, born from necessity, are probably the better way to go. The outside crisps up beautifully, while the inside stays juicy.

And… this might be noted as a guilty pleasure… I got in from work the following night and nibbled one… even cold it tasted gorgeous!

And the Bear’s verdict? He ate everything and then asked for pork and Christmas Pudding stuffing sandwiches for lunch. I guess that means he likes it too.

Make them, this is a recipe to remember and use.

Oh and thank you, Matthew Walker, that pudding is a real Christmas cracker     😉

Eggs for breakfast?

When it comes to weekend breakfasts, there’s something very nice about having eggs of one sort or another. I was a bit bored with scrambled eggs and boiled eggs didn’t quite seem to hit the spot and what about fried eggs? Well, you needed bacon to go with fried eggs. What if you didn’t have bacon? What could you do then?

I liked the idea of baked or coddled eggs, where eggs are cooked in a little pot, usually in a bain marie in the oven. Thing about that was, first of all, I didn’t possess an egg coddler and secondly, even if I did, I didn’t want to be standing around in the kitchen waiting for the water to gently simmer round my little pots. I like breakfasts to be good and tasty I know… but I don’t want to spend hours trying to do it.

Normally I use the microwave only rarely – to reheat vegetables say or defrost something  – but I wanted to work something out. Eggs and microwaves can be tricky with the yolk going rubbery and the white staying runny. Not an appetising start to anyone’s day.

You wouldn’t believe the amount of times I tried this. You wouldn’t believe the variable results I have had from this… but now I can finally share with you one of our favourite Sunday breakfasts. A breakfast that can be made in just about ten minutes and then taken back to bed to eat while you read the papers and enjoy the fact that it is Sunday.

And what do you need?

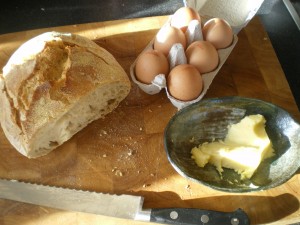
220See that bread? That’s No Knead Bread, that is. Brilliant for using with Eggies because the bread has a great strong texture that holds the eggs well. And that butter? Well, I made that too!
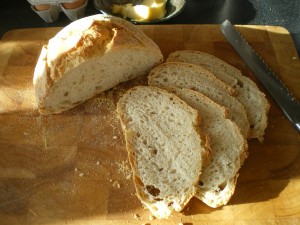
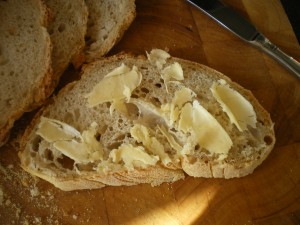
In my many experiments I realised that while eggs can go in the microwave, they need some kind of insulation in the pot to stop the dreaded rock hard yolk scenario which clashes so badly with the gloopily wet white.

So, first of all, slice some bread

221

Then scrape some butter over the slices… this sort of waterproofs the bread

222

(The butter was straight from the fridge so it was hard, but really these are thin scrapes of butter)

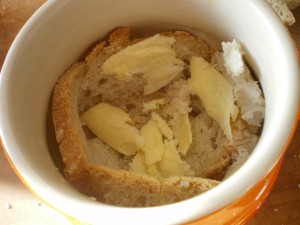
Then, using a small pot with a lid, roughly line the inside with the bread

224

The aim is to get a layer of bread round the outside of the pot so the eggs can drop into the middle. If you have any cream, just put a spoonful in the bottom with a pinch of salt

227

Then, crack in a couple of lovely eggs….

228

See how the eggs are kept in the middle of the pot? Protected by the bread?

You can put another teaspoon of cream on the top and then… well then you scrape the tiniest anount of butter over the rest of the slices of bread, sprinkle with salt  and lightly put the bits of bread on top – no pressing down! You are making a little lid for your bread liner

232

233

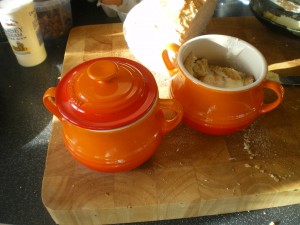
Then, lid on and then put one at a time in the microwave.

First of all – ONE minute on medium and then 30- 40 seconds on high. Take out the pot and do the other one…..

They will still cook a little bit in the residual heat.  Lift the little bread lid and look…

234

You can see the white is cooked… but what about the yolk?

Well, The Bear, being devoted to tomato sauce insists on his egg being squirted with it and then he shoves his spoon in….

237

PERFECT!  Breakfast in less than ten minutes… 

Benefits? You have sort of baked/coddled Eggies; with no messy frying, or boiling, or poaching;  using the timer so you can lean against the bench while your cup of tea brews…. and the Eggies are cooked in the pot you eat them from, saving you washing up later!

It’s not the most elegant of breakfasts but it is fast and tasty and oh so comforting. The kind of breakfast a person might need if they had had a lively night and needed something restorative…….. some of you may know the feeling……