Cheese and Sweetcorn Scones

When I made the delicious Roasted Garlic and Marrow Soup, I wanted something to go alongside the soup to make it a substantial lunch as I knew we weren’t going to be eating until late that night. What better, I thought than a savoury scone? One still warm from the oven? Maybe a good cheese scone would be just the thing.

Those of us who are British will know what I mean by a  scone – it’s what American’s call biscuits. What they call cookies, we call biscuits. Confusing, eh?

(A scone is an essential part of a British tea and  as Wikipedia points out ” According to one academic study, two-thirds of the British population pronounce it /?sk?n/, rhyming with “con” and “John”, with the preference rising to 99% in the Scottish population. The rest pronounce it /?sko?n/, rhyming with “cone” and “Joan”. British dictionaries usually show the “con” form as the preferred pronunciation, while recognizing that the “cone” form also exists”. I say “skon”  and as my husband will tell you, I am invariably right……..)

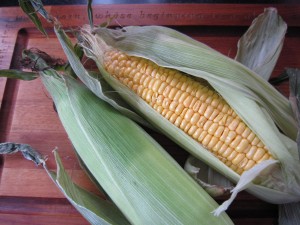
When I walked to the local shops I saw that the greengrocer was selling corn on the cobs, locally grown.

I knew from experience that these were sweet and delicious so I bought a couple. I’d seen a recipe in Good Food for cheddar and sweetcorn scones  so I thought this was the ideal opportunity and recipe to try out. I got some really good Cheddar from the Farm Shop and came home, knowing that it wouldn’t take more than half an hour to get them made.

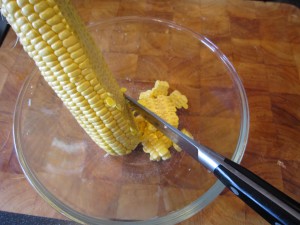
The first thing to do was to cut the sweetcorn kernels off the cob. The easiest way to do this is to stand the cob in a Pyrex jug or bowl and run the knife down so the kernels fall into the jug. If you don’t do this then the kernels scatter everywhere. I know this because I have done it. What that means is that you then waste time looking for the sweeping brush and clearing up the mess. Do it in a bowl or a jug, eh?

It’s quick and its easy.

The next thing is to cook the kernels quickly. I  put a knob of butter in the bowl and microwave them for a couple of minutes if I am serving the corn as a side dish, but as these were to go into scones I decided that a small amount of water would do just as well. Adding extra butter to the recipe would skew things. It will only take a couple of minutes and then you can drain them, ready for the next step.

Start by heating the oven to 220 degrees C/430 F.

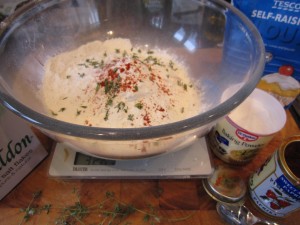
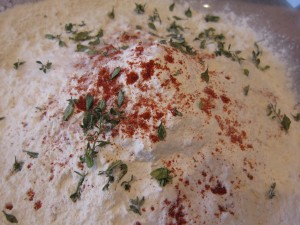
Mix, in a large bowl, 350g self raising flour, 1 teaspoon of baking powder, ½ teaspoon sweet smoked paprika, 1 teaspoon of salt  and some thyme leaves.

The original recipe called for mustard powder too, but mustard is one of the Bear’s Big Hates so I tend to avoid it whenever possible.

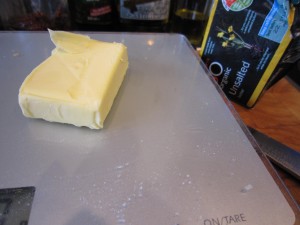
50g of unsalted butter must then be rubbed through until the mixture looks like fine breadcrumbs.

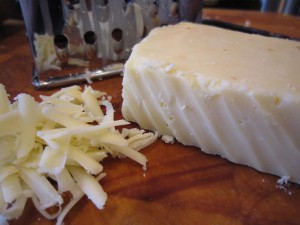
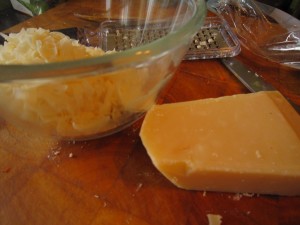
Grate 175g of good strong Cheddar cheese and add most of that to the flour mix.
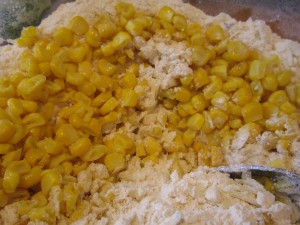
Add all of the cooked and drained sweetcorn and mix it all well, so there’s an even distribution of ingredients.

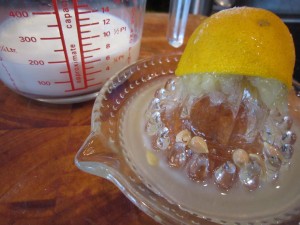
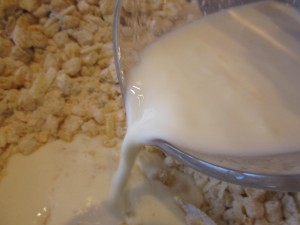
Add the juice of half a lemon to 175ml of semi skimmed milk.

My mother always used to save soured milk for scones when we were little… which makes me wonder, did milk go off more quickly years ago? I hardly ever have soured milk nowadays. maybe it is that fridges are better?

So, with no soured milk available, lemon juice does the job.

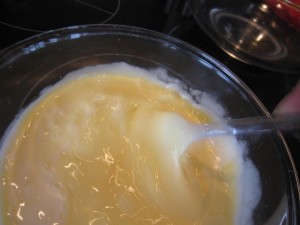
You can see that the milk looks almost lumpy… the lemon has acted on the milk, souring it and that’s the way to get perfect scones.

Mix it all together.

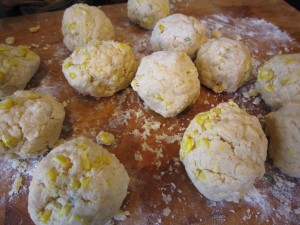
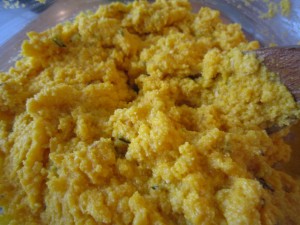
The dough will be sticky, but don’t despair and DON’T faff about with it. You need minimal interference for scones, otherwise the gluten in the flour toughens then and you end up with hefty, solid lumps, when you were wanting light and delicious morsels.

Sprinkle some flour on the board and knead the dough briefly so it comes together.

Make into 10 or 12 little balls by roughly rolling them.

Flour a baking tray or a silicone sheet on a baking tray and put the scones on.

Brush them with some milk, then scatter them with the rest of the cheese, some paprika nd any remaining thyme leaves.

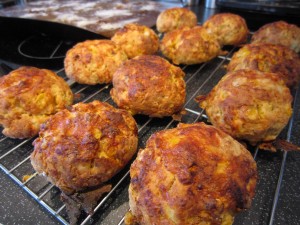
Into the oven for 10 to 15 minutes until they are risen, golden and sound ready… that is, when you tap the bottom, they should sound hollow.

And just look at them!

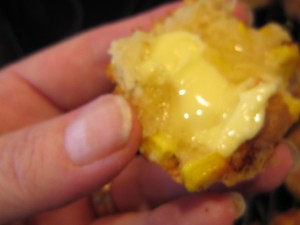
Of course, we had to try one with some butter to see how they were……..

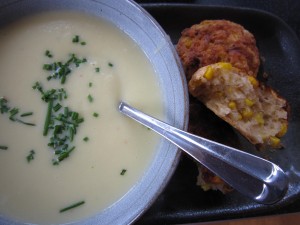
Before I served them with soup for lunch.

A perfectly light and deliciously tasty scone makes a great accompaniment to soup and now that the weather is changing I’m going to be making a lot more. Whyever wouldn’t I when in half an hour I can have beauties like these emerging from the oven?
Meatfree Monday – Roast Garlic and Marrow Soup

It’s the time of year when everyone who gardens starts to look around for people to take their extra produce off their hands. There are messages at work telling people if they want apples or pears they can help themselves, people come to work carrying bags of fruit and vegetables and we all start to look for recipes to use up the glut. This week’s harvest is vegetable marrow.

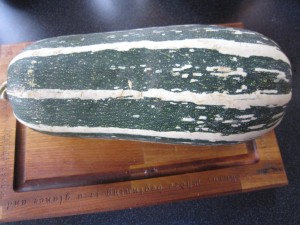
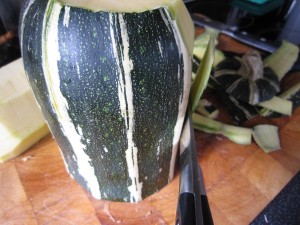
Vegetable marrow, for those of you who aren’t British, are a kind of squash with a very pale, slightly sweet flesh. They are quite large, as you can see – that’s one lying across my large chopping board – and when they are ready for harvesting, there are bound to be lots of them. That’s quite a lot of marrow to deal with.

I need to think of something tasty and warming. I also need to keep an eye on the calorie count. It’s so easy to go wild when the weather turns cold and treat yourself with calorific goodies. I want the best of both worlds – rich and delicious as well as low calorie and healthy.

The weather is changing and this weekend has been very grey and miserable. The temperature is dropping and the winds are picking up. Looking out of our windows I can see rain coming down on the horizon and it is moving our way. I want to stay inside and be cocooned in warmth and comfort.

Soup, I thought. A big bowl of silky, tasty soup. That was what I needed.

Now, vegetable marrow has a very delicate flavour that can, if handled badly,  seem insipid. What I wanted to do was enhance its lovely sweetness and one way of doing it is to add roast garlic to the soup. Garlic, when roasted, develops a lovely sweetness of its own and it works well with the pure taste of the marrow.

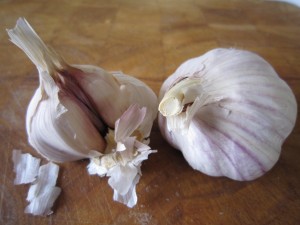
So, first roast your garlic. I have one and a half bulbs, which might seem a lot but once garlic is roasted gently it loses its pungency and becomes almost sweet.

Heat the oven to 200 degrees C/390 degrees F.

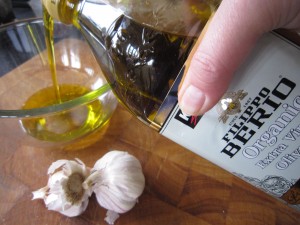
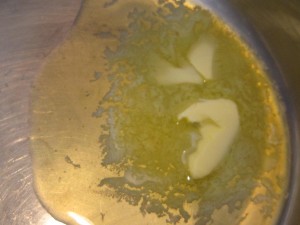
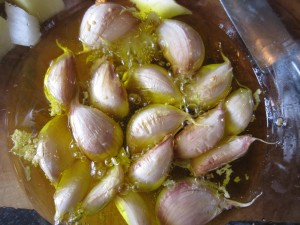
While the oven is getting to the right temperature, pour some olive oil into a heatproof bowl. You need enough to cover the cloves of garlic, but don’t worry – once the garlic has cooked gently you can save the oil to use again. Not only have you made a necessary ingredient for your soup but the by-product is a gorgeously flavoured garlic oil that you can use in all sorts of things later.

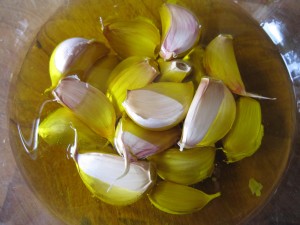
Separate the cloves, removing the outer layer but leave the skins on. Put them all in the bowl with the olive oil, making sure there’s enough oil to cover the cloves and put the bowl in the oven for 10 to 15 minutes.

While that is cooking, get started on the marrow.

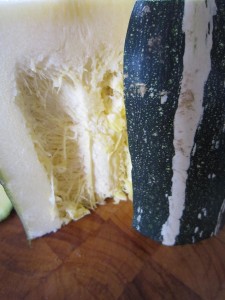
The skin of a vegetable marrow is extremely hard so the only way to peel it, I found, is to cut the marrow into manageable pieces and then cut the skin off.

Scoop out the seedy, fibrous middle and cut the flesh into cubes.

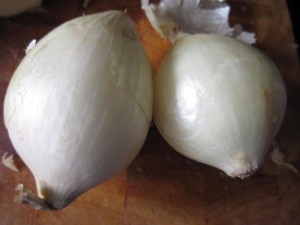
I wanted to emphasise the sweet and aromatic flavours in the soup, so I chose sweet white onions for the base.

A good tablespoon of butter was heated in a large pan. And when I say large pan, that’s what I mean.

Until the marrow cooks down you will end up with what seems like an enormous quantity so use your biggest pan.

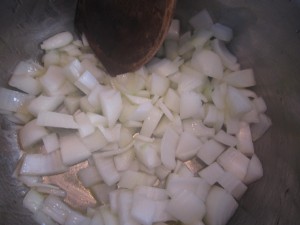
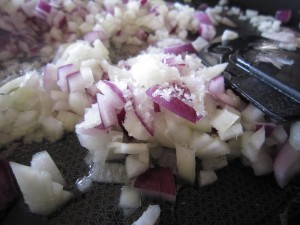
Peel and dice the onion and start to soften it gently. Add a pinch of salt to keep the onion soft and white. You don’t want burned or browned onion as the final soup is a lovely pale cream colour.

By now, the garlic will be cooked so take the bowl out carefully and remove the cloves of garlic with a slotted spoon so they can cool enough to be handled. Remember to keep the oil and bottle it when it is cooled so you can use it later.

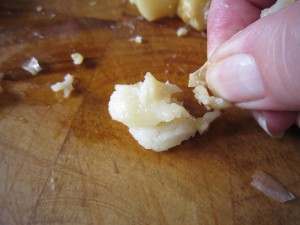
Once you can touch the garlic cloves easily, snip the end off the papery outside covering and squeeze out the soft white inside.

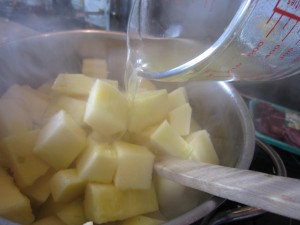
Add the garlic, the marrow and a pint and a half of vegetable stock.

Add a small amount of chilli. I get those tubes of chilli, ready prepared, and keep them in the fridge. Very labour saving and, seeing as this year’s chilli harvest has been a dismal failure to date, an absolute god-send.

Stir everything round, bring to the boil, then cover and simmer gently until the marrow is soft.

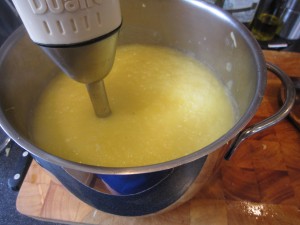
Whizz the softened marrow mix to a smooth consistency.

You’ll see that it looks rather watery and it needs something to pull it together into a rich and delicious soup.

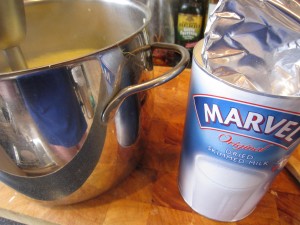
And this is it.

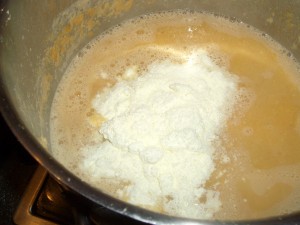
Dried skimmed milk powder. Almost totally fat free.

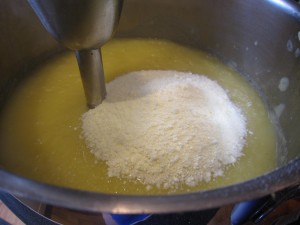
Adding a ladle full of Marvel will make the soup taste rich and creamy with negligible addition of fat. Trust me, this is a brilliant way to make soup taste like it is made with cream. You have plenty of liquid already in the soup base, the milk powder dissolves into that  and enriches the whole pan without adding extra liquid.

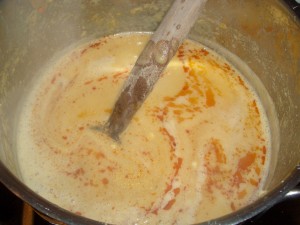
Whizz it round and you can see the texture change from  an almost granular in appearance puree, to a smooth and silky soup base.

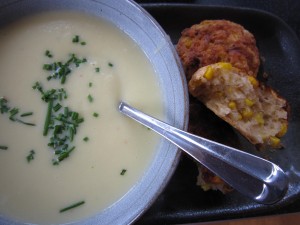
Snip some chives to go on the top of the soup and serve it up.

That was, when served with some savoury scones, absolutely gorgeous.

Each big bowl of soup contained minimal calories yet it felt as rich and luxurious as if it was made with double cream. Of course, if I had been really serious about cutting calories I wouldn’t have made the scones as well…. but hey ho. It’s a start, isn’t it?

Moroccan meatballs with egg

I was on a roll with making food from my 400 and Under collection of recipes. I always look out for recipes that provide less than 400 calories per serving because that means we have some leeway with having a glass of wine, say, while still keeping our calories down and, therefore, still (theoretically at least) sticking to a diet. The thought of Moroccan spiced meatballs with egg in a delicious tomatoey sauce seemed too good to be true – a rich and delicious supper that would only add up to (according to Good Food Magazine, where I found the recipe) a mere 377 calories per serving.

It’s diet food! And it would be delicious. Who wants to live on cottage cheese and celery when you can have a gorgeous steaming bowl of meatballs? Meatballs in a tomato and chickpea spiced sauce with a lovely egg cooked in there…….I had everything I needed so I started by chopping a small sweet white onion and a small red onion. That’s because the recipe said one onion… and these were more midget sized onions.

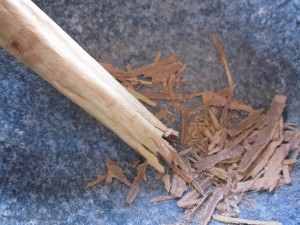
They went into the frying pan to soften while I started on the meatballs themselves. I did have one problem – I had no ground cinnamon and I needed that for a real Moroccan hit. I love the smell of cinnamon (and having made this recipe once, the next time I will add more cinnamon) I did have, however, cinnamon sticks and a large pestle and mortar…

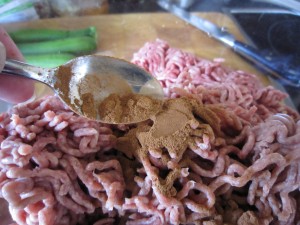
Quite therapeutic to bash and grind the cinnamon into a soft and fragrant powder. But possibly easier to buy it ground…..? I did manage to get some ground cinnamon but there were lots of bits of the stick left. Anyway, I did, in the end, after lots of pounding, finish up with half a teaspoon or thereabouts which I added to 250g of lamb mince.

(Having made the dish I have to say that I would, when I do it again, add more than half a teaspoon of cinnamon because I so love that rich and exotic taste and smell. If you aren’t as keen on Middle eastern flavours then just stick to the recipe)

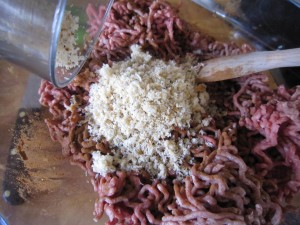
I added 50g of fresh breadcrumbs (I made them by whizzing up a breadbun I had)

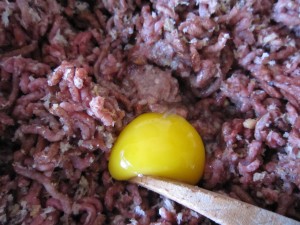
and added an egg, salt and pepper.

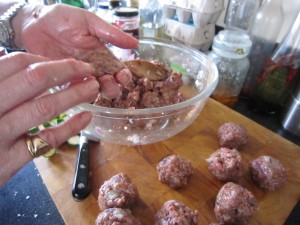
By now the onions were beautifully soft and once they cooled slightly, I stirred them in, mixed them round and started to make meatballs. The Bear was called into action… my poor Canon camera gets so much abuse with my sticky fingers but I really couldn’t subject it to meatball mix.

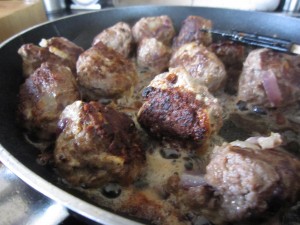
They had to be cooked in the fat left in the frying pan, turning them gently until they were browned

That only takes about 8 minutes – don’t worry, remember they do go back into the pan when you have made the tomato sauce. Take them out and put them to one side.

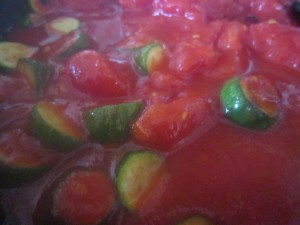
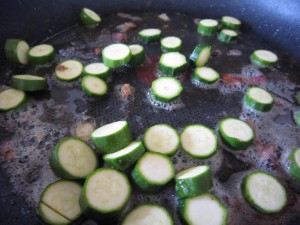
The recipe said use a courgette, thickly sliced but I only had baby courgettes, so I reckoned three of them would be the equivalent of a normal courgette… so they got sliced and gently fried for a minute or so

Before adding in a couple of cans of chopped plum tomatoes

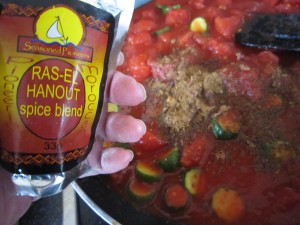
… a teaspoon of Ras-el Hanout – a Moroccan spice blend that you can buy in most large supermarkets nowadays. You can make it yourself if you can’t find it – click on that link and it takes to a description and a recipe.

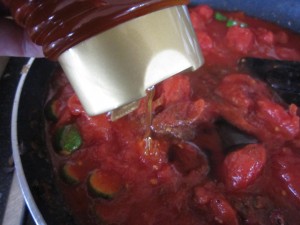
… and two teaspoons of honey

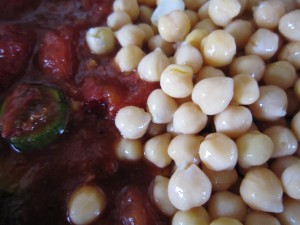
Once the tomatoey mix was soft, a tin of chickpeas was added and the stirred round

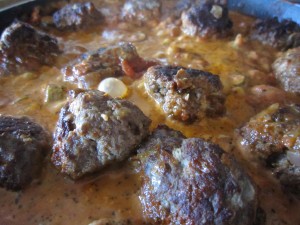
and then the meatballs put in

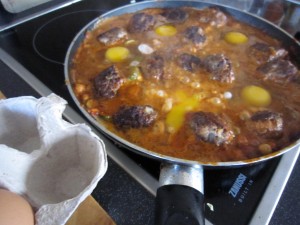
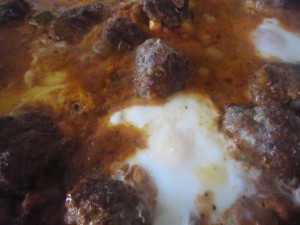
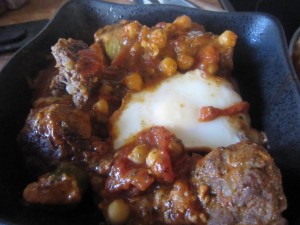
After that, the recipe said to make four hollows in the suace and crack eggs into them… I couldn’t really manage – maybe my sauce wasn’t thick enough? – anyway, I broke the eggs in and pulled the sauce away from underneath so the raw egg dropped down into the sauce.

The pan was covered for 5 minutes or so and left on a low heat to set the eggs……

And it was delicious! The cinnamony richness of the meatballs was perfect with the spicy tomato, chickpea and Ras-El Hanout spices and the beautiful egg was the perfect addition in terms of difference in texture and taste.

This is definitely something we shall be cooking again… and it was on our diet! Less than 400 calories per serving….if you stick to one serving that is….oh, it is delicious!

As Good Food doesn’t have a link to the recipe – here it is

Ingredients:

1 onion finely chopped; 3 tbsp of olive oil; 50g fresh breadcrumbs;  250g of lean lamb mince;  1/2 tsp of ground cinnamon; 5 eggs; 2 garlic cloves, sliced; 1 courgette thickli sliced; 2x400g chopped plum tomatoes; 2 tsp. of honey; 1 tsp ras-El Hanout spice blend; 400g chickpeas, rinsed and drained.

Fry the onion in 1 tbsp oil until soft, leave to cool. Mix with the breadcrumbs, mince, cinnamon, 1 egg, 1/2 tsp salt and lots of pepper then shape into about 24 meatballs. Fry in the remaining oil in the pan for about 8 minutes until bgrowned. Lift out and set aside.

Add garlic to the oil in the pan and fry till softened. Add courgettes, fry gently for about a minutes then add tomatoes, honey, Ras-El Hanout, seasoning and a couple of tbsp of water. Stir and cook until pulpy

Stir in the chickpeas and the meatballs. Make 4 hollows in the sauce and break in the remaining eggs. Cover and cook for 5 or so minutes over a low heat till the eggs are set.

Serves 4 Preparation 40 minutes, cooking 30 minutes

Per serving – 377 calories, protein 26g, carbs 20g, fat 22g, saturated fat 7g, fibre 3g, sugar 8g, salt 0.94g

Meatfree Monday – Baked Butternut Squash Gnocchi

The weather had changed. It was blustery and rainy (and can you believe that this morning the weather forecast included the possibility of hail? Hail?? In August?) I wanted something that would make us feel happy. We needed comfort food… but not too comforting. It was still warm so I needed something that didn’t generate too much heat. Something that I could have with salad. I wanted to have it on Meat free Monday so it needed to be vegetarian. And then, I thought of something I had first made a couple of years ago.
Baked butternut squash gnocchi… it was a comfort food, so that was good… it is great served with salad, so that, too, is good and best of all, it is only 280 calories per serving. And no meat… so perfect for Meat free Monday.
I could have delicious comfort food and still stay on a diet!

When I see recipes that provide, per serving, less than 400 calories, I save them in a folder called 400 and Under so that I can make a delicious supper that leaves room for manoeuvre with side dishes or even a glass of wine.
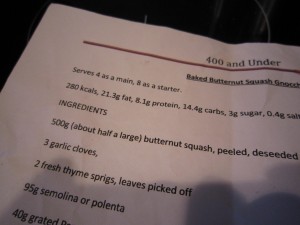
This recipe first featured in “delicious.” in September 2008, by the equally delicious Jean-Christophe Novelli. Just as well that I copied it out and saved it because I can’t find it online now. Anyway, doing it like that means I can print it out and take it with me when I shop for the ingredients and then work with it at the kitchen bench.
Also, it means I can then insert it, in its entirety, at the end of this post, something that some of you have been asking for.
Anyway, I did this on my return home from work… supper was delayed slightly as I had to roast the squash first, but not by much. This can be done easily as a weekday meal but if you were feeling efficient, the best way would be to roast the squash the day before while you were cooking something else.
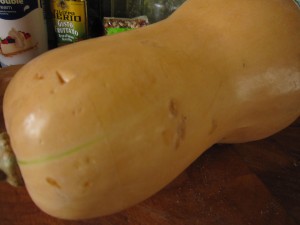
No worries though… it was no problem to peel and dice a butternut squash
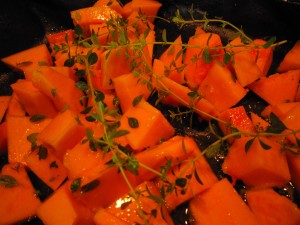
I put it onto a silicone sheet and drizzled it with oil, garlic puree and sprigs of thyme. Jean-Christophe says to take the leaves off the sprigs of thyme but that is so fiddly because the stems are soft… if you pull off as many as possible, that’s good and any that are left on the sprigs… well, don’t worry about it. Once everything roasts in the oven, the leaves fall off and the stems are hard and bare – you just remove them from the dish at the end! (See, Jean-Christophe is a chef and he does it properly. Me? I am someone who cooks when she gets in, tired from work. I find shortcuts. I have to.)
The covered roasting pan went into the oven at 180 degrees C/160 degrees if it is a fan assisted oven… and for those of you who use Fahrenheit, that is 356 degrees. 45 minutes was enough to soften the gorgeous squash.
I picked off the stems of thyme and then whizzed the squash to a smooth puree.
While the squash was roasting, I grated 40 g or thereabouts of Parmesan cheese
And added it to 9og of polenta (that’s grits to those of you in America!) , stirring it round to make an even mix before I added the (still hot) butternut squash puree and 65g of  butter.
The heat started to melt the butter…you could tell this was going to be delicious.
In another bowl I mixed three lovely eggs with 125ml of double cream and then added that to the polenta/squash mix.
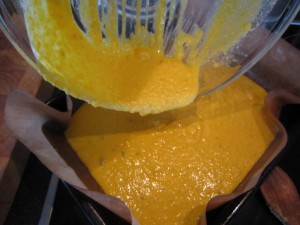
I lined a baking tin with a silicone sheet and poured in the mix….
Back into the oven, covered with tin foil to stop it burning,  for thirty minutes
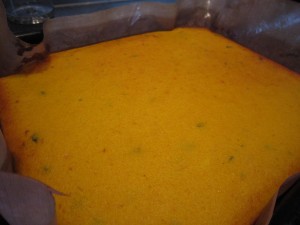
When it emerged, all golden and flecked with thyme leaves. It feels firmish, if you press it… firmish but not solid. This is the joy of this gnocchi…it uses no flour so it is suitable for those on who are coeliac or who are on gluten free diets (I shall make this for my dear friend Angela if she ever returns from America)  and it has no potato in in it so it is light and fresh.
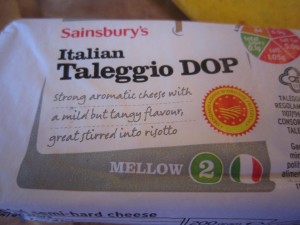
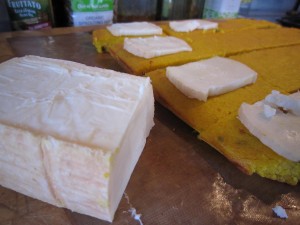
Let it cool enough so you can handle it – while you are waiting, cut slices of Tallegio cheese (and if you can’t find this, get some other cheese that would melt well)
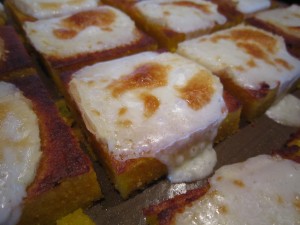
I didn’t bother with a cookie cutter, as suggested, I just cut the gnocchi into squares and laid slices of Tallegio on top.
And then put it under the grill to melt the cheese…
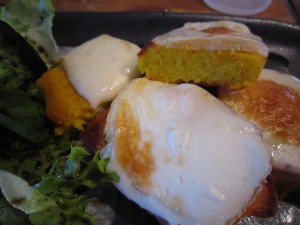
Then serve with a light green salad…
Perfect.
The texture of the gnocchi is light and delicious – you can tell it is polenta rather than potato or flour. The taste of the cheeses blended together is rich and satisfying and even better, you can eat it cold. Perfect to put in a packed lunch and take it to work. Immensely satisfying and just right for a blustery day…
And now – here’s the recipe, exactly as it was in delicious.
Baked Butternut Squash Gnocchi
Serves 4 as a main course, 8 as a starter
280 calories, 21.3g fat, 8.1g protein, 14.4 carbs, 3g sugar, 0.4g salt
INGREDIENTS
500g – about half of a large butternut squash – peeled, deseeded and cubed
3 garlic cloves
2 sprigs of fresh thyme, leaves picked off
95g  semolina or polenta
40g grated Parmesan or Gran padano
65g butter, softened
3 medium free range eggs
125ml double cream
Tallegio or other melting cheese to serve.
Preheat oven to 180C/fan 160C. Place squash, garlic and thyme in a roasting tin, cover with foil and roast for 45 minutes. Leave the oven on.
Transfer to a food processor and whizz until smooth. Spoon into a bowl and add semolina/polenta, Parmesan and butter. Whisk eggs and cream together and add to the mix. Season.
Spread in an 18cmx24cm roasting tin, lined with baking parchment or silicone sheet and cover with foil. Bake for 30 minutes.
Cool slightly in the tin then cut into rounds using a cookie cutter – or squares if you don’t have a cutter. Preheat the grill to high, while you put the gnocchi on the grill, covered with slices of Taleggio. When melted, serve with a green salad.

Jean-Christophe Novelli, French Horn. Published in “delicious. magazine” September 2008

Try it… it’s another Meat free Monday success!
(Oh, and in case you are wondering why I haven’t got spaces between paragraphs and decent formatting – well, so am I!
WordPress seems to be refusing to do what I want and no matter how many times I change everything – it just goes back to cramming everything together. If anyone has any idea on how to fix it, let me know!)

Salt and Pepper Pork Tenderloin

I had a fancy for something tasty. Actually, what I really had a fancy for was our local takeaway’s Salt and Pepper Squid, which is probably the most delicious salt and pepper squid anywhere. And I should know – just ask the Bear. Wherever we go if I see it on the menu, I ask for it.

I’ve eaten it in Perth, Brisbane, Sydney and Hobart in Australia; in Honolulu and on Kauai in Hawaii; in Florence, Barcelona, Dublin, Copenhagen, and Lisbon. I’ve eaten it in smart restaurants in the UK and in cheap ones, but somehow, nothing beats our local takeaway. They cook everything in an open kitchen and the food is spankingly fresh.

The batter round the squid is light and lacy. The squid is never chewy and the salt and chillies are perfectly balanced. The only annoying thing is that whenever I order it, people who HAVEN’T ordered it (because they don’t like squid… or chillies… or whatever else..) suddenly decide they want to try and it and then they take mine!

Anyway, despite wanting it so much that my fingers itched to phone an order in, I decided to try and stick to our vague diet. No salt and pepper squid for us that night.

But the thought of salt and peppered something just stuck in my mind.

I’d worked out a salt and pepper seasoning that didn’t involve deep frying or batter and I’ve used it on prawns and steak. Because you almost dry fry whatever protein it is you are using,  the calorie count drops significantly.

There you go, then, I thought. Perfect justification to make something tasty for supper. I WAS going to have salt and pepper after all. And I could still say we were on a diet.

I like to make lots of salt and pepper seasoning because whatever I don’t use, I keep in an airtight jar ready for my next night of craving. I had some left but I needed to top up my supply.

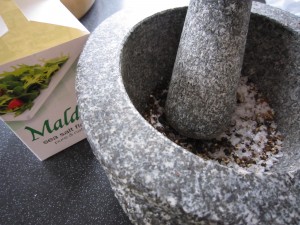
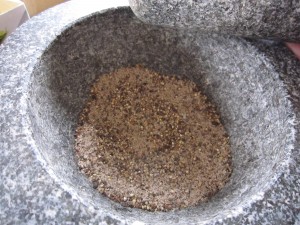
First of all, toast some salt in a large frying pan – yes, this sounds bizarre but it is essential. You will see the colour change slightly and it takes less than a minute. I used a couple of heaped tablespoons of crushed Maldon (I have to crush it in the pestle and mortar because the crystals are large and I need to end up with a smooth spice mix) Take the pan off the heat until you have the spice mix ready.

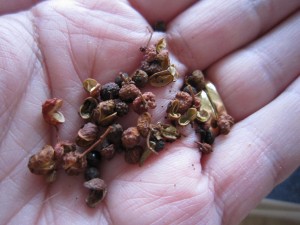
See those? They are Szechuan pink peppercorns. Not real pepper of course but they add that hint of authenticity.  They need to be pounded along with the same amount of black peppercorns.

I didn’t have any star anise but I did have some Chinese 5 Spice Powder so a good dessertspoon or so of that was added to the mix

You end up with a fine mix.

Add that to the salt in the frying pan and toast again – beware of the aromatic fumes though, they can be a bit strong. Just a minute or so is all it needs, so stir it round so it toast evenly and leave it to cool. Once it is cool, put it in your jar and wipe the pan out.

And that’s it.

On to the next step – the meat.

Tonight I was going to use pork tenderloin, which is, amazingly, a very inexpensive cut of meat. Even more inexpensive if you, like I did, manage to call in at the supermarket on the way home and find it reduced for a quick sale.

Now the spice mix is cool, put some on a plate and roll it round, pressing down so it sticks to the outside of the meat.

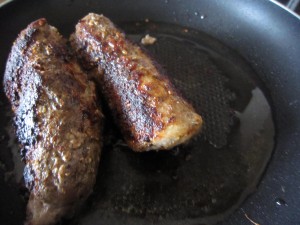
Put your pan back on the heat with a scattering of oil in it (maybe a teaspoon or so… we ARE dieting you know!) and once it is hot pop in the tenderloin.

Roll the tenderloin  so the spice mix browns and crusts beautifully.

Once the crust looks good, turn the heat down and let the meat cook through for ten minutes or so.

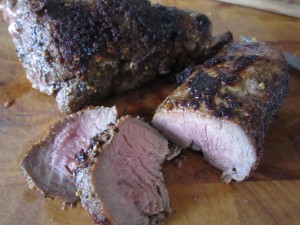
Let it rest for five minutes then slice it into medallions….. Delicious.

Healthy and tasty, oh so very tasty. Quick and easy and low in calories. pretty much of a perfect supper, eh?

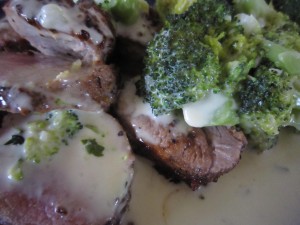
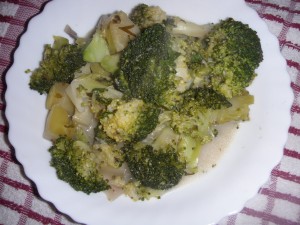
You can serve it with anything you like – let it cool and serve it with salad leaves or add some vegetables. If you aren’t dieting serve it with rice… or potatoes, maybe. Well, we were dieting and potaoes were off limits. I wanted to eat it hot so I made broccoli to go with it.  And yes, the Bear was eating  with me, so I made broccoli a Bear would eat.

And when served with broccoli it becomes heaven on a plate!

Superfood salad

Right then. Celebrations  are over and spring is on the way. 

I have a new job and a new bounce to my step. Everything is looking bright and cheerful and I am filled with optimism. Not only about having a real job but I am optimistic about starting a diet. Well, when I say starting… I seem to remember saying I was starting one some months ago but the horribly cold weather and gloom got in the way.

The brighter days and increasing warmth make me feel lively and less in need of solid, warming foods. Lovely though that Toffee Apple Crumble was, it seems my tastebuds are shouting out for brighter, fresher things too.

One of the things the Bear and I like to eat when we start to feel like this is Superfood Salad.  Lovely chopped salad with fresh, raw vegetables and quinoa with a lovely savoury, light dressing.

It makes a delicious meal by itself, or perhaps served  as a side salad alongside salmon or chicken. 

The basis for the salad is quinoa (and if the spelling confuses you, it is pronounced “keenwa” ) It was important to the Incans of South America (who called it the Mother of all Grains”) but nowadays, according to Wikipedia,

” In contemporary times, this crop has become highly appreciated for its nutritional value, as its protein content is very high (12%–18%), making it a healthy choice for vegetarians and vegans. Unlike wheat or rice (which are low in lysine), quinoa contains a balanced set of essential amino acids for humans, making it an unusually complete protein source.[4] It is a good source of dietary fiber and phosphorus and is high in magnesium and iron. Quinoa is gluten-free and considered easy to digest. Because of all these characteristics, quinoa is being considered a possible crop in NASA’s Controlled Ecological Life Support System for long-duration manned spaceflights.[4]

I don’t suppose you can say fairer than that, can you? And if you add a good selection of fresh, crisp and crunchy vegetables, well, you have Superfood salad.

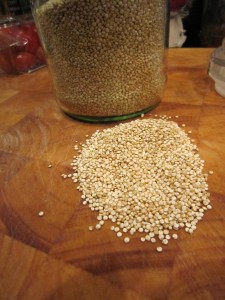
So, first of all, get your quinoa.  About a half a cup full would make enough, when cooked, to make a decent sized salad for maybe four people. Or, if you are us, it makes enough for supper with two portions left to take to work for lunch the next day.

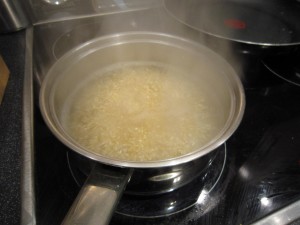
Give it a rinse and then put it in a pan to boil. It will take maybe ten minutes.

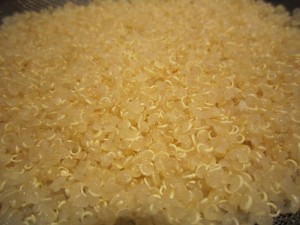
You will know when it is ready, because it goes from looking like little grains into grains with little sprouts appearing

See what I mean?

I often put a sprinkle of stock powder into the water to give the quinoa a bit of a hint of taste… you could try that.

Next, start on the vegetables.

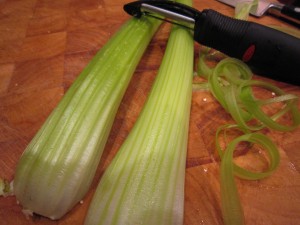
The Bear won’t eat anything “stringy” (he thinks celery will strangle him) so I peel the outside with the potato peeler to get the worst of the strings off.

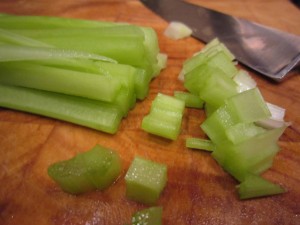
Once the celery has been transformed from a Bear-strangling-vegetable into a crisp and juicy stick of fresh greenness, I chop it into cubes.

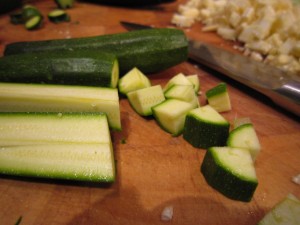
And do the same with baby courgettes

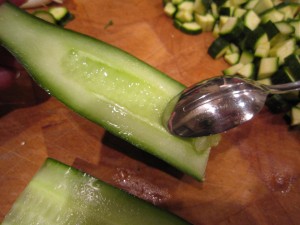
And after scooping out the wet, seedy middle of a cucumber, I chop that into bits, too.

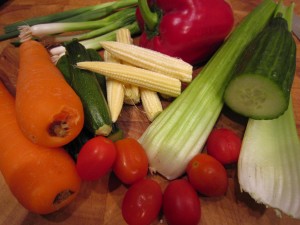
Get carrots, baby corn, spring onions, red pepper and baby plum tomatoes and do exactly the same to them.

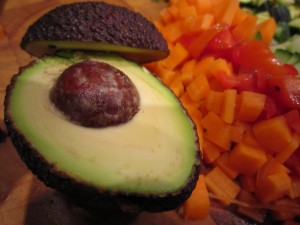
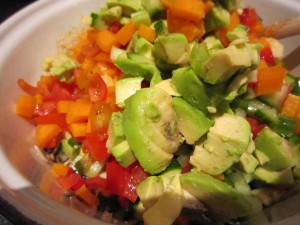
A ripe avocado makes a good addition as well.

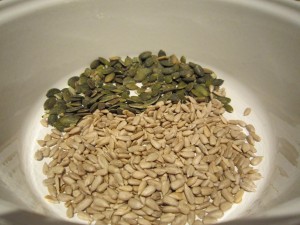
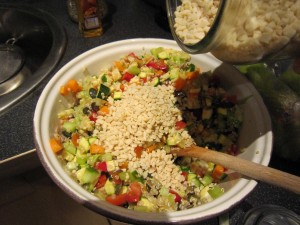
Now it really is a case of just putting it together – I put a handful or so of sunflower and pumpkin seeds in a bowl, then having rinsed in cold water and drained the cooked quinoa

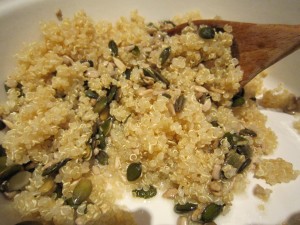
I add that to the bowl and stir it round

Then add the chopped vegetables, stirring them into the quinoa and seeds

A good handful of chopped nuts  gives the salad an extra crunchy dimension

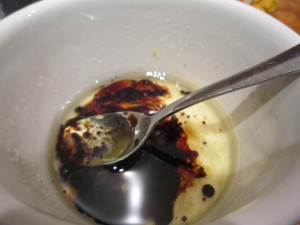
I make a light dressing with some walnut oil, some balsamic vinegar and some lemon juice and pour that over the salad.

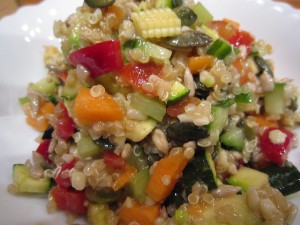
And that’s it!

Look at it, isn’t it pretty? Fresh and crispy and delicious?

By itself it is gorgeous but I want to add a little extra to make it the perfect spring meal….

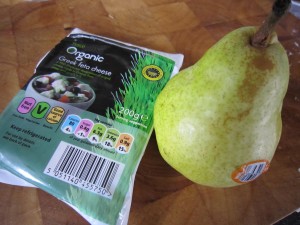
I have a lovely crisp pear and some organic feta cheese that, if I cut up, will go perfectly.

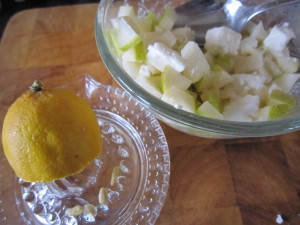
All that needs is the juice of half a lemon pouring over it to stop the pear turning brown and you have a sharp, sweet and salty extra to add to the salad.

So…. all you have to do is get some quinoa, a selection of vegetables that you like and with the aid of a sharp knife you can make yourself a really tasty salad that will not only brighten up your day by the sheer colourful crunchiness of it but it will also do you the world of good.

Spring is here – let’s eat something light and bright and good for us!

Broccoli Bliss

Sometimes, the way to brighten a dull day is to imagine a treat. Something to look forward to when you get in from work. Something that probably you can only get away with when your significant other is away.

Well, the Bear is away…and that means I can indulge myself. I can go wild and he won’t look at me with a slightly anxious expression, worried that I will force him into joining me in my chosen delights.

It’s not drink…. or illicit substances… or even some strange practice… it’s…..

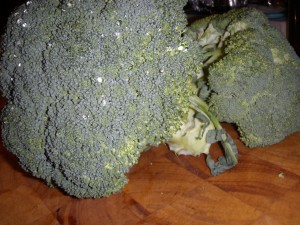
Broccoli.

Beautiful, bold brassica.. the bright green and slightly bitter broccoli. I love it.

And when I can, I come home to a huge bowlful of it. One of my favourite ways to eat it is with a pseudo-Thai green curry sort of sauce, except it is not a sauce, it is a fragrant and sweetly spiced cooking liquid.

It’s quick to make and incredibly low calorie and oh-so-good for you.

I always have the ingredients for the Thai green curry sort of sauce in my cupboards because you never know when you may be able to get away with making broccoli, just broccoli, for supper. They also come in handy for when I want to make Thai Green Curry soup.

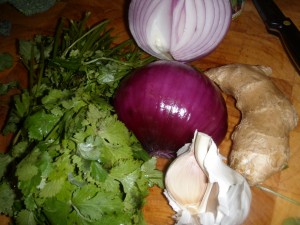
Onion, ginger and garlic. Some coriander.

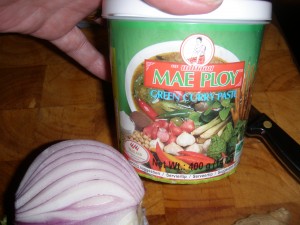
Some green Thai curry paste

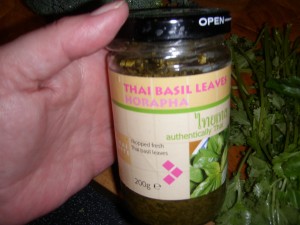
Thai basil, if you can get it

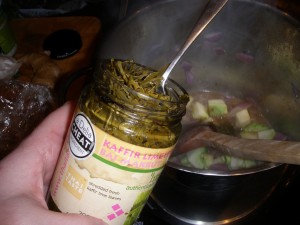
and kaffir lime leaves.

You will also need coconut milk – either a tin of it, or coconut milk powder that you can make up – and some stock granules.

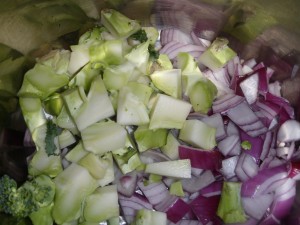
Start by chopping some onion into  decent sized pieces and start to saute them in a large pan.

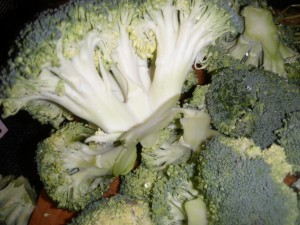
Chop your broccoli  stem into pieces and separate the florets.

Add the stem to the pan with half a cup, say, or water so it doesn’t burn and and a quarter inch of peeled and finely chopped ginger, and a clove of garlic, also finely chopped.

Add a heaped teaspoon of Thai green curry paste, the same of kaffir lime leaves and Thai basil. Stir it round and smell that gorgeous, aromatic spicy steam billowing up.

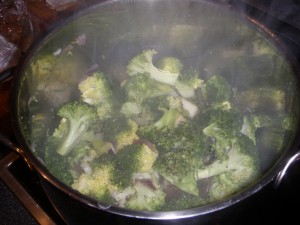
Let the stem and the onion soften slightly then add the florets.

Give them all a stir and let them steam for a couple of minutes

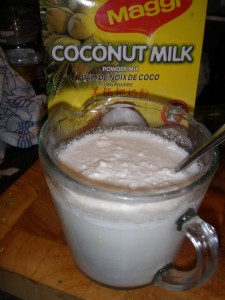
Mix three heaped dessertspoonsful of coconut milk powder (or a can of reduced fat coconut milk) and add a teaspoonful of vegetable stock granules, mixing it round well

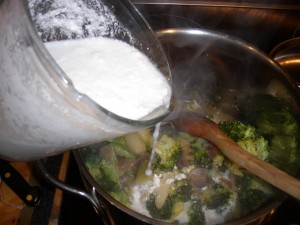
Pour that delicious mix over the broccoli and let it steam through for another couple of minutes….

And then?
Dish it up, my darlings!

A beautiful bowl of broccoli… think of it as thai green broccoli soup… without much soup.

Packed full of goodness…. and that, well, that is one of my secret delights.

Pappardelle with mushrooms, lemon and sage

“99, column 2”

As statements go, that has to be, when taken out of context, one of the most random and mysterious comments ever.

If you had been following our adventures in Cookery Lotto, you would have known instantly that this was the answer we had been waiting for.  We had (great team effort there, everybody) managed to get a number that led us to finding the cookery book that I was to cook from, but to make sure I couldn’t deliberately pick something that I knew I liked, or that was easy to do, someone had to suggest a page and column number.

I said at the time I was glad it was column 2 – column 1 involved making a ragu from a kid goat’s shoulder. I would have tried, of course, but I was almost certain that Mick, our butcher, didn’t have any on his meat counter.

Luckily Caron picked column 2, which led to me making pasta yesterday with two little girls.

It  just goes to show that if we three could make pasta successfully in less than an hour then anyone could do it.

The girls set off home with their tagliatelle and I was left with, as instructed by the rules of Cookery Lotto, a bowl of pappardelle.

I wanted to make something delicious with this, my beautifully soft and silky, hand-cut pasta ribbons. And I didn’t have any part of a goat at hand.

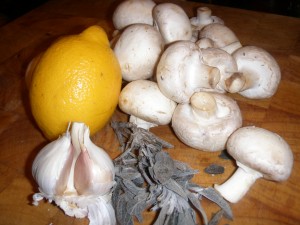
I did, however have mushrooms, a lemon , some garlic and sage.

Which, as Good Food pointed out, was exactly what I needed for a “light but filling Italian supper, ready in just 20 minutes”

And even better, delicious though this sounded, gave me just 386 calories per serving. That meant it could be included in my 400 and Under category – diet food that tastes divine but with minimal calories. Things were just getting better and better.

On with a large pan of well salted water to get it to a brisk boil, while I chopped 250g of mushrooms.

They needed to saute in 25g of butter and after a couple of minutes, stir in a crushed clove of garlic

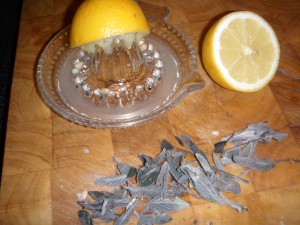
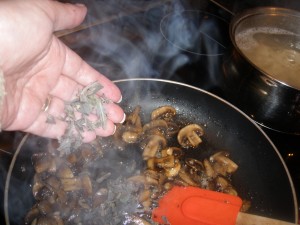
Squeeze a lemon and chop a handful of sage

Stir in the sage and add the lemon juice.

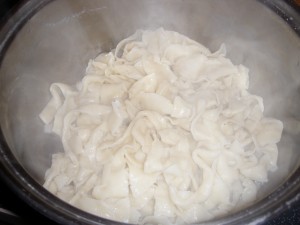
Check the papparedelle – as it is fresh pasta it will only need a couple of minutes cooking – drain it but leave a tablespoon or so of water in there.

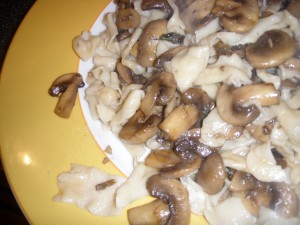
And then toss it in the delicious lemon and garlic sage-scented buttery mushrooms

Perfection.

Tomato Rice Soup

I remember when I was younger, before I learnt how to cook, I used to think it was perfectly sensible to open a can of soup. I really had no idea how easy it was to make soup, nor how much tastier it could be.

I grew up in the decades that considered the launching on the market of a frozen, crispy pancake for frying at home to be a pretty exciting development. When I was  young, most families didn’t think it strange  to have cans of soup and there was nothing finer in our young eyes than having cream of tomato soup.

On Sunday nights my brother and sister and I would get things ready for school the next day and, as a treat, we could have supper while we watched television… now that WAS a treat. For every other meal, we ate in the dining room, at the table and television was banned.

Because we had had the traditional Sunday lunch – either at home, or at our grandparents, a two hour drive away across the North Yorkshire Moors – we would have a light, later supper than normal.

Imagine how exciting it was for the three of us to sit down to watch “Planet of the Apes” while Ma heated the tomato soup and spread Ritz Crackers with Philadelphia Cream Cheese and topped them with thin slices of hard boiled egg……. remember those egg slicers?  Sophisticated, huh?
Of course in those days, I was a skinny kid, with knock knees…….. anything was sophisticated.

But how we loved those Sunday night suppers.

I was thinking about the tomato soup and how deliciously rich and tasty it was and how sometimes, as a variation,  we would have tomato rice soup and I thought that maybe I could try making my own version. If I made it myself I would know exactly what went into it and I’d be able to keep an eye on it for the calorie count… with a bit of imaginative taste tweaking I could keep it low calorie….

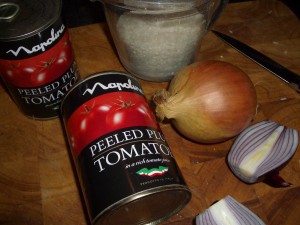
Tomato soup needs tomatoes

A couple of onions, 200g of  long grain rice, some stock… oh and remember the chilli oil I made? Those chillies have really powered up the oil they are loitering in and have softened beautifully – I shall have a chilli or two from there……… and to soften it all and make it rich and creamy?

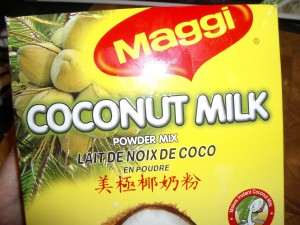
Some coconut milk powder – now this is a brilliant store cupboard ingredient. A spoonful added to spicy food gives a lovely smooth richness… and if chillies are involved, it calms down the heat and adds another dimension to the taste.

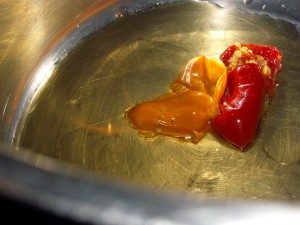
Get a large pan – this will make maybe 4 litres – and heat a spoonful of oil. I used the chilli oil and I put in two of the soft chillies.

Putting the chillies in at the start means they don’t frighten you with ferocious burning tastes.. the cooking softens their fire. If you are giving this to children, miss out the chillies and just use ordinary oil.

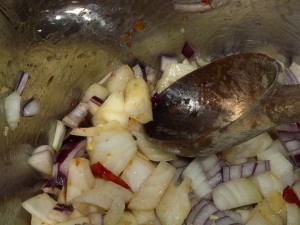
Peel and roughly chop the onion and add it to the oil to soften – don’t have the heat too high, you want the onions to soften gently until they are translucent, not sizzle till they are golden and crispy.

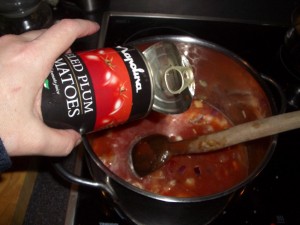
Put in two cans of Italian plum tomatoes – I really like the Napolina ones (and not just because they were on offer in the supermarket)

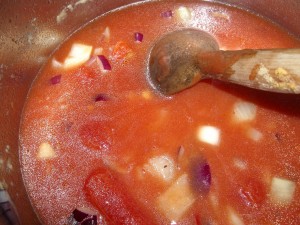
Rinse out the cans with water and add two litres of water with a couple of stock cubes, stir it round and let it bubble gently.

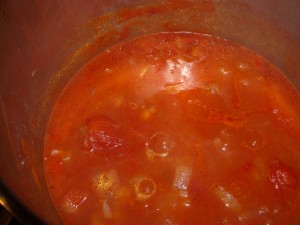
See how it gets thicker and a richer red?

You’ll know if it is ready for blitzing smooth because those onions that you chopped will be tender if you take a bit out to check.

I have a stick blender and it truly is one of the greatest kitchen gadgets you can get. If you haven’t got one, make sure it is next on your list of things to get – it really does make life so simple. Use whatever you have to whizz that soup base into a smooth and lucious pan of scarlet goodness.

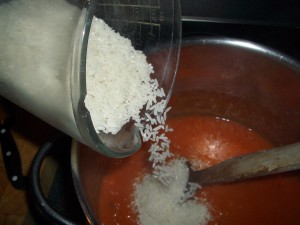
Then, pour in 200g of long grain rice and stir round.

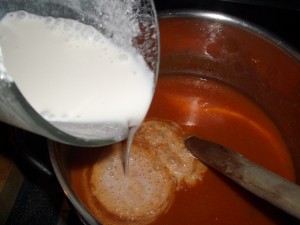
And remember the coconut milk powder? Mix a tablespoon or so in a jug with some cold water, little by little, mixing it smooth so you have maybe a quarter of a pint, and then pour it in.

Stir everything round and let it come back to a gentle boil.

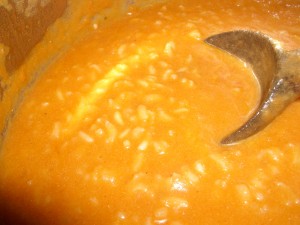
The rice will cook in the tomato soup and thicken it brilliantly.

You might want to add some more water if you think it is too thick. I put in another pint jug full.

(Yes, I know I have been talking about litres but it was the old glass Pyrex jug that was nearest. And we all do it… I don’t think we Brits have quite grasped metric. Ingredients have to be sold in metric measurements but babies come in pounds and ounces. Make of that what you will)

Check the taste and see if it is what you want. You might want to add a pinch of salt or maybe a pinch of stock granules.

Now for the good news. I sat with a pen and some paper and tried to add up all the calories – 700 or so for the rice. 145 for the coconut milk, 190 for two cans of tomatoes, 120 for the oil… a 120 or so for the onions..and then I looked at the huge pan, full of soup…. there was well over 5 litres there.  Less than 300 calories a litre!

How simple was that? Low in fat, high in taste. Quick to do.

Enough for us to take flasks to work for the next couple of days. And have some to share with friends.

If you were to have a really big mug full of it you would still be under 300 calories…

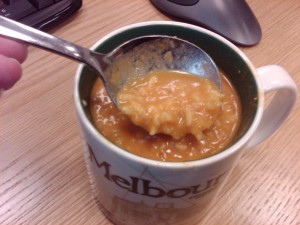
So, there I was at work… with a hot mug full of tomato rice soup… thick and tasty, rich and tomatoey. Still on my diet.

And still, just as I was all those years ago, staring at a screen in front of me. Except this time I wasn’t watching “Planet of the Apes”

😉

Lentil and Chorizo Soup

The Bear and I live on the top of a hill, which is, itself, at the top of a series of hills. We look down on the city below us and the view is always fantastic.  We have a park at the side of the gardens and it is always a good place to walk around.

In the autumn we go blackberrying and in the summer it’s a beautiful place to sit in the sun.

In the winter?

Incredibly beautiful, isn’t it?

You wouldn’t think we were just a mile or so from the city centre.

Being so high up means the snow is thicker up here and it stays longer. It also means that when I finish work, I try and go straight home to avoid getting caught up in any bad weather. And THAT means I haven’t been going to the supermarket.

I haven’t even walked to our nearest shops, because that means a walk  involving coming down from where we live… down these steps

So I need to cook from what we already have.

I always keep the store cupboard filled with things that will last and tonight I started to think about soup.

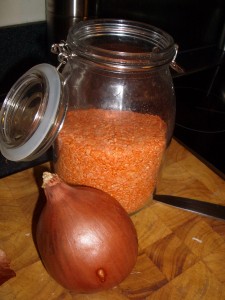
There’s always a large jar of red lentils .. so they would go in… as would that lovely big onion.

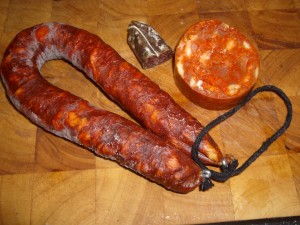
In the fridge I found some pieces of chorizo

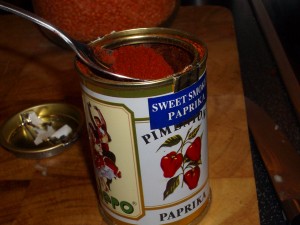
and in the cupboard a tin of sweet smoked paprika.

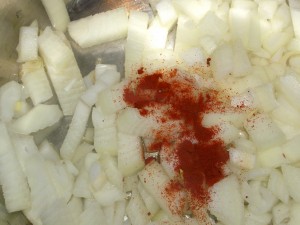
Right then… I was off. Onions chopped and sauteing gently in a dessertspoon of oil, with a teaspoon of paprika

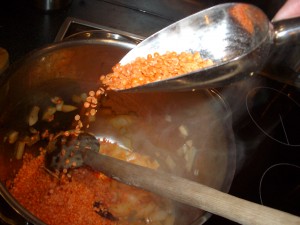
Then, time to add the red lentils. They are not only tasty, they are packed full of protein.

Four scoops… that’s about 300g.

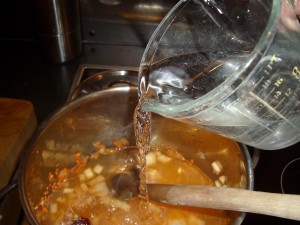
Two pints of water and stir it all round. That needs to bubble away but it really doesn’t take long for the lentils to cook.  Add a stock cube or some stock granules for flavour… this is going to be the quickest and tastiest soup you have ever made.

I have some dried Kashmiri chillies so one of them goes in… they are quite sweet and mild in comparison to other chillies. If you are cooking for children, then you could, if they don’t like chillies, just miss that out.

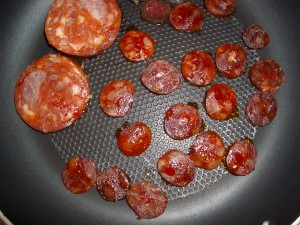
Remember that chorizo? Cut slices off each of the pieces and dry fry them over a gentle heat.

This lets the oil seep out gently, which you dress the soup with later, so whatever you do, don’t just throw it out.

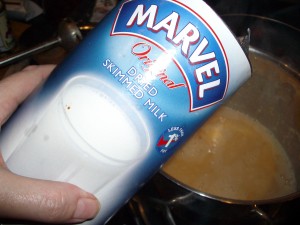
See this? This is the secret that turns this tasty soup into a deliciously rich bowlful.

We are cutting our calories and that means cutting fat. But look at the label – it is skimmed milk.  No fat in there, or at least none to speak of.

You have enough liquid in there so adding milk powder adds to the taste, without diluting the taste or the consistency. The milk makes it taste rich and creamy.

Two big scoops of Marvel and then take out the dried (but now beautifully soft) chilli… and then whizz the soup to a silky smoothness. Taste it and adjust the seasoning… maybe a pinch of salt and a grinding of black pepper?

Into the soup with the chorizo (chop the big pieces) and stir it round… pour over the glossy red oil

And there you have it.

Red lentil and chorizo soup – about two pints of  spicy loveliness. Packed full of protein and very little fat.

And the cost is minimal ….. both in pennies and calories….. there’s under 300 calories a serving in there.

All made from store cupboard ingredients and bits from the fridge. I feel so very virtuous… and also full and warmed through. 

EDIT FROM MY DESK :

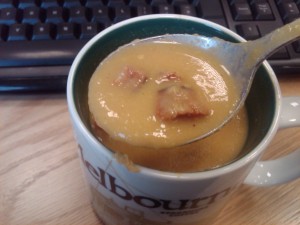
Lovely chunks of chorizo, smooth and creamy soup…. 

Life is good.

(Oh and the snow photos were taken by The Bear. He’s good, isn’t he?)